
Scheduling an event or a meeting involving many people can be difficult. Creating a scheduling poll for dates and times can help to streamline the scheduling process. It can be used to quickly find the best conference or event time without manually coordinating availability.
An online availability poll allows everyone to see all the available options at once. This can help prevent conflicts and ensure everyone is on the same page. If you’re wondering how to create a poll for meeting times we have good news. Scheduling polls are easy to create, manage, and share if you use Google Forms!
In this post, we’ll go over how to create a scheduling poll with Google Forms in a few easy steps. So, let’s get started.
How to create a Google Forms scheduling poll
Step 1: Create a new Google Form
First, you’ll want to navigate to Google Forms.
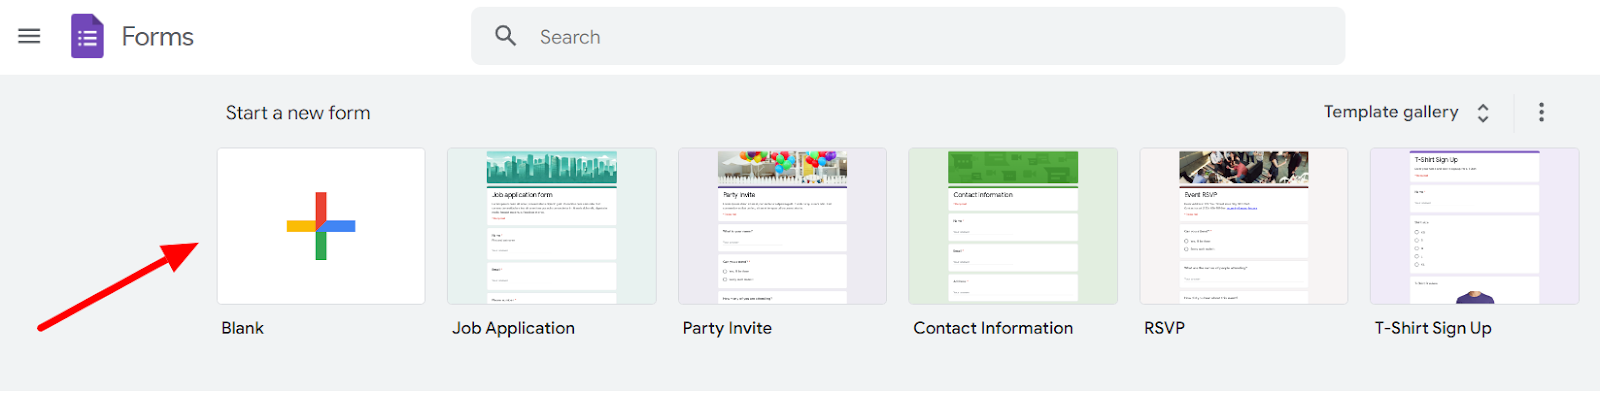
Once at Google Forms, open a new form by clicking the “Start a new form” button.
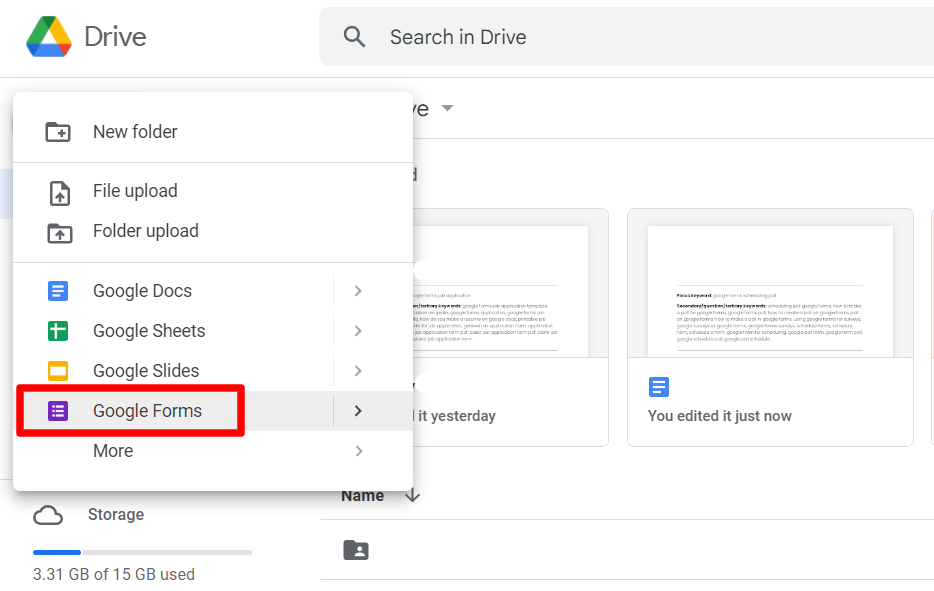
If you prefer working from your Google Drive, you can easily open a new Google Form by navigating there instead. Then click the “New” button on the left-hand panel.

This will open up a drop-down menu. Find and click Google Forms here to open a new form instantly.
Step 2: Add a title and description of the event
Following the above steps, you should have a new blank form open now.

You can now give your form an appropriate title and a brief description of the event you’re creating the scheduling poll for.
Step 3: Set up the form settings
Before you add the questions to your scheduling poll, it's essential to ensure some settings are correct. To do this, toggle from the “Questions” tab to the “Settings” tab.
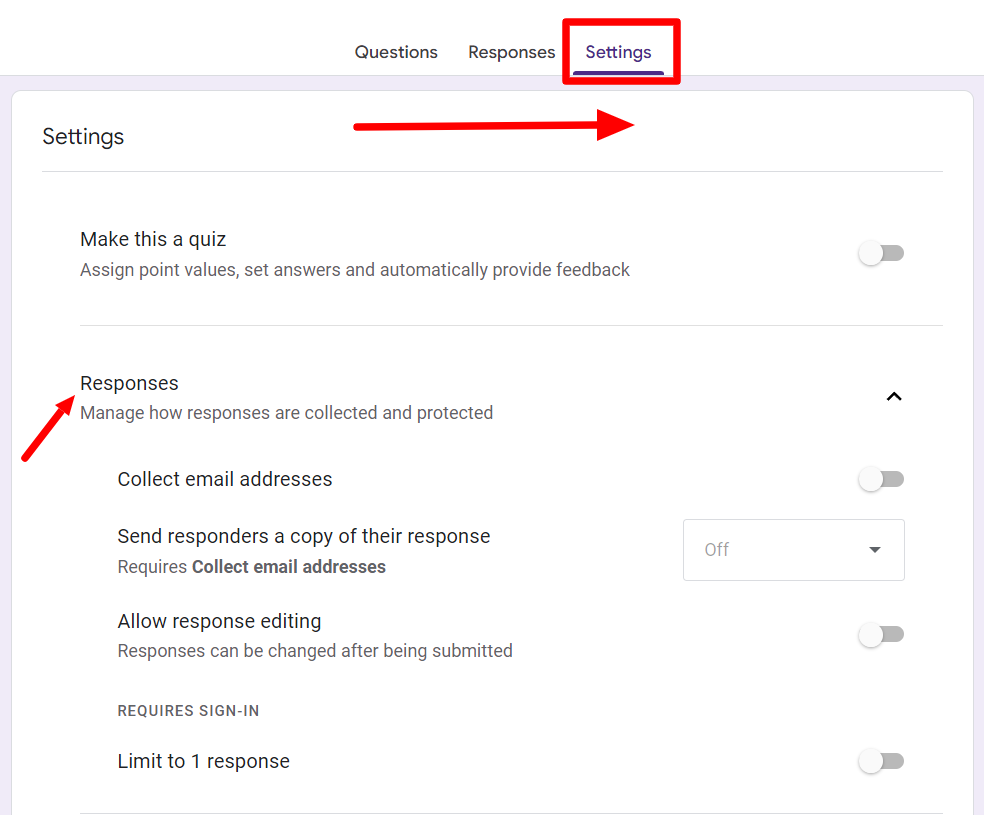
Under the “Responses” settings, turn on the “Collect email addresses.” Collecting email addresses is important as it will help further communication if required.
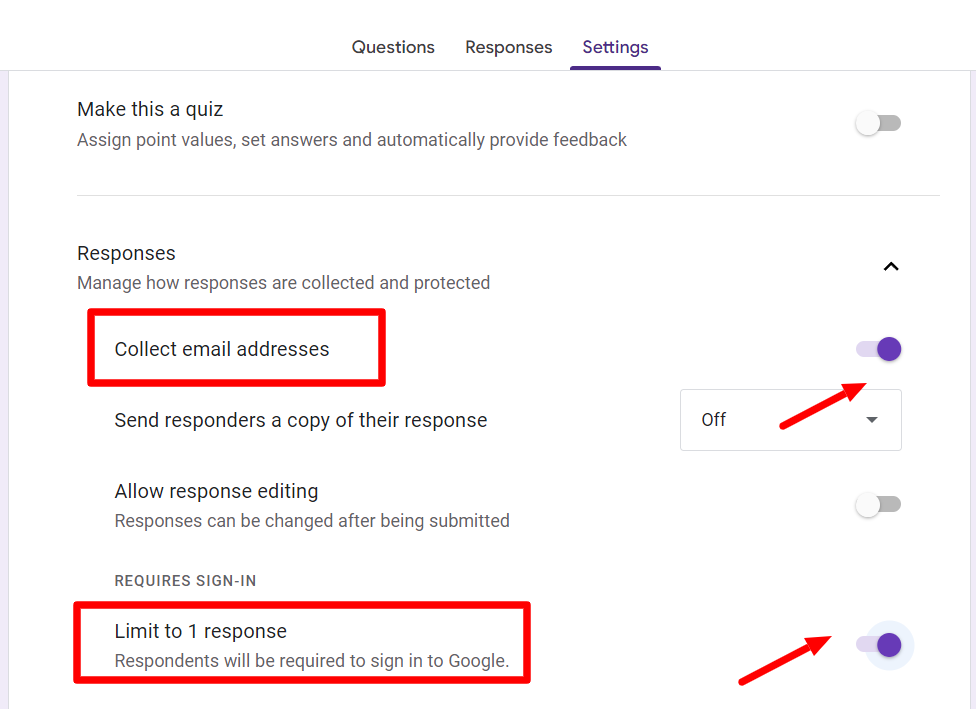
You can also turn on the “Limit to 1 response” setting so that you may only receive one response per attendee.
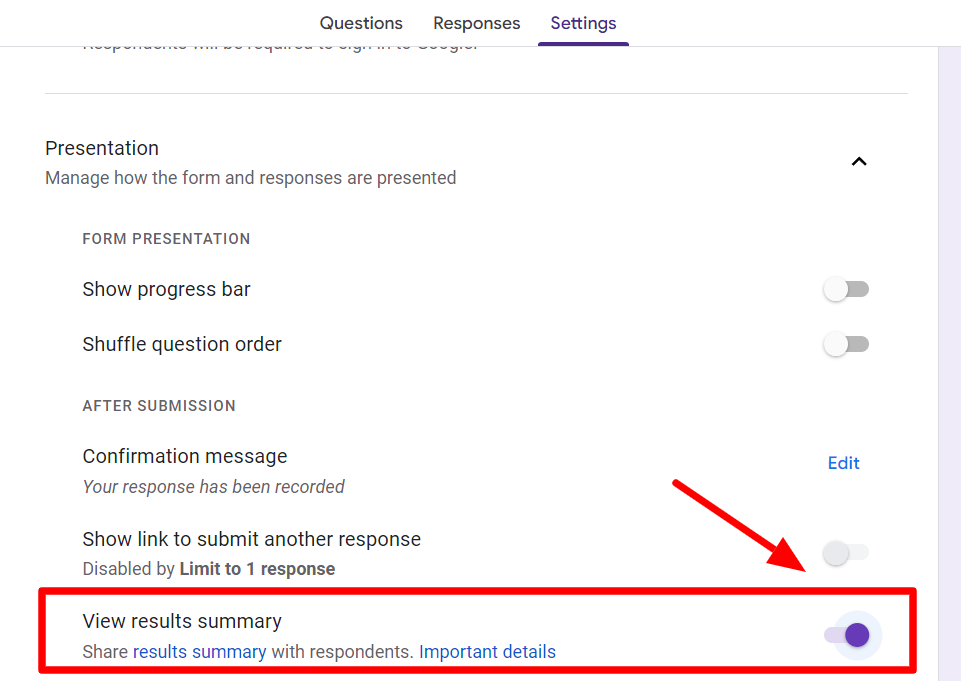
Further down in the “Presentation” settings, you can also turn on the “View results summary” settings. This will allow the respondent to see the other responses at the end of their poll.
Doing this is a good idea, as looking at other responses may prompt some respondents to choose the popular time slot. Consensus on time preference will make it easy for you to plan your event, and so after doing this, return to the “Responses” settings.

Here, turn on the “Allow response editing” so your respondents may change their time preference after viewing the other responses if they wish.
Step 4: Create a Google Forms scheduling poll
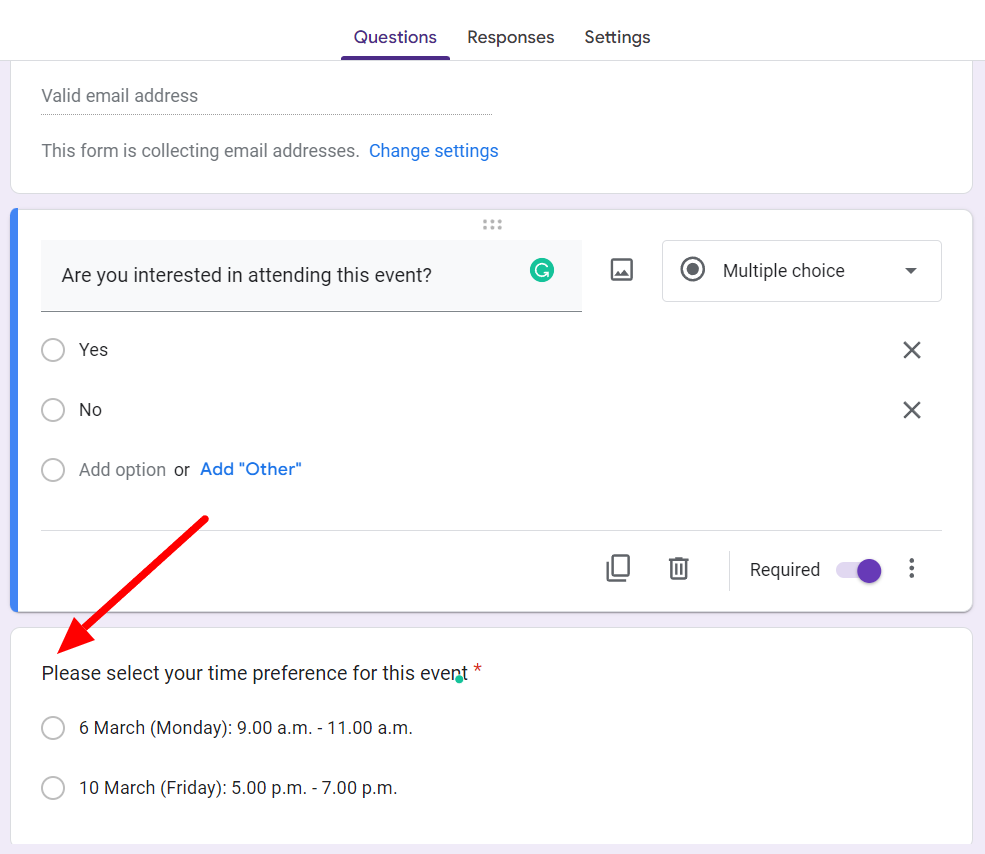
Now that you have the appropriate settings in place, it’s time to create a poll with Google Forms by adding relevant questions to your scheduling poll. Since this is a poll to generate insight into the time slot preferences of the attendees of an event/meeting, the questions could comprise of:
- Are you interested in attending this event?
- Please pick your preferred time for attending this event.
Remember that email addresses are being collected through the form settings, so there’s no need to add that as a question.
Now that you have the relevant questions, add them to your scheduling poll in Google Forms.
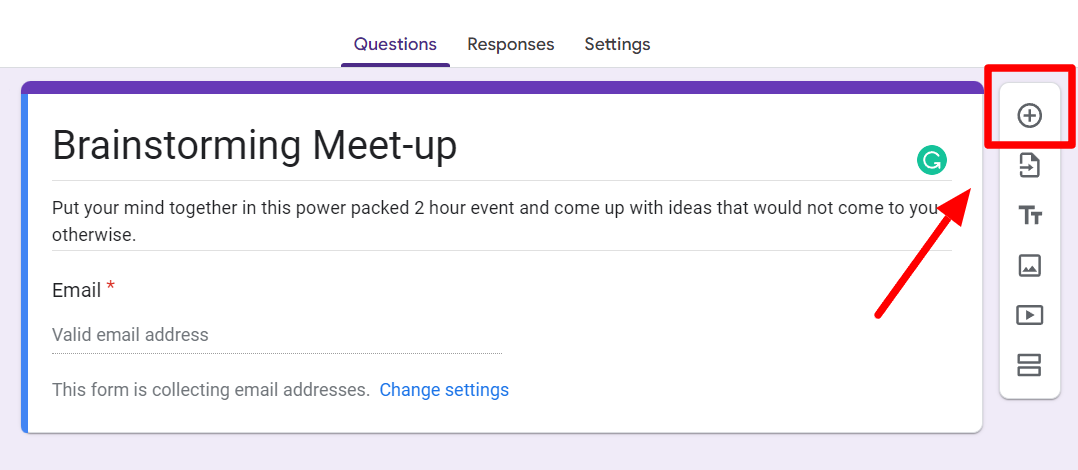
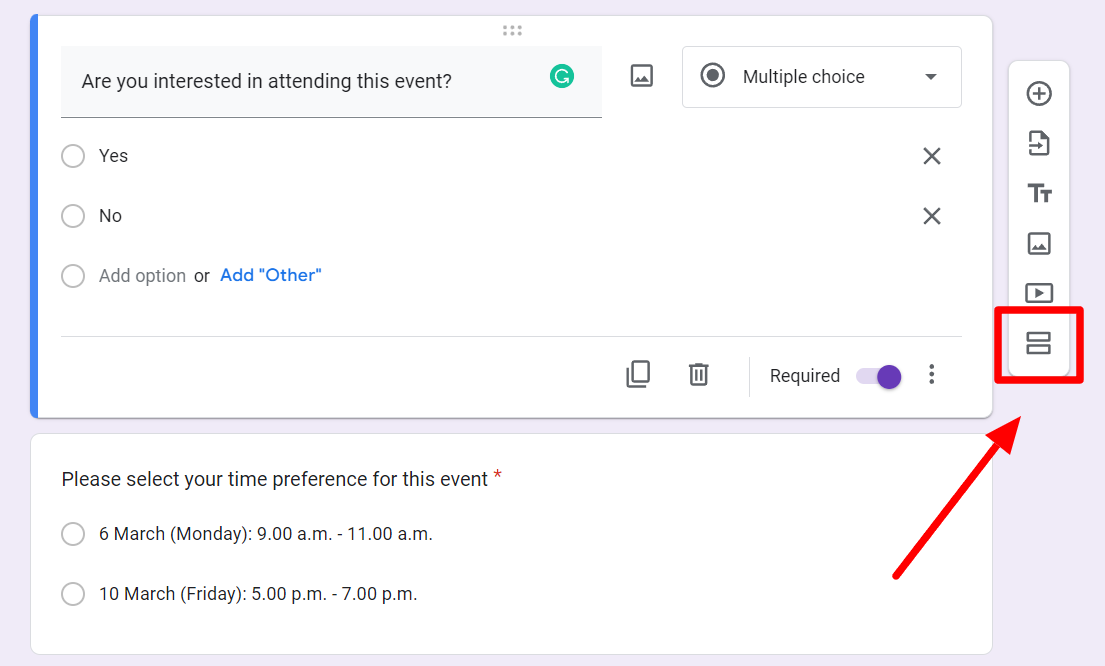
To add a new question, click the “Add question” button on the floating menu on the side. This will add a new question to your form.
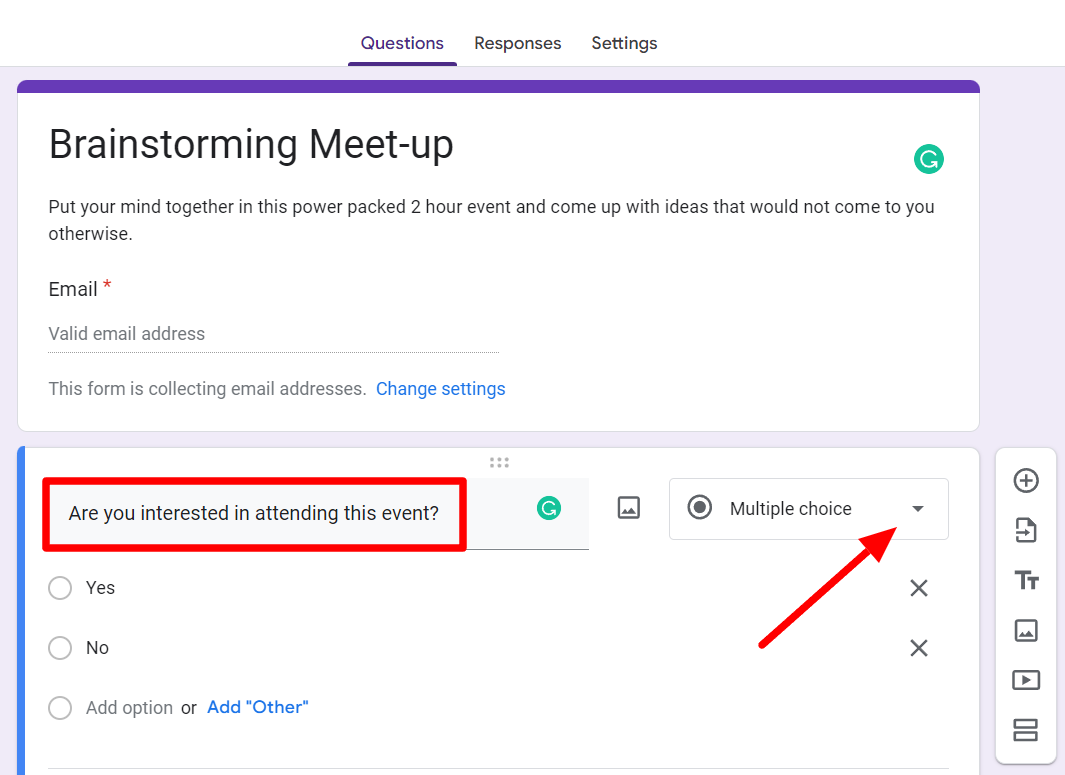
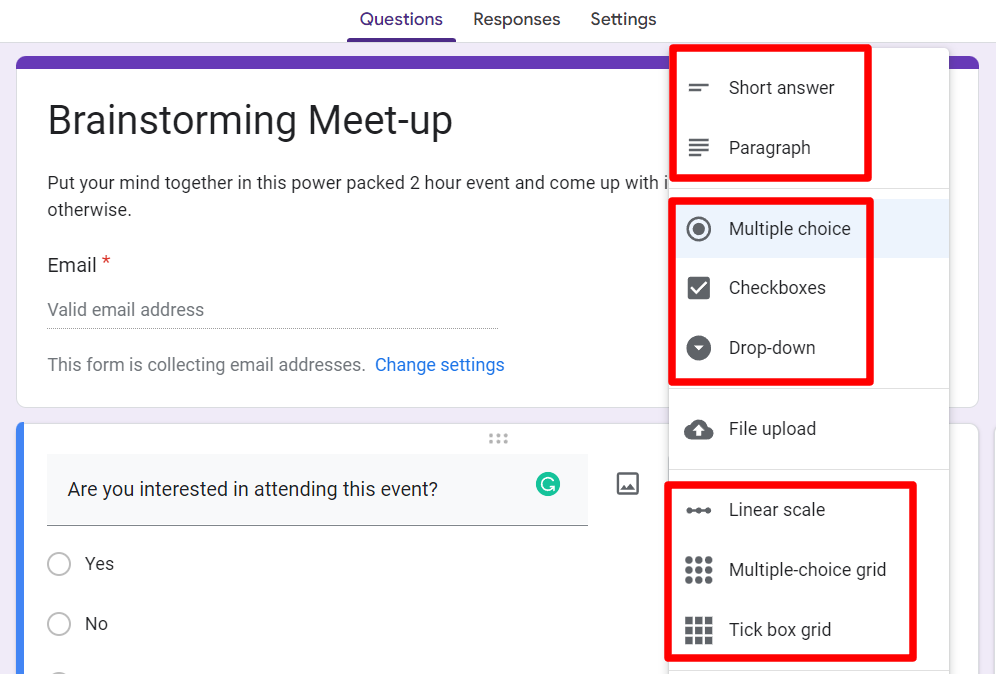
After adding your question, you can click the button on the side to decide on the format of the question. In the question above, the format is set as a multiple-choice question. You can change it to any of the options categories provided.
Add any other questions to your online availability poll in the same way that you added the first one.
Step 5: Consider using conditional logic
Conditional logic is a feature in Google Forms that allows you to make sections available/unavailable depending on how a question is answered.
For example, in our example scheduling poll, if a respondent answers “no” to the first question, the next question becomes redundant for them. So, we can split the form into different sections.
To do this, simply click the “Add section” button on the floating menu on the side, and now the second question is put in another section.
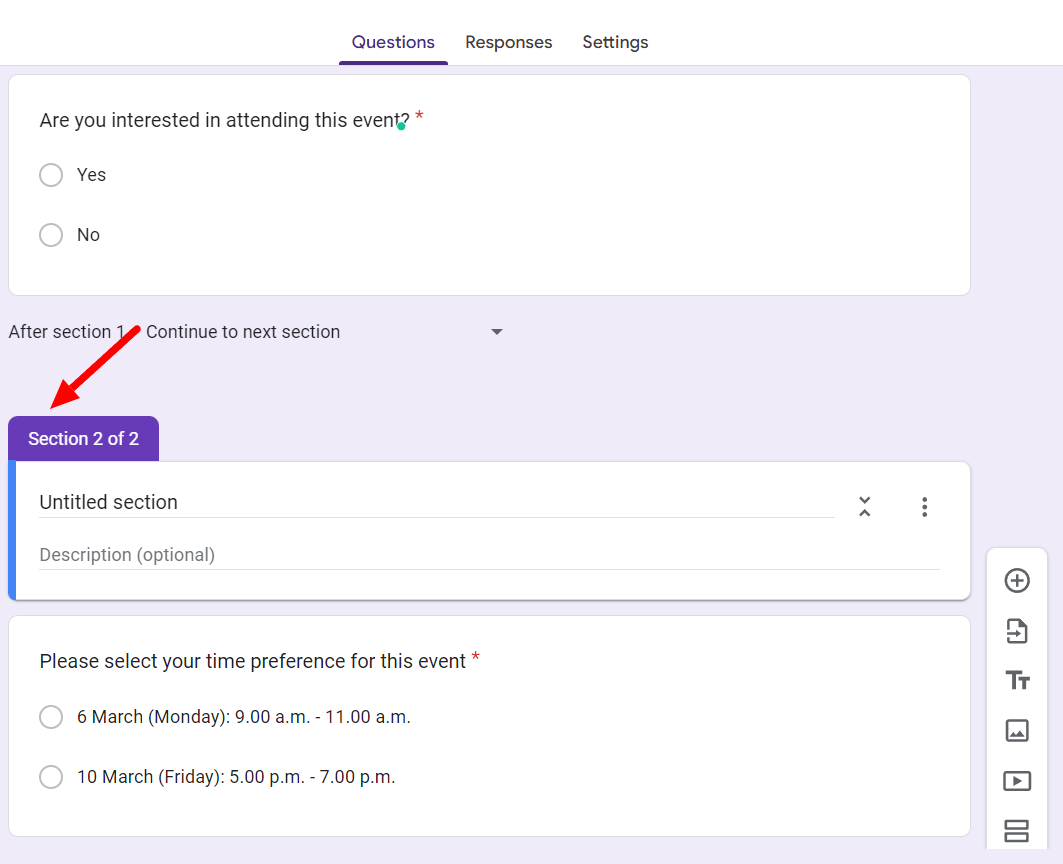
You can now give the second section an appropriate title. To set up conditional logic, go to the first question and click the “more options” button at the bottom right corner.
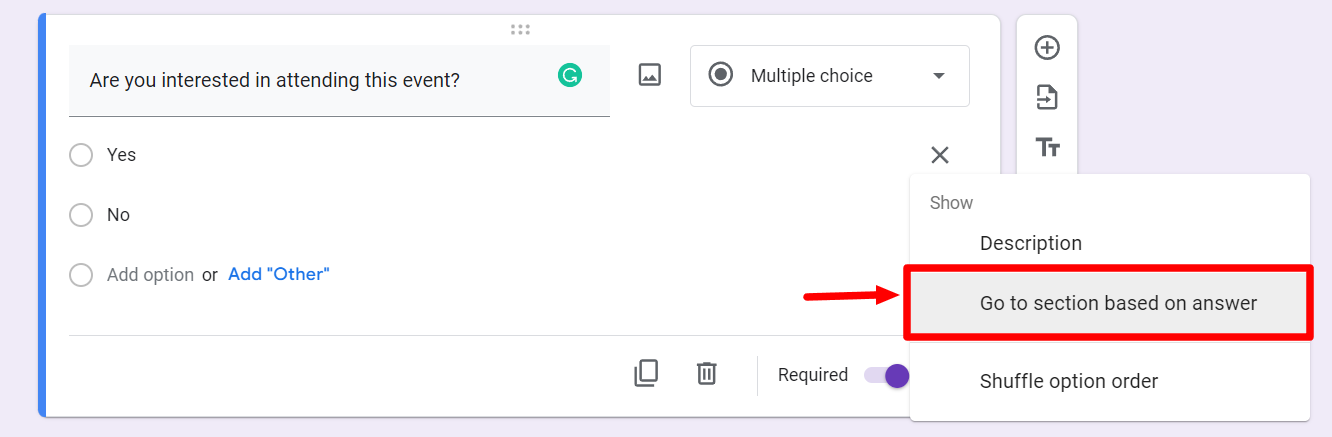
Now select the “Go to section based on answer” option. This will open up new options against the responses to the first question.
Select the appropriate options for each response, and you’re done. Learn more about response validation to create elaborate polls, surveys, and forms with Google Forms.
Step 6: Finish your form and send it out
Now that you’ve successfully created your Google Forms scheduling poll, the only thing left to do is to share it with the people. There are many ways to send your poll.
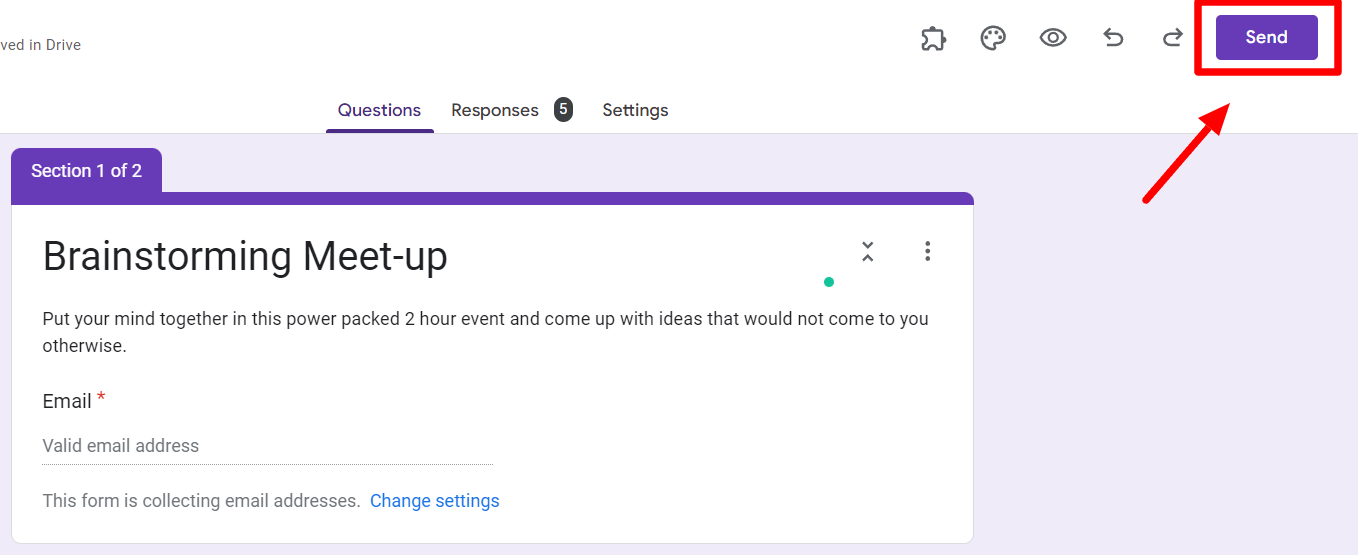
Click the “Send” button at the top right-hand corner of the page to find the various options available. Learn more about how to send your form to find the most appropriate sending method for your poll.
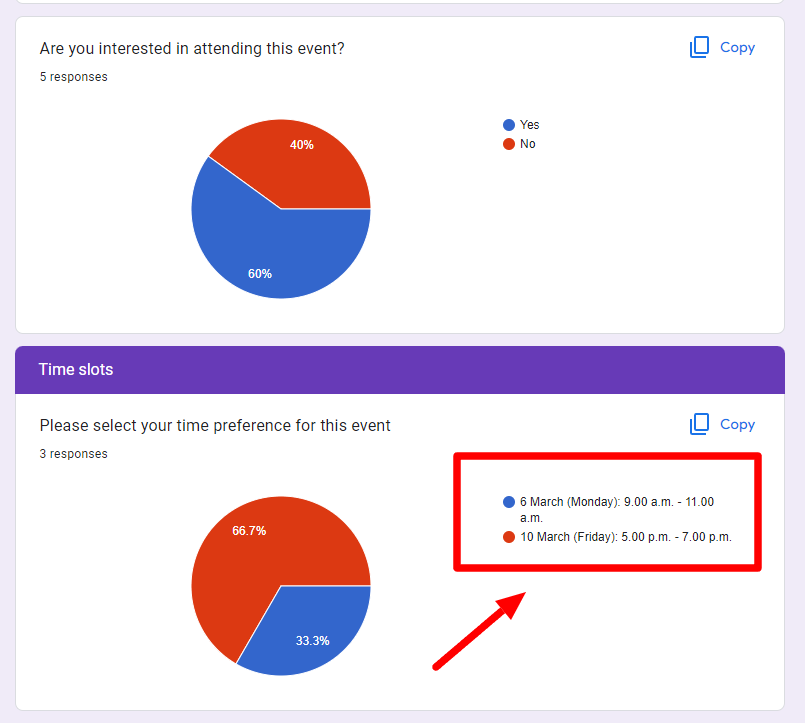
Once you have sent your scheduling poll and received responses, you will instantly be able to see the time preferences of your attendees.
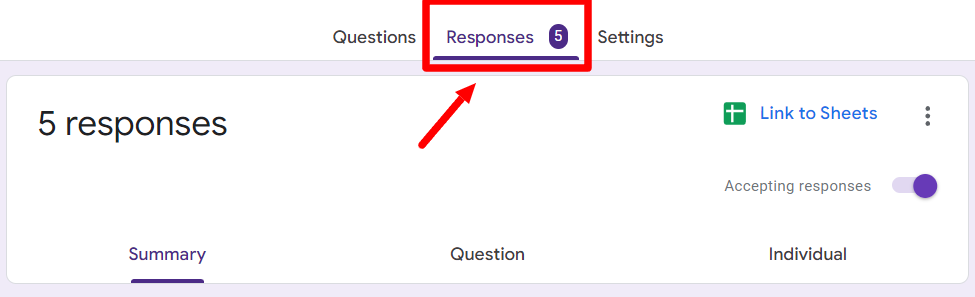
Go to the “Responses” tab, and under the “Summary” section, you can view different people's time preferences. Now you can go and confidently schedule your event!
Form Publisher is your best friend for Google Forms surveys
Creating a scheduling poll with Google Forms is a great way to get an insight into your attendee’s time preferences. The visual results summary helps you instantly decide how to plan your event/meeting.
Your next step may be to share these results as invites. Form Publisher can help here. Form Publisher is a Google Forms add-on that lets you create documents from results generated from a Google form, just like the scheduling poll you created. With Form Publisher, you can take these results and create separate and customized documents that you can send to all your attendees with just a click. Explore how easy it is to get started with Form Publisher.