
A massage client intake form is an easy way to ensure your clients receive optimal results from their massage sessions. This form gathers information that allows you to tailor each session to the client’s needs and preferences.
Below, we outline the steps to creating an effective massage client intake form that will benefit both your clients and your massage practice. If you’re ready to elevate your clients' massage experience, let’s begin!
What is the importance of a massage intake form?
Like all client intake forms, a massage intake form helps you understand your clients. When you know your clients, you can deliver a safe and effective massage session. The form collects essential information about a client's medical history, allergies, and any existing conditions or injuries. With all that data, you can avoid techniques or areas that might exacerbate a problem, reducing the risk of harm.
Conversely, when you understand a client's specific needs, preferences, and goals, you can adjust the massage to provide the most beneficial and relaxing experience. Further, using an intake form shows your professionalism and commitment to your client’s care and helps build their trust in your services.
Finally, since such forms also contain consent and liability waivers, they protect you legally by ensuring that clients are aware of and agree to the potential risks and benefits of the massage. However, to make these forms binding, you’ll need an e-signature request.
How to make a massage client intake form in Google Forms
Step 1: Create a new Google Form
Navigate to your Google Form.
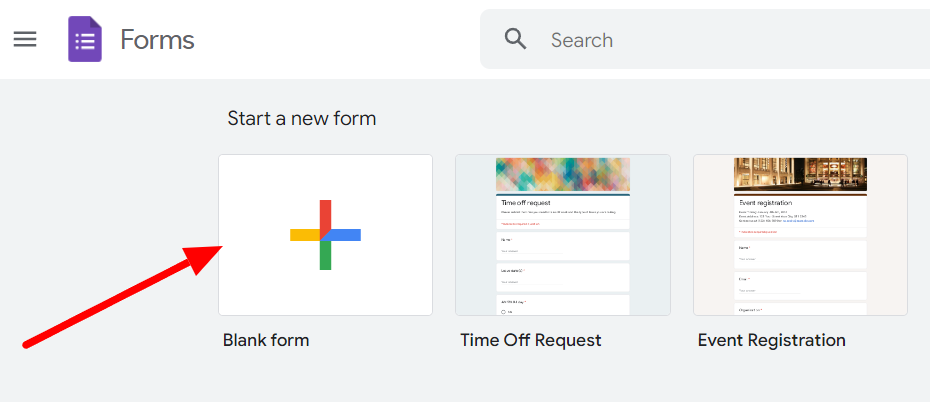
Click the ‘Blank form’ button (+ sign) to start a new form.
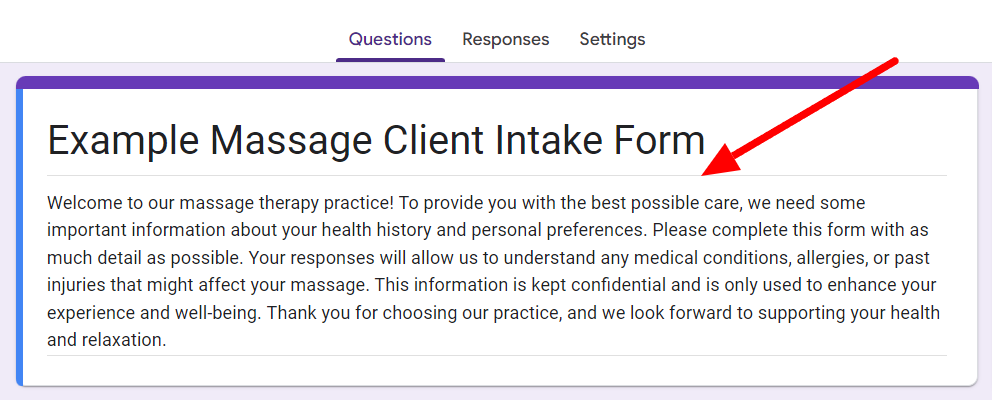
Title your form and write a helpful description to help your massage clients understand its goal and purpose.
Step 2: Include questions for personal information
Now, we can start adding questions to gather basic personal information about your client. Here are some examples:
- Full Name
- Date of Birth
- Gender
- Contact Number
- Email Address
- Home Address
- Emergency Contact Name and Relationship
- Emergency Contact Phone Number
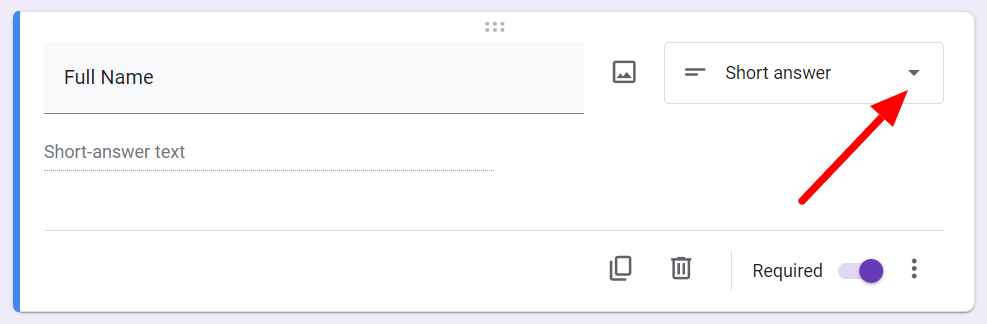
Edit the untitled default question in your form to ‘Full Name’ and choose the ‘Short answer’ question format.
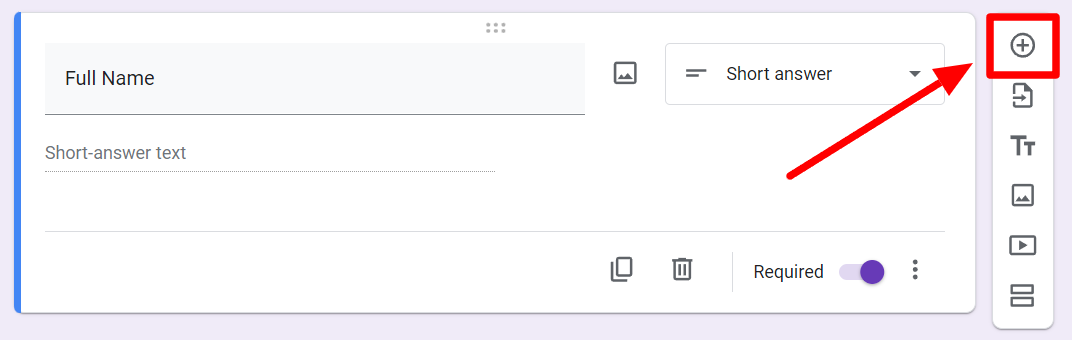
Click the ‘Add question’ button to introduce a new question to your form and add your next question. Before choosing your question format, understand the different types of questions that Google Forms offers.
Step 3: Add a field to describe health history
We can start adding questions to gather the health history of the massage client now. Here are a few to consider:
- Do you have any chronic or recent illnesses or conditions? If yes, please specify.
- Are you currently taking any medications? If yes, please list them.
- Do you have any allergies? If yes, please list them.
- Have you had any recent surgeries or medical procedures? If yes, please provide details.
- Do you have any cardiovascular issues (e.g., high blood pressure, heart disease)?
Add new questions as shown in Step 2 and insert all relevant health history questions that you need to give your client a safe experience. For most of these questions, you’ll use the open-ended question format.
Step 4: Add a field to mention areas of concern
Next, let’s address specific areas of concern that a client may have. Here are a few questions to consider:
- What are your primary reasons for seeking massage therapy today?
- Are there specific areas where you feel pain or discomfort? Please describe.
- Do you have any tension or tightness in certain areas of your body? If yes, where?
- Are there any areas where you prefer not to be massaged? If yes, please specify.
- Have you experienced any recent injuries or trauma? If yes, please provide details.
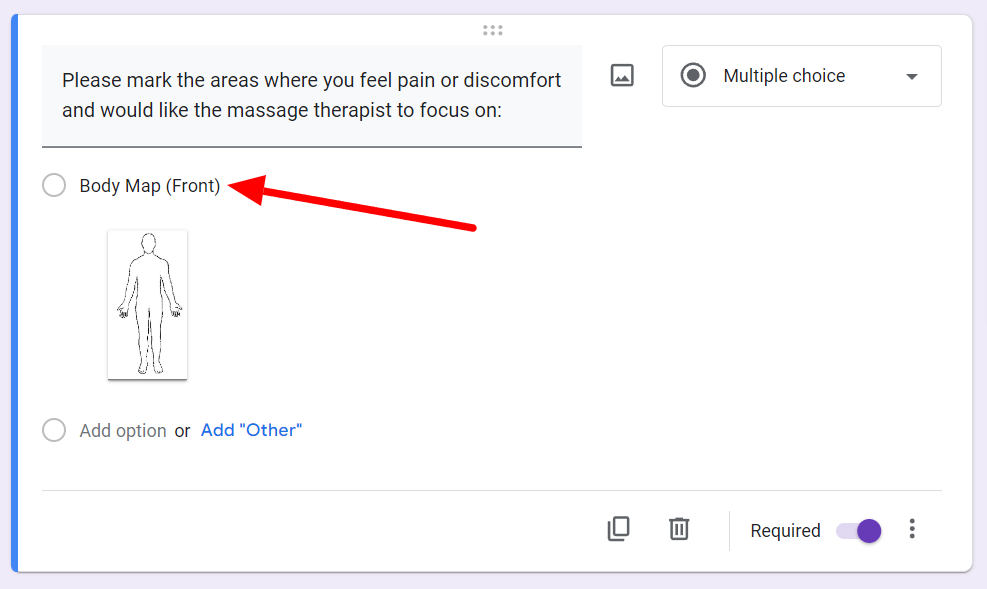
Here, the goal is to identify why the client is seeking your services, the areas you need to focus on, and areas you can steer clear of. If you plan to print out this form, you can make it easy for your clients to indicate places on the body by uploading images.
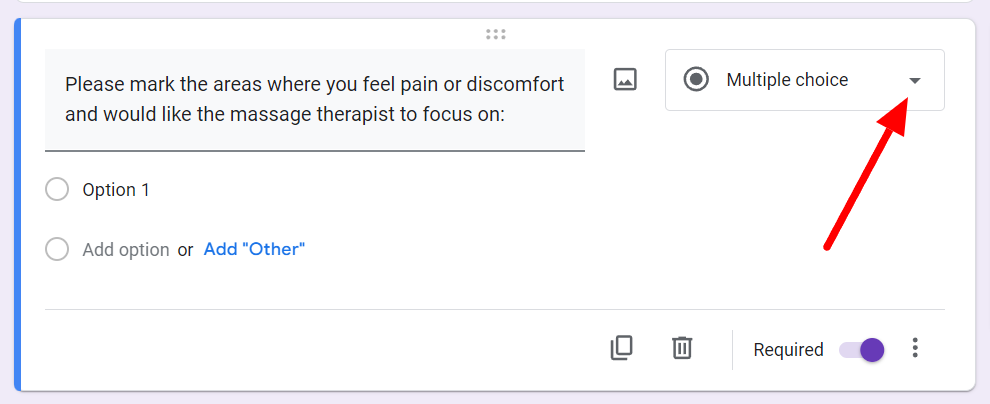
To do this, insert the question and opt for the multiple-choice question format.
Then, to add the first option, click the ‘Add image’ button on the right side of the option field.
Upload the image and label the option appropriately.
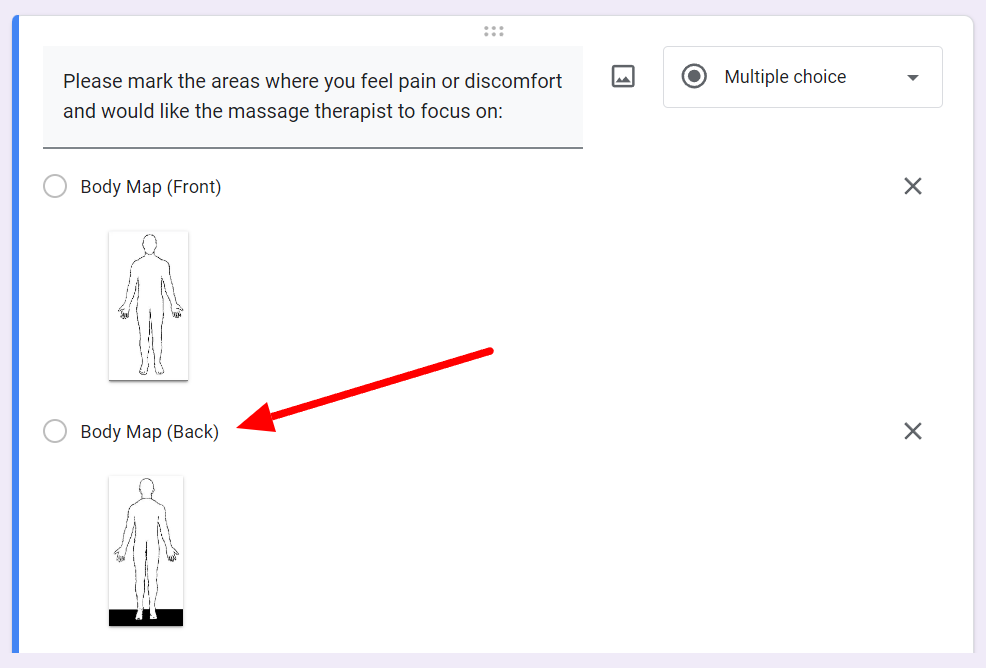
Similarly, add the next option and label it. For this section, it’s crucial to clearly have the client mention areas they need you to focus on and areas they need you to steer clear of to avoid any potential confusion.
Step 5: Include necessary consent agreements
Now comes the most critical part of this form: the consent agreement.
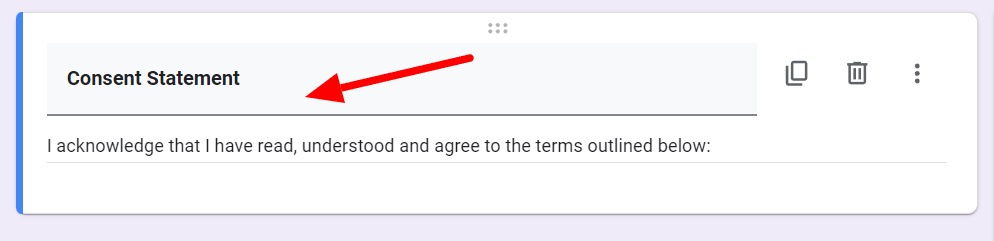
Insert another title and description box into your form and write a simple consent statement.
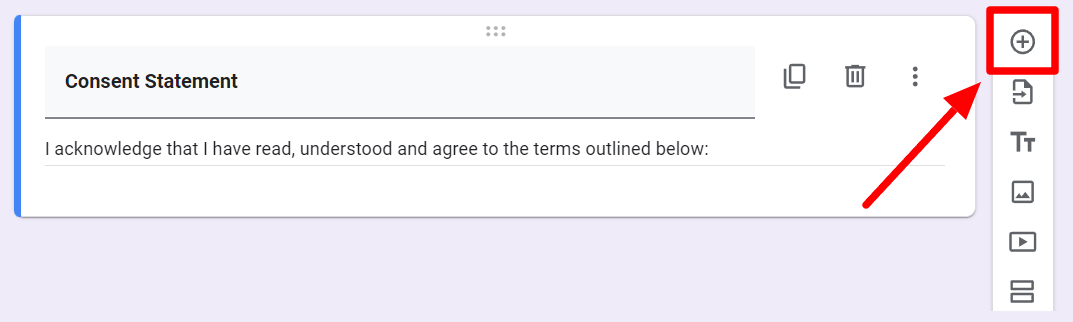
We’ll start adding the terms now. Add a question using the ‘Add question’ button in the floating menu.
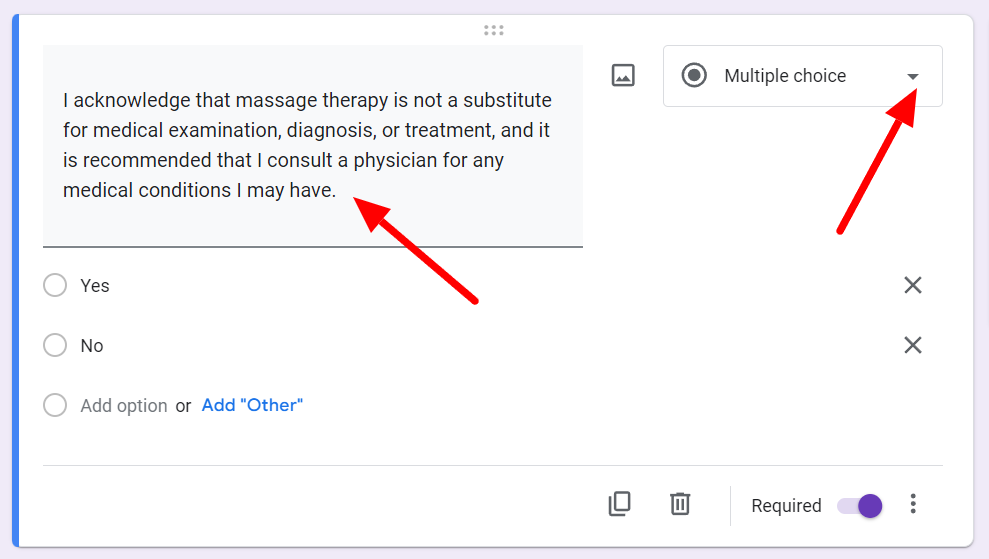
Add your terms in the question field and choose the ‘Multiple choice’ question format to insert ‘yes’ and ‘no’ as choices.
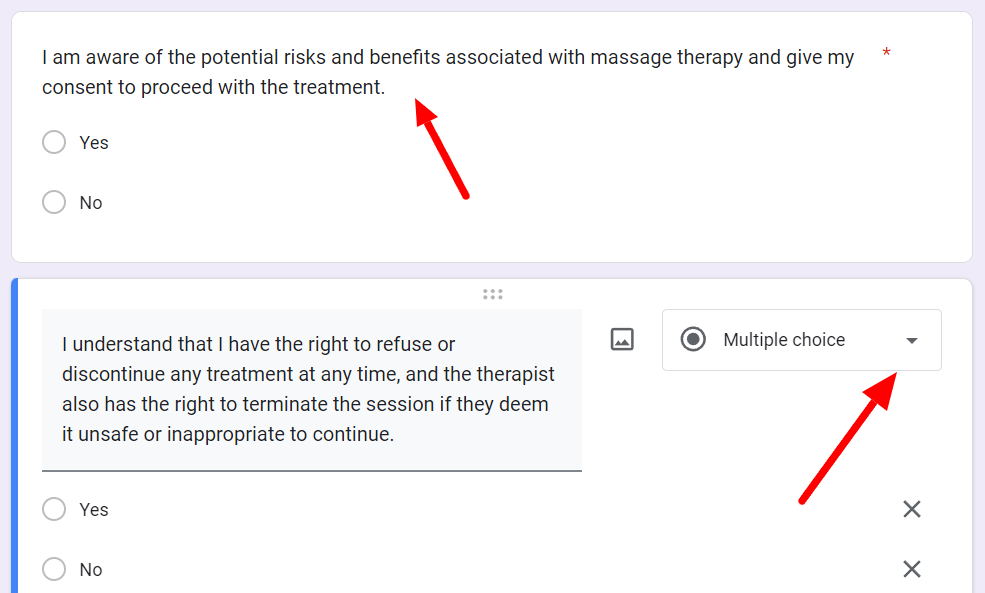
Add any other terms that you may want to add, choosing the ‘Multiple-choice’ format for each.
The consent statement is an integral part of the massage client intake form. Learn how to create consent forms in Google Forms.
Step 6: Create an intake document automatically
Now that you have an intake form ready, you should turn it into a document so you can easily print it out or save it. That’s why you should add Form Publisher to your intake form process. This way, every time a client fills out a form, it will automatically be converted and saved as a document.
This means you’ll have all your clients' information and consents stored in a preselected destination. No more sifting through Google Forms for consent later!
Form Publisher allows you to create intake forms with Google Forms for free
Intake forms are essential documents. They have all your client information, preferences, consents, and terms of your engagements. You can ensure they’re saved safely in a pre-selected destination in your Google Drive with Form Publisher.
That’s not the only benefit of using Form Publisher, though. This free add-on allows you to create customized and personalized documents, route forms through different users, and do much more. Explore all that Form Publisher can do!