
If you've ever wondered how to limit responses in Google Forms, you've come to the right place! Knowing how to make Google Forms stop accepting responses can prevent you from being swamped with more responses than you need, and it can save you time analyzing data, too!
In this blog post, we'll discuss how to limit responses in Google Forms. We'll go over three different things. Let's get started!
How to limit responses by account in Google Forms
One easy way to limit the responses you receive for your Google form is to opt for receiving only one response per respondent. Here are the steps for setting this up for your Google form:
Step 1: Open up the Google Form’s Settings tab
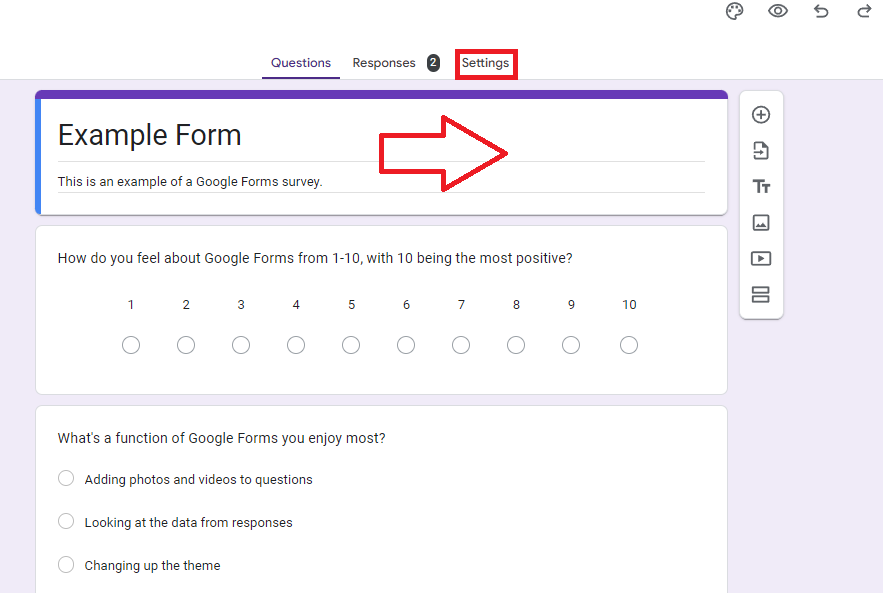
Open up Google Forms and click on the form that you want to work on. It should pop up like this:
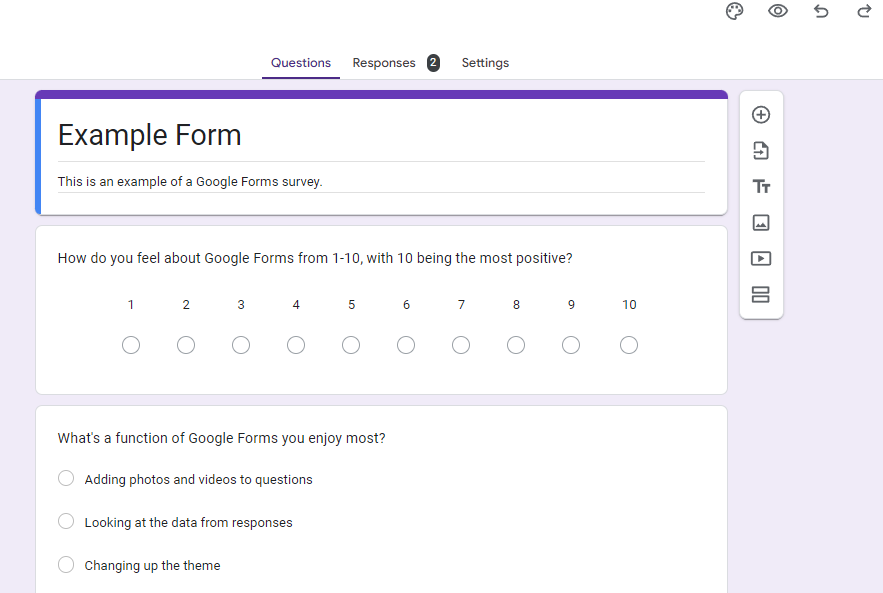
Once it’s opened, toggle over to the “Settings” tab.
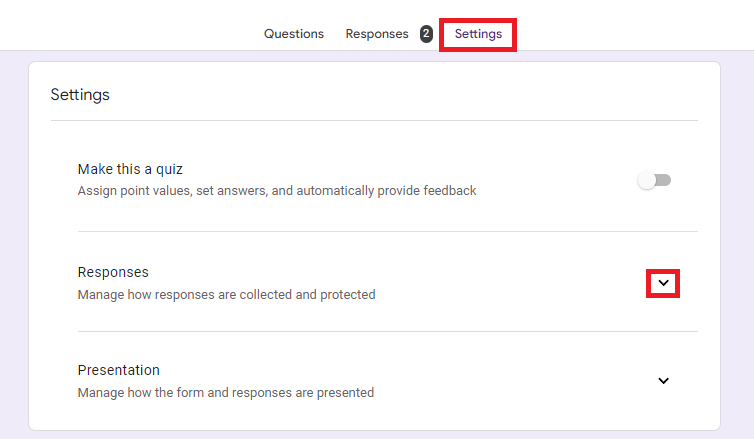
Now that you are in the Settings, find and click the “Responses” dropdown arrow to open up more options.
Step 2: Click ‘Limit to 1 response’
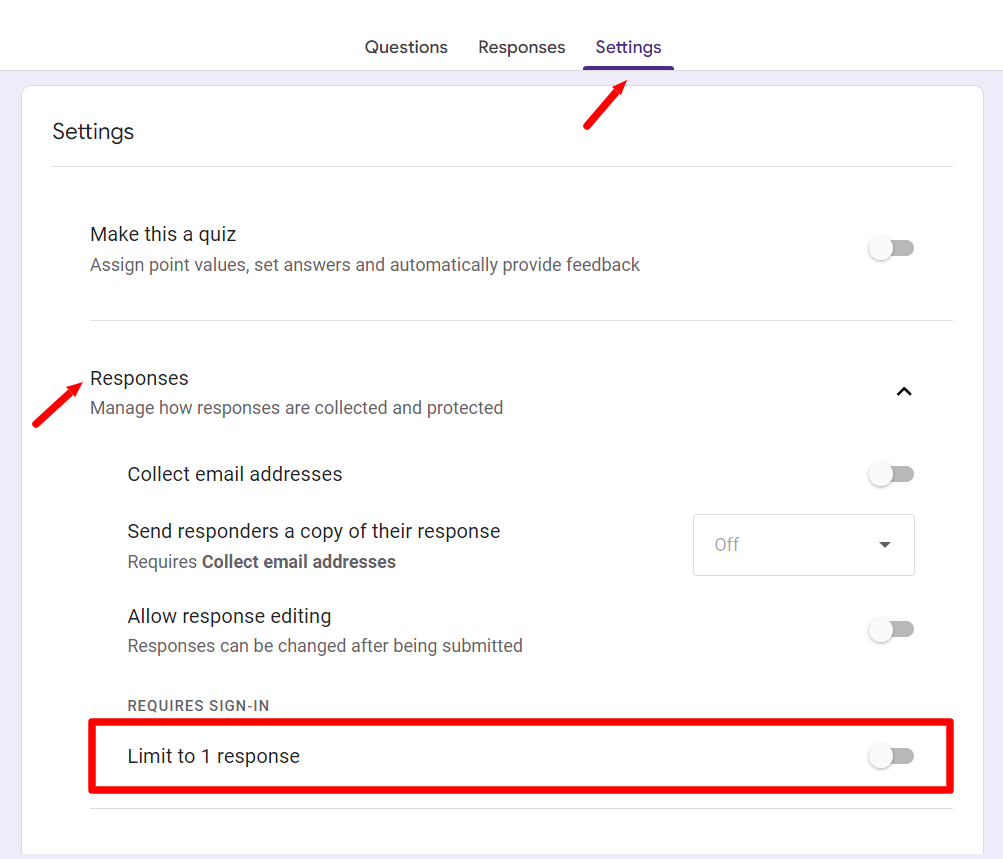
Within the new options that opened up, find “Limit to 1 response”. This option ensures that only one response is admitted per respondent. To do this, Google forms requires anyone responding to sign in first.
So, find the Limit to 1 response option and ensure that it is turned on.
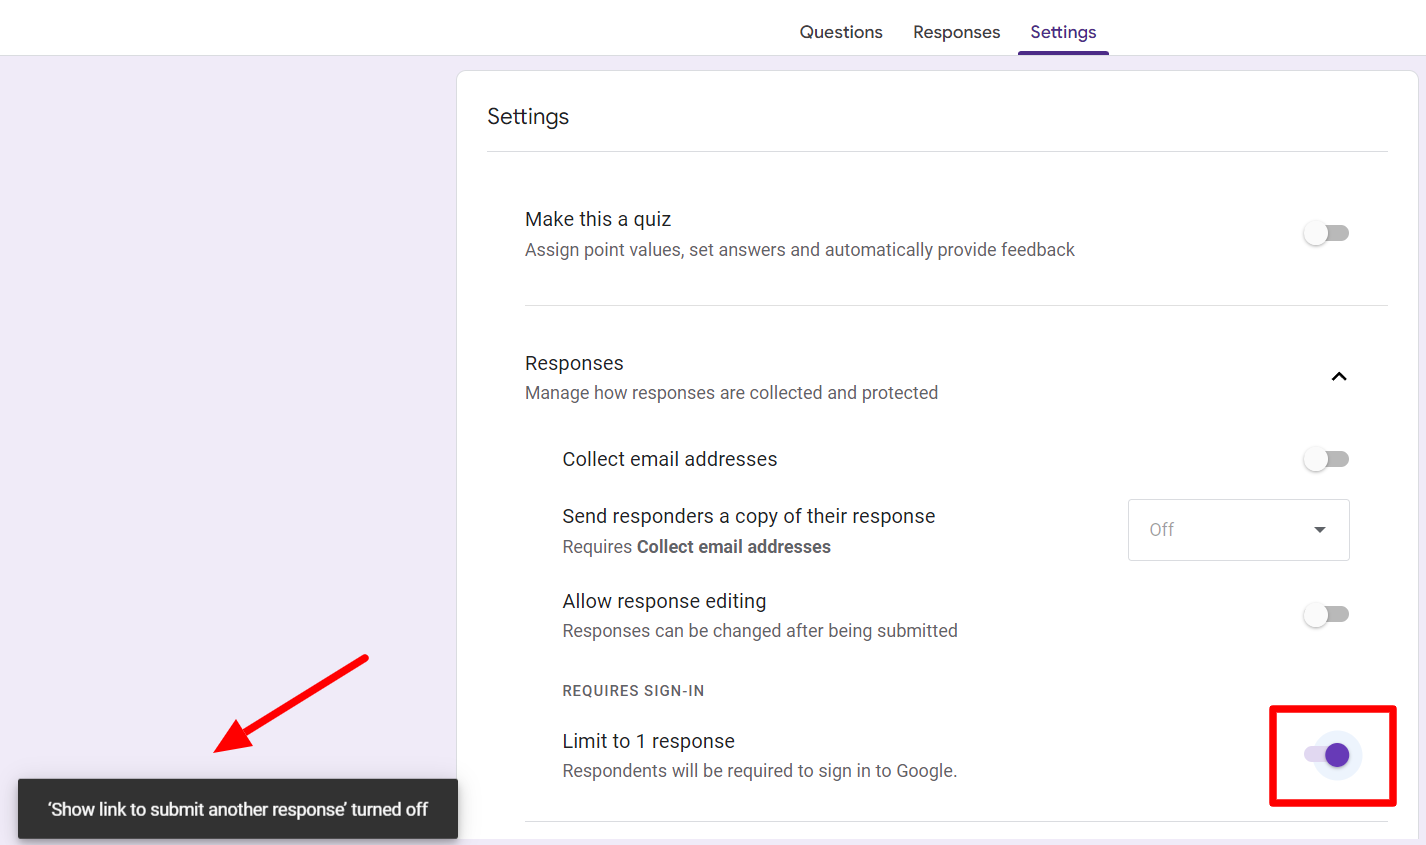
When you turn this option on, you will receive a confirmation of the action by a pop-up message confirming that the respondent will not be shown a link to submit another response.
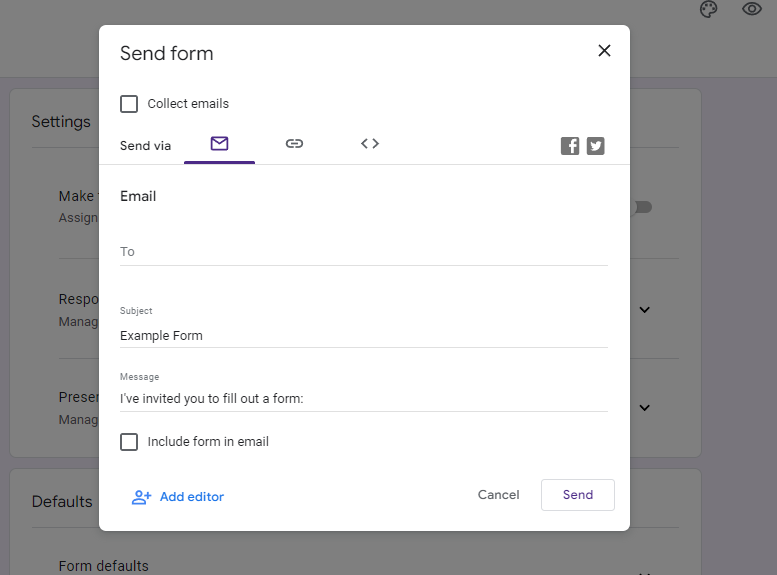
Step 3: Send out the form
With this setting now in place, you can share your form with people. You may choose to send your form to people in different ways: via email, link, or embed code.
How to stop receiving responses in Google Forms
Another effective way to limit the number of responses you receive is simply to make Google Forms stop accepting responses automatically when you have enough. Here are the steps to stop admitting more responses:
Step 1: Open the Google Form
Navigate to forms.google.com to open Google Forms. If your browser homepage is set to Google, you can also open Google forms by opening up a new tab on your browser.
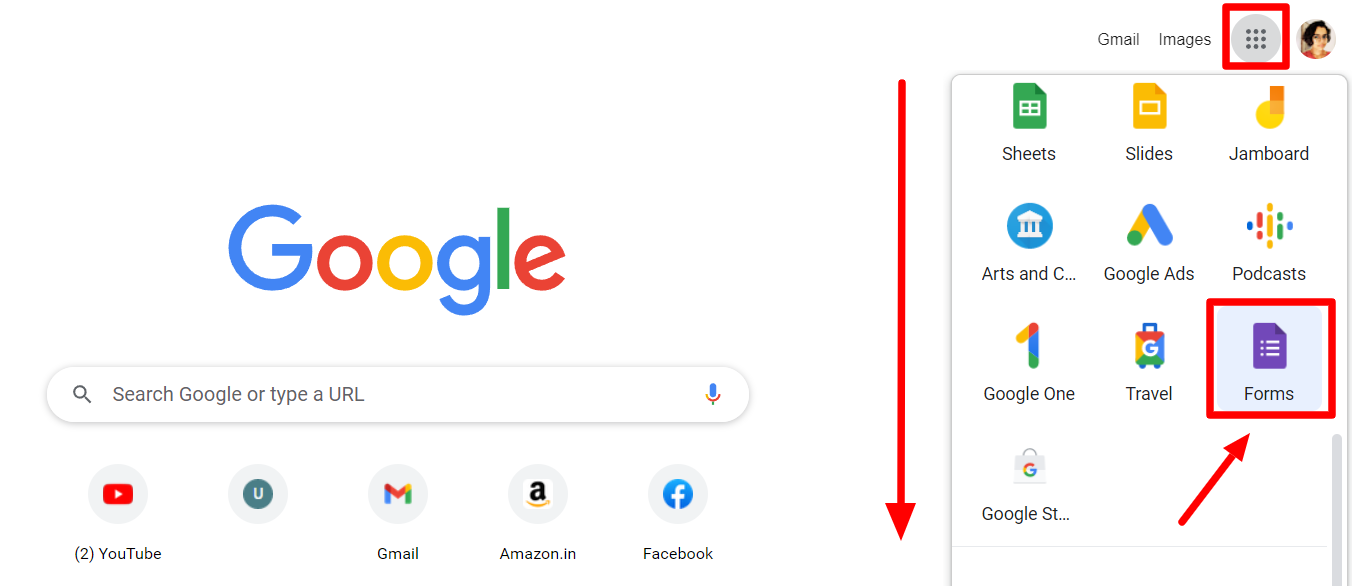
Then find the Google apps button on the top right corner and scroll all the way down in the drop-down menu that opens. Find and click “Forms” to open Google Forms. If your homepage is not set to Google, you can simply navigate to Google.com and follow the same steps.
Step 2: Click the Responses tab
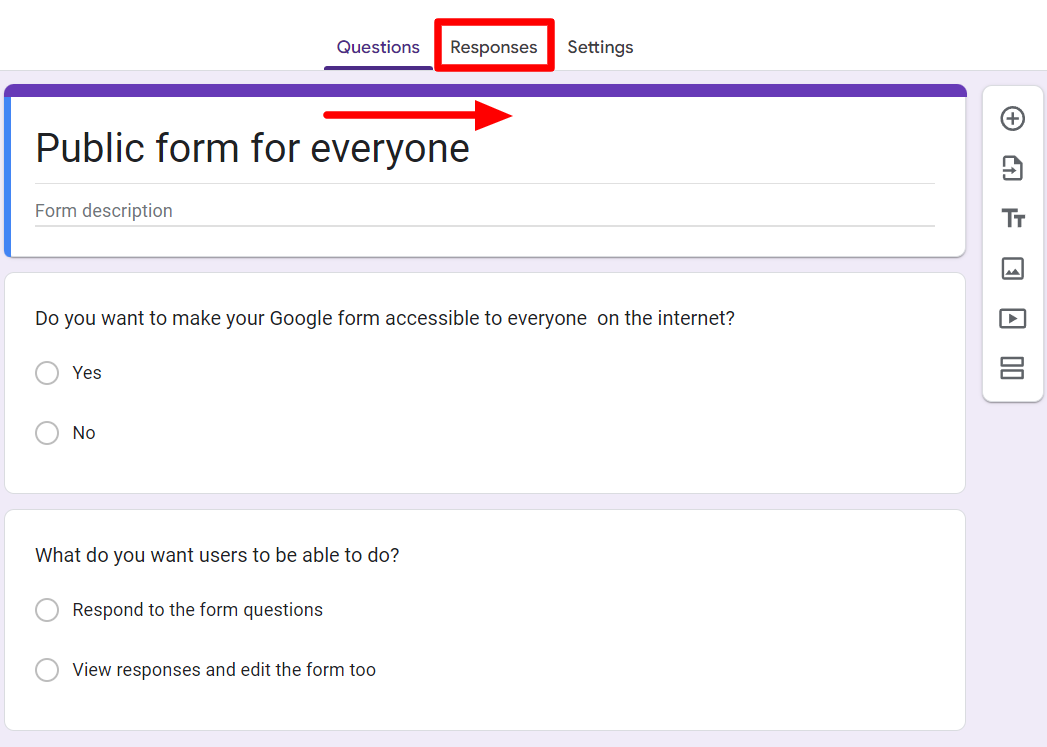
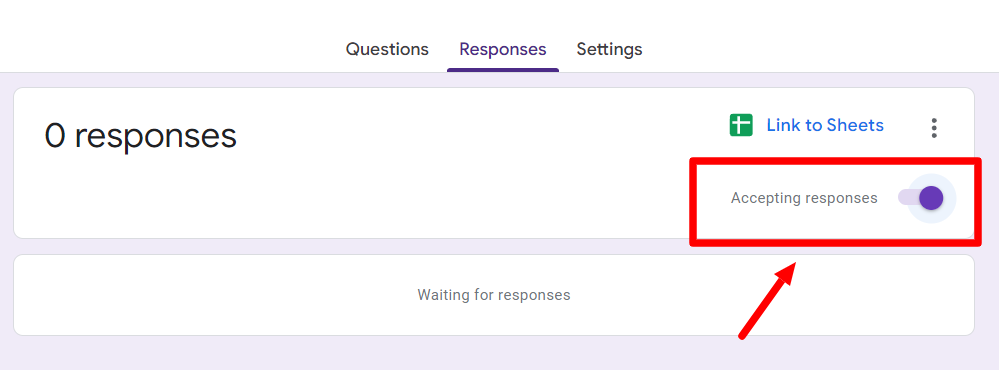
When you have opened the appropriate form, toggle to the “Responses” tab. If your form is still accepting responses, you will find that the “Accepting responses” option is turned on.
Step 3: Turn off “Accepting responses”
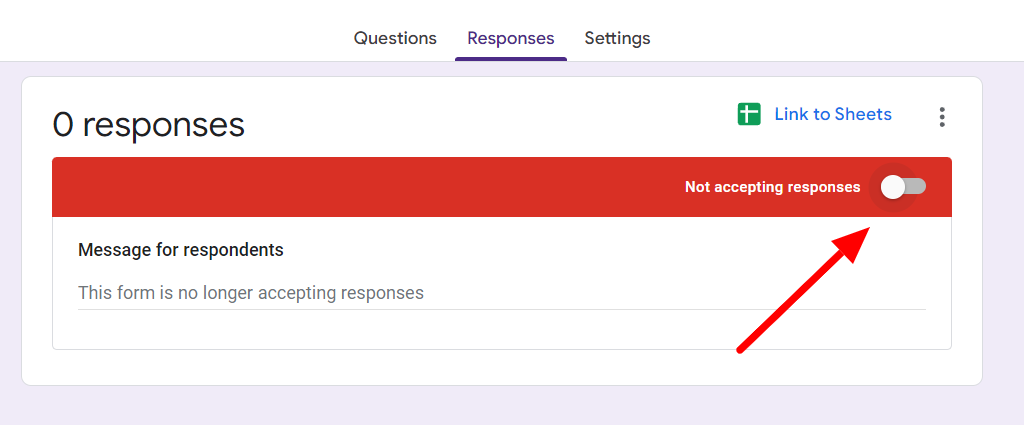
To stop accepting responses in your Google Form, simply turn off the “accepting responses” setting. When you have successfully turned off this setting, it will look like this:
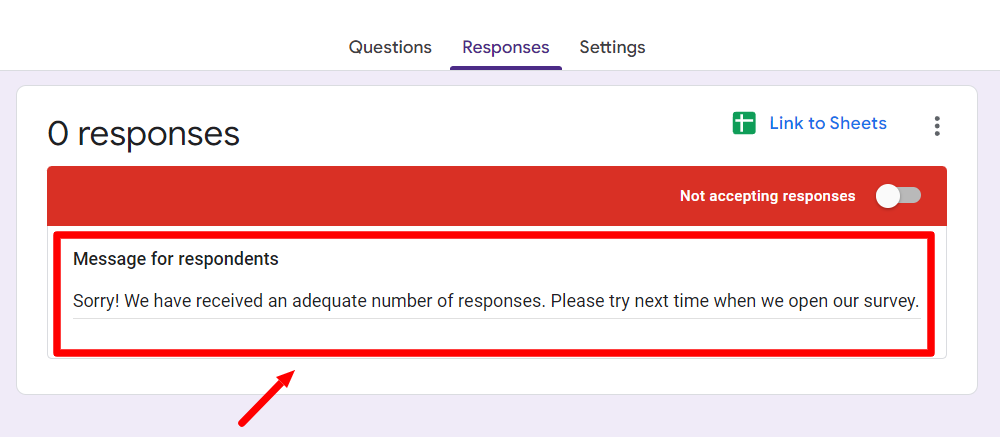
Step 4: Create a message for respondents
Since your respondents may find it jarring to see that they can not submit their responses now, you may create a message for them. Form submissions can be turned off without a note for respondents as well, but it’s better for all to explain why you’re not accepting responses anymore.
How to limit responses in Google Forms with an add-on
While limiting responses can be done in Google Forms through the two methods detailed above, there’s an issue with both options. Neither allows you to limit responses based on a set number of received responses.
This means that there’s no way to get Google Forms to stop accepting responses automatically after you have received a pre-determined number of responses. That’s why using an add-on to do this is the easiest way of limiting responses in Google Forms. For the purposes of our example, we’ll use the add-on formLimiter.
Step 1: Download formLimiter
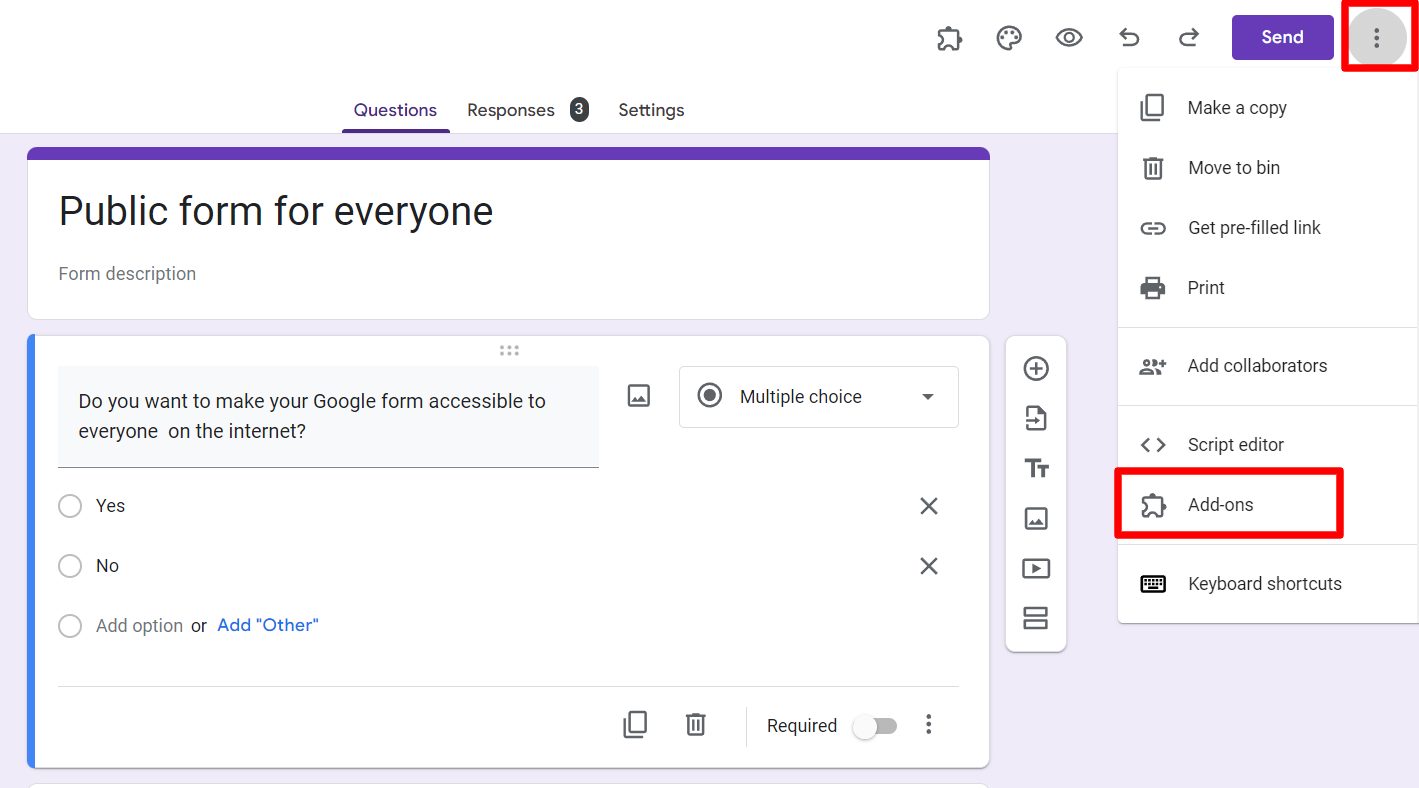
To download formLimiter, open the form you’re working with and click “More options” (three dots) in the top right corner. Find and click “Add-ons.” This will open up a new window to the Google Workspace Marketplace.
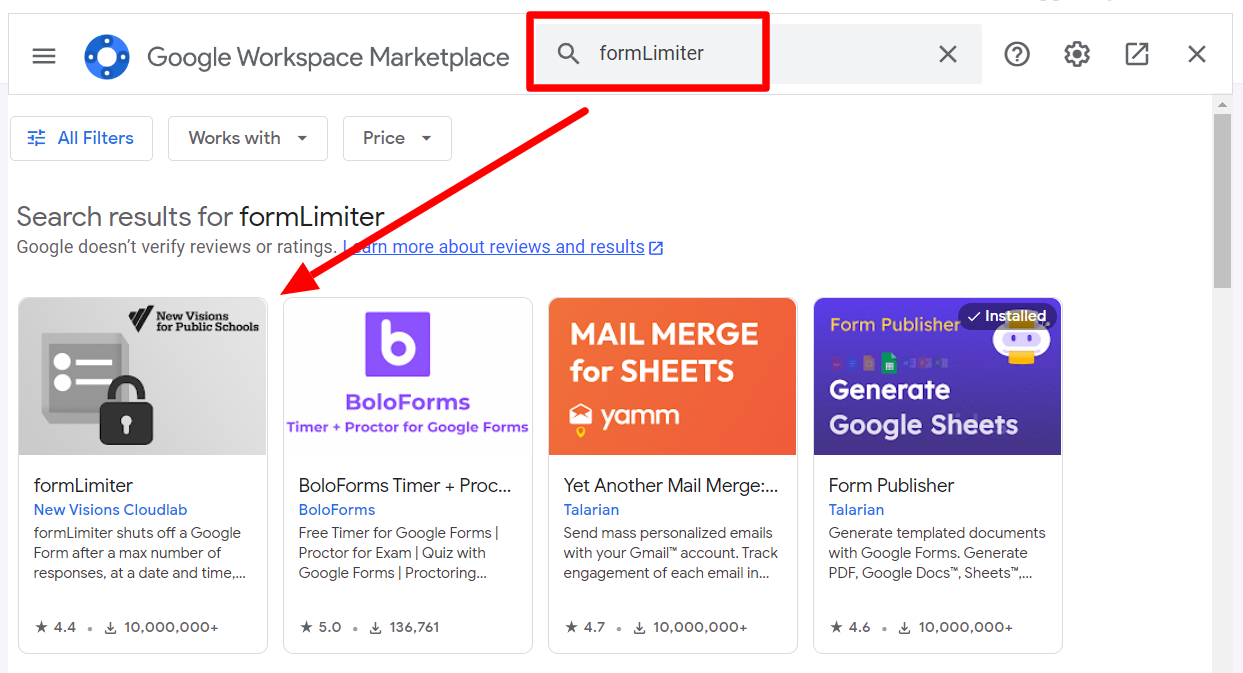
In the search field, type formLimiter and click on the appropriate search result.
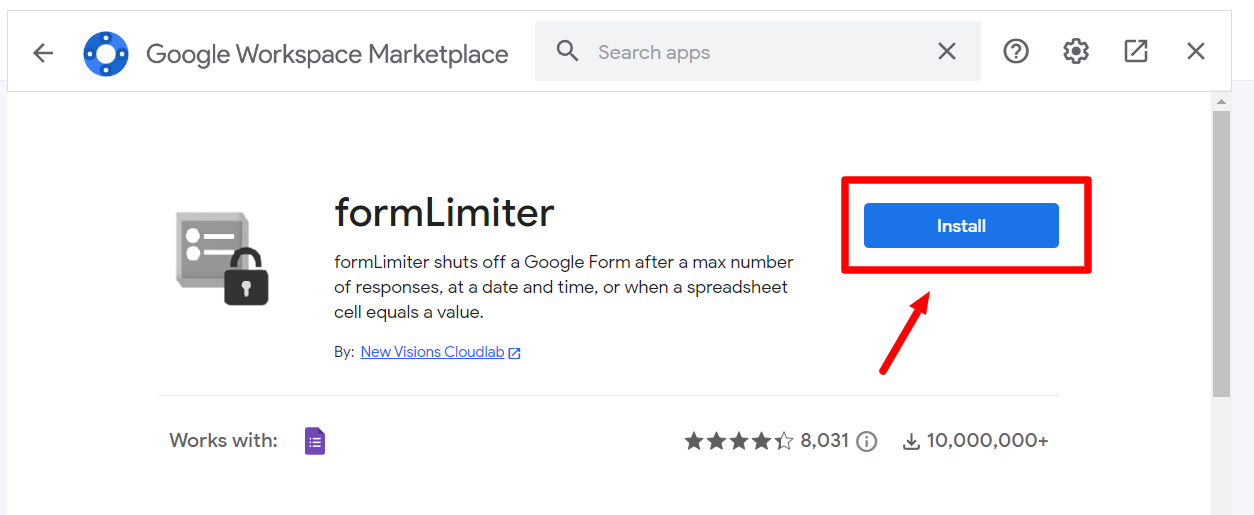
Now click “Install.”
Step 2: Grant permissions
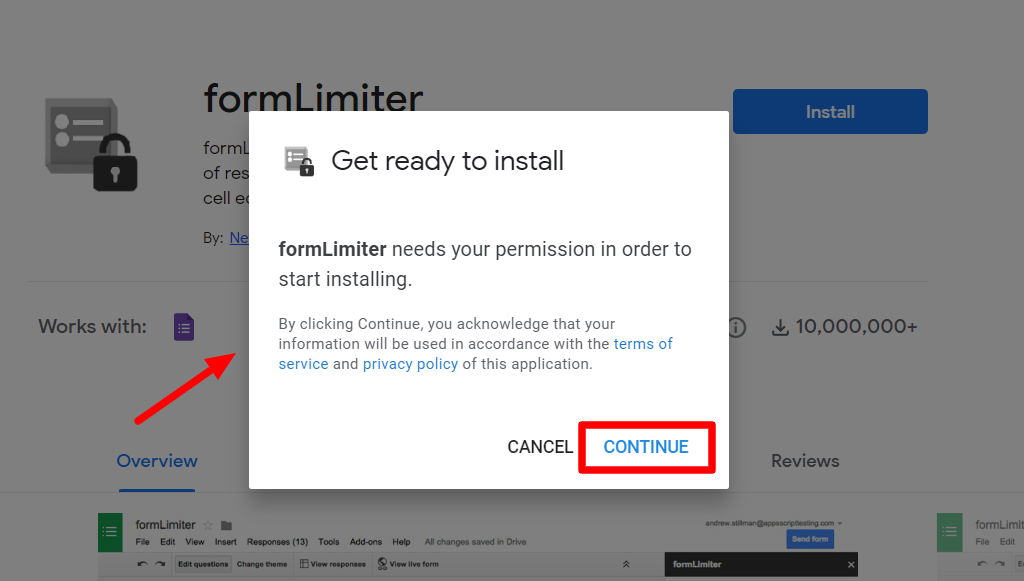
When you click the Install button, you will see a pop-up window asking for permission. Click “Continue” to proceed to install the add-on. Also, allow the add-on access to what it needs to finish the installation.
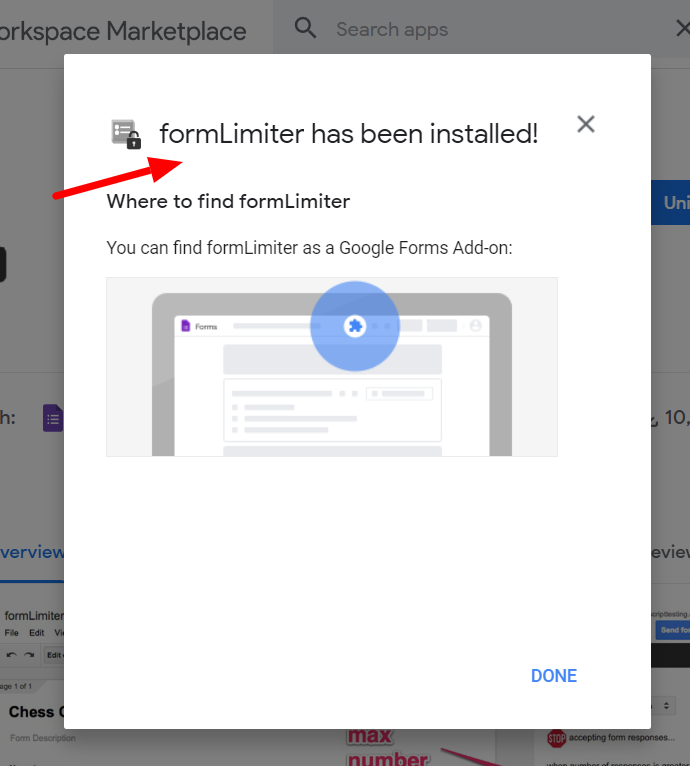
If the add-on has been installed successfully, you will see a confirmation window like the one above. Now, you can move on to the next step.
Step 3: Select ‘Set Limit’
To set the limit on the number of responses that your form admits. Go to your form and click on the “Add-ons” button.
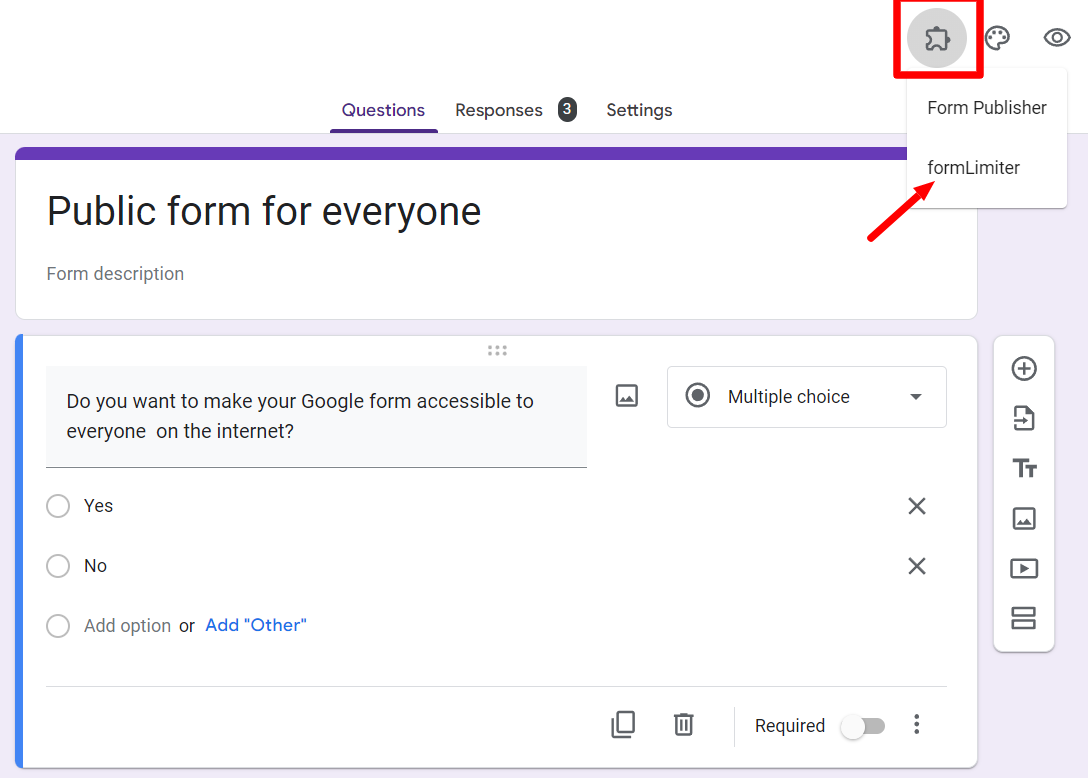
Here, you will see all the add-ons that are currently installed on your Google Forms account. Find and click formLimiter.
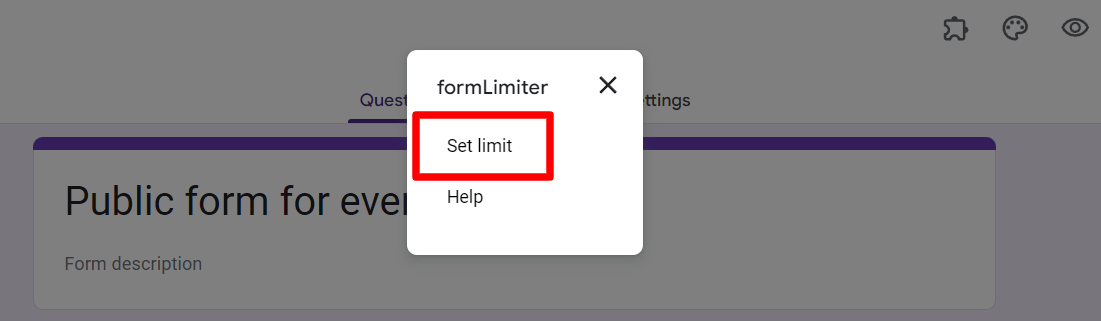
Doing this will open up a pop-up window. Click “Set Limit”.
Step 4: Set response restrictions
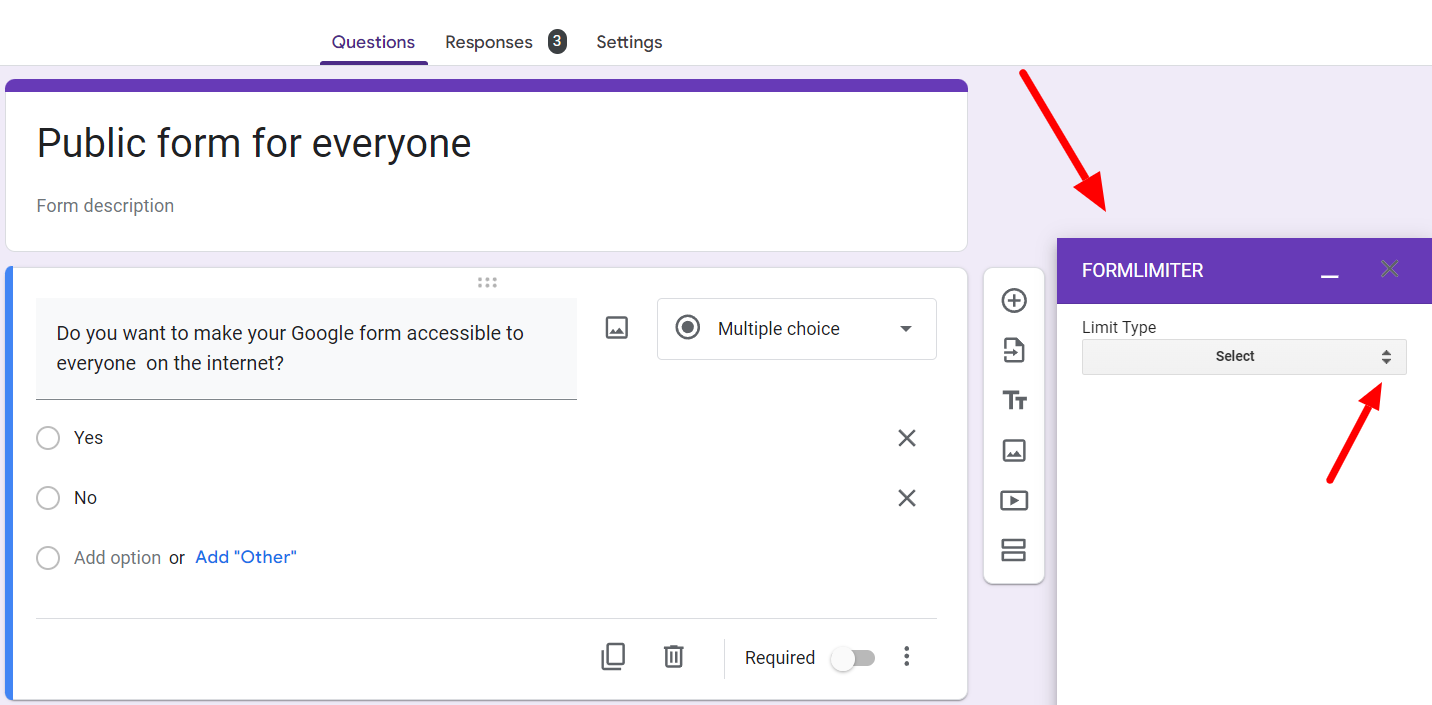
formLimiter will now open up in another window where you can set the limits on your Google Form responses. Click on the limit type to select the type of limit you want to set for your form.
Select “Number of form responses.”
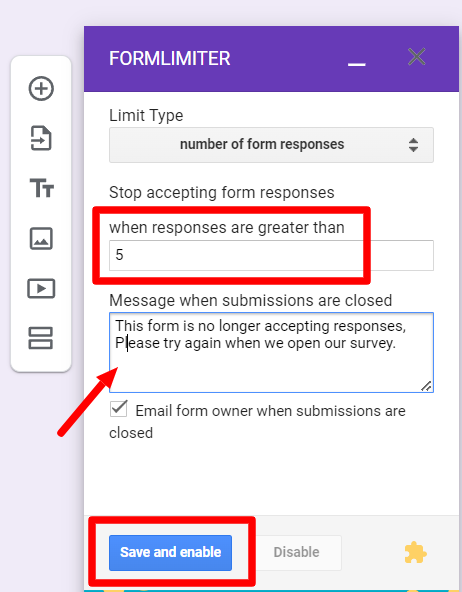
Enter the number of responses you want to accept. You may also display a custom message after your form is closed for submissions. Click “Save and enable,” and you’re done!
Gain access to better functions with Google Workspace add-ons
Google Forms is an effective tool when you want to collect information. With the Google Forms platform, you can easily and efficiently create and share your form with a large group of people. However, if you want to limit your responses to under a specific number, it’s best to rely on an add-on.Google Workspace add-ons make it easy to perform this function without getting into coding. If you want to learn more about what additional features add-ons can provide, check out our article on the best add-ons you can use to streamline your Google Forms processes!