
Creating an effective construction request for information (RFI) form is an integral part of project management. This is because RFI forms streamline information exchange, foster collaboration, and can ultimately contribute to the success of your construction projects.
In this guide, we’ll get into the intricacies of creating a comprehensive construction RFI form. We’ll nail down the key components that make it a powerful communication tool in the construction industry. By the end, you’ll have a solid and functional RTI form that’s built to last. Ready? Let's get into it!
What’s a RFI in construction (request for information)?
In the construction industry, a request for information (RFI) is a formal document used to seek clarification, details, or additional information about various aspects of a construction project.
Contractors, subcontractors, or project team members typically submit RFIs to the project's architects, engineers, or other stakeholders in cases of uncertainties or ambiguities in the project.
RFIs help facilitate clear communication and prevent misunderstandings from impacting the outcome of the project. When details are clearly sought, provided, and documented, all the parties involved are on the same page regarding the requirements of the project.
In this manner, RFI forms can foster collaboration, pave the way for successful and timely completion of projects, and ensure optimal utilization of resources.
How to write an RFI form for construction
Step 1: Create a new form
Go to Google Forms.
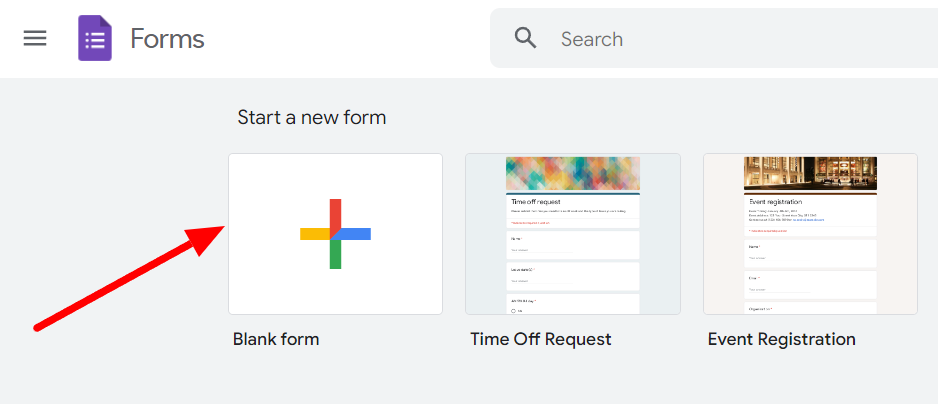
Click on the ‘Blank form’ button to start a new form.
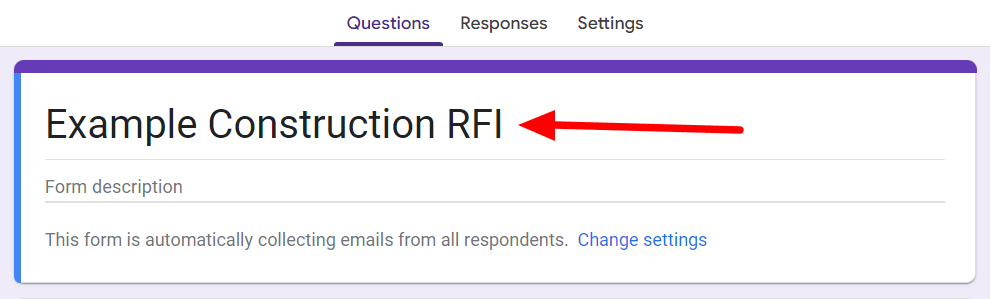
Name your form appropriately. Before you start adding any questions, it's a good idea to identify the areas or the elements that your form needs to address. An RFI form is designed to eliminate any miscommunications, so it’s important to make the questions as unambiguous as possible. Here are the critical areas that any RFI form needs to cover:
- Details of the project.
- RFI request/clarification
- Change in project requirements
- Supporting documents
- Signed approval (optional)
Step 2: Add fields to enter project details
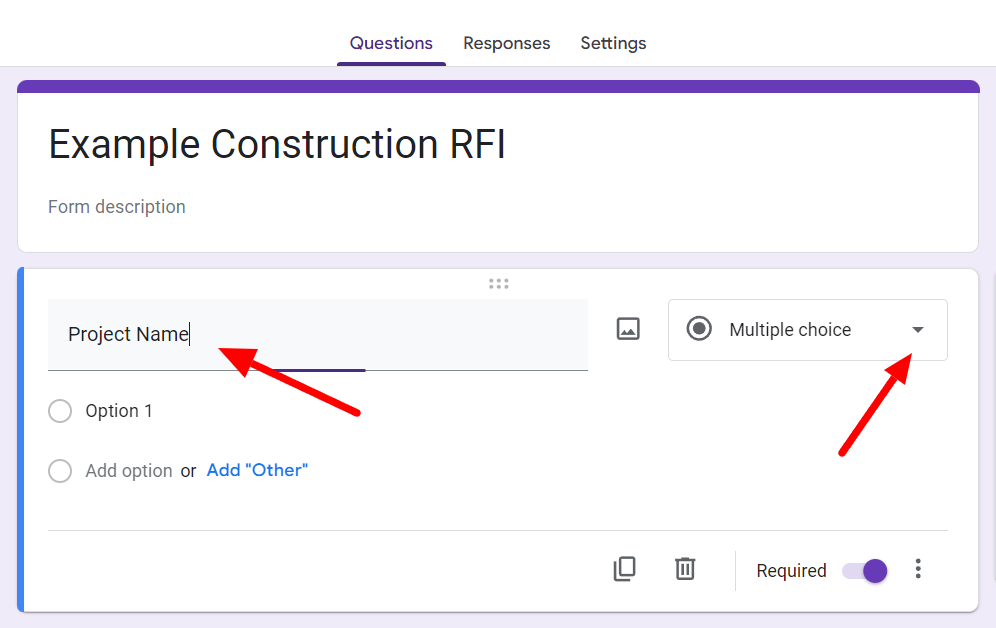
Start adding questions to collect the project details to which this RFI applies. The first default question in Google Forms comes in the multiple-choice format. To change that to a short answer format, click the button next to the question field and select the option.
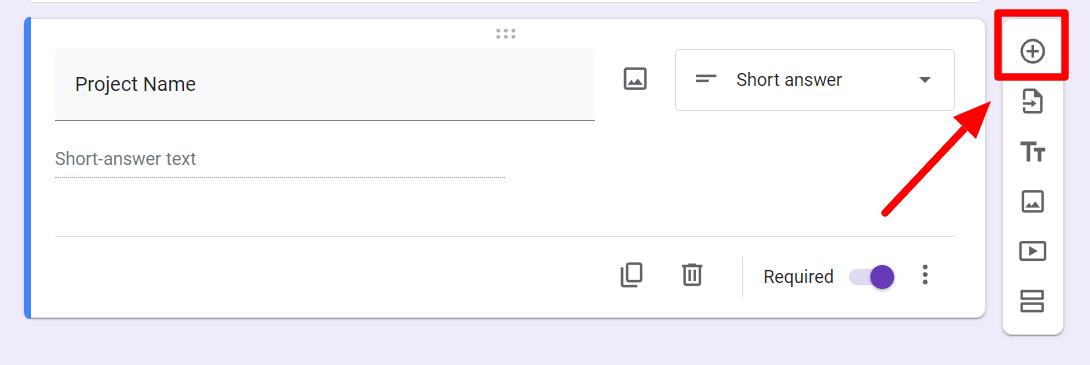
Now click the ‘Add question’ button in the floating menu.
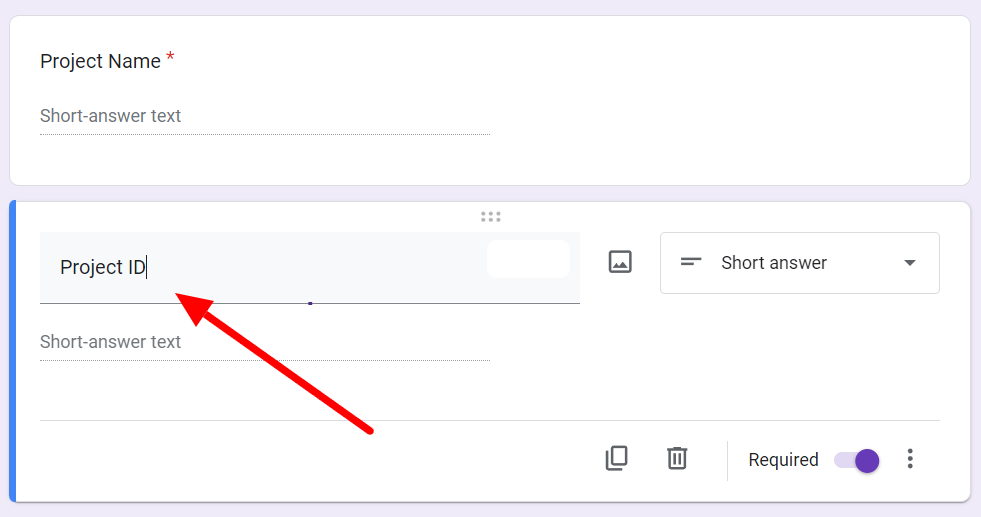
Let’s make the next question about the ‘Project ID.’ Similarly, add any other questions that you need so that the details of the relevant project are clearly spelled out. Other questions may be ‘Project location,‘ ‘drawing ID’, etc.
Step 3: Add a short answer for RFI overview
Once you’ve added all the questions related to the project details, it’s time to add some RFI overview questions. These may be:
- RFI details that are required for official purposes, like RFI ID, date of request, etc.
- Clarification sought
- Response
All these questions should be in the short answer format. The RFI details can also include an RFI summary column specifying which area of construction the query relates to.
This is relevant in large projects that have separate divisions handling the different aspects like site development, structural elements, architectural works, mechanical systems, electrical systems, landscaping, etc.
For situations where the current RFI is about another previously sought query, you may add a question seeking reference RFI ID.
Step 4: Add a field for change in cost or time
Now comes the most crucial part of the RFI. RFIs are most useful in situations that require realigning expectations when there are changes expected in the cost or timeframe of a project. You can split your form into another section at this point.
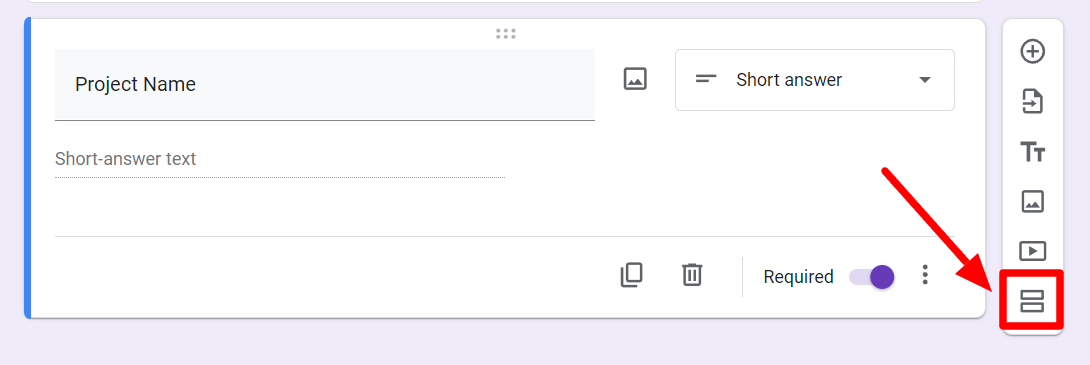
Click the ‘Add section’ button in the floating menu and then add a question each for time and cost impact. These should be in the short answer format as well.
Step 5: Add file upload for important attachments
If you think the RFI could use supporting documents, you can add a file upload option. To do this, add a new question.

Then, after entering your question/request, click the file format button next to the question field and select the ‘File upload’ option.
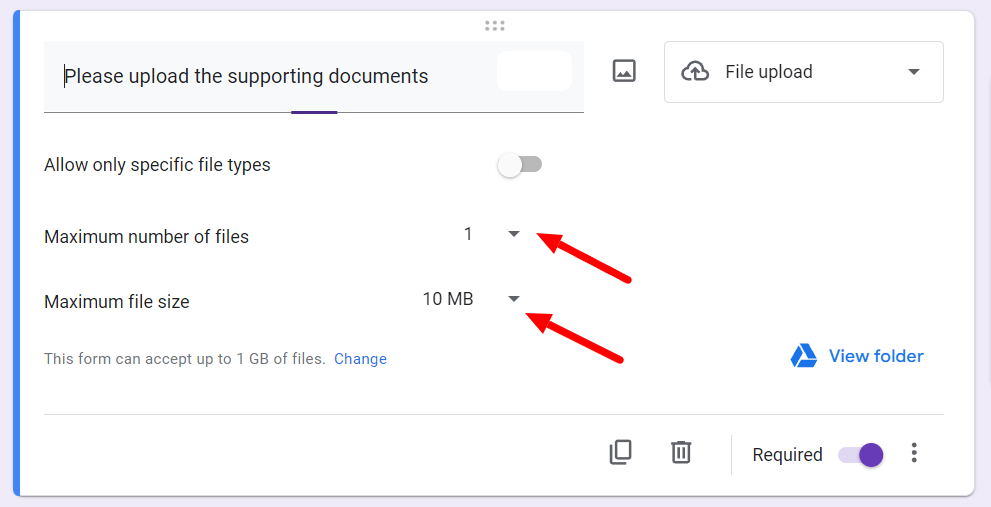
Now, you can also set parameters on the types, numbers, and sizes of files that the form will accept.
Step 6: Add a signature request with Form Publisher
RFIs are usually legally binding documents. Once you’ve added all your questions, you may want to add a signature request to your RFI form. Unfortunately, for all the comfort and ease that Google Forms provides, it doesn’t have an inherent feature for doing this.
There’s another way. By using the Form Publisher add-on, you can easily add a signature request to your form. Learn how you can add a signature request to your Google Forms.
Using Form Publisher with your form has other benefits as well. Your forms get readily stored in your Google Drive after being converted to individual documents. Not just that, if you want all the incoming RFIs to be diverted to a specific employee, you can easily add their email into Form Publisher’s settings so that they receive a notification when a form is filled.
Form Publisher can even enable you to create efficient workflow processes for your business with just Google Forms.
Learn how to add a signature in Google Forms
Create legally compliant Google Forms using Form Publisher
Google Forms simplifies the process of creating forms, and Form Publisher allows you to make those forms legally compliant. You can also create approval workflows to save precious time and resources. If you’re working with forms, you can’t go wrong with Form Publisher. Try Form Publisher today!