
Setting up an attendance check-in system for online classes is critical to ensure that students are actively participating and attending the class. Teachers can simplify tracking students' attendance using a Google Form attendance system.
By sending your students a link to your attendance form, you can save yourself time and understand attendance patterns over time. You can also provide an opportunity for students to show what they’ve learned in class with an entrance ticket (more on that later).
In this post, we’ll show you how to use Google Forms to make an attendance system.
How to create a Google Forms attendance check-in
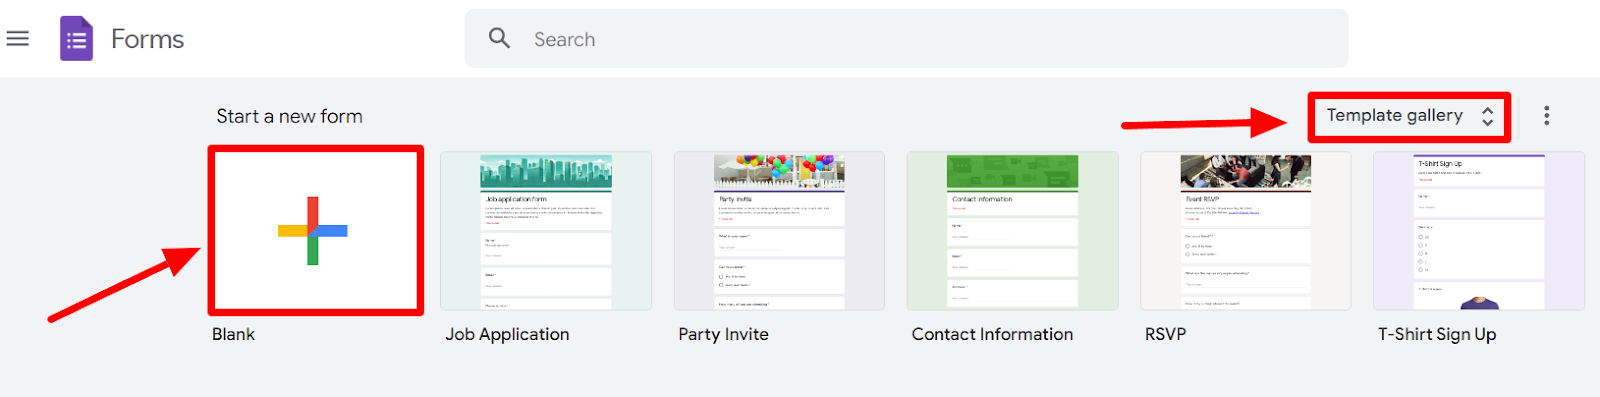
Step 1: Create a new form
Navigate to Google Forms. If you want to start a blank new form, click the “+” button. Alternatively, you can select a pre-made template from Google Forms’s template gallery.
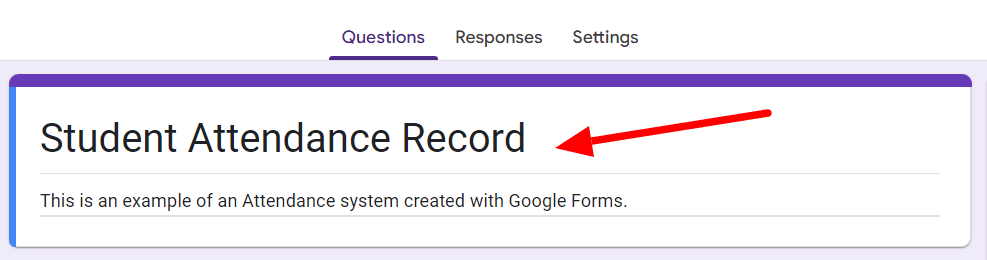
Step 2: Fill in a title and description
Give your form an appropriate name that will help you locate it in the future in your Google Drive.
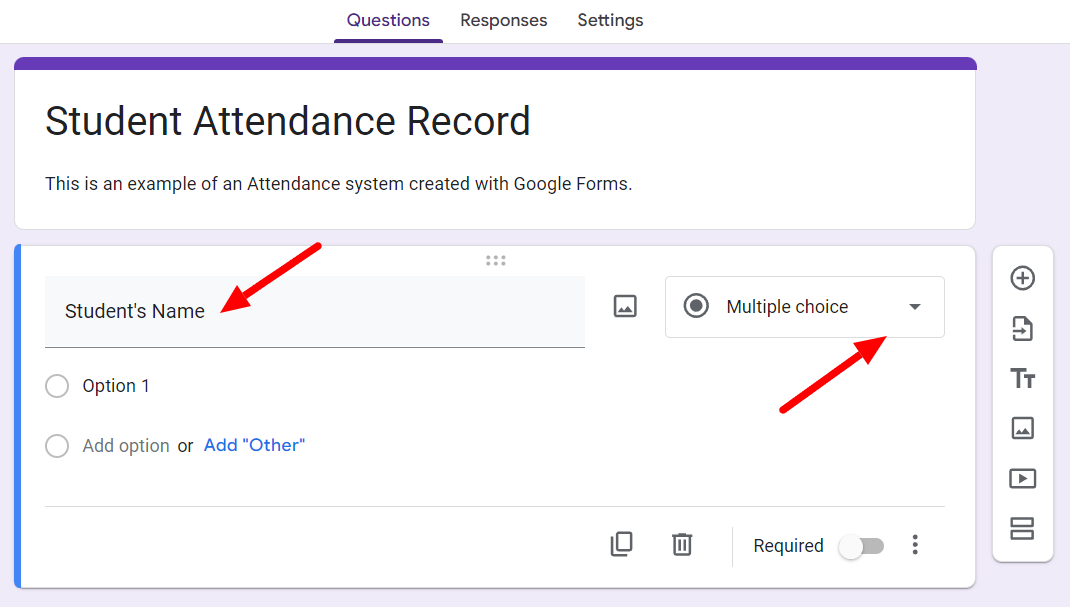
Step 3: Add the necessary question fields
There are a couple of ways you can create a Google Forms attendance system. The first is creating a form for yourself to fill out attendance, and the other is sending a form to students to fill out. For our example, we’ll create a form that’s required to be filled in by the students, as this is the most efficient way.
We’ll also add a few questions to enable students to earn attendance for the class and enhance student participation—this is known as an entry ticket.
To start, add your first question, which is likely “Student Name.” Google Forms starts a new question in the multiple-choice format by default. Click the down arrow on the question format button to change the question format.
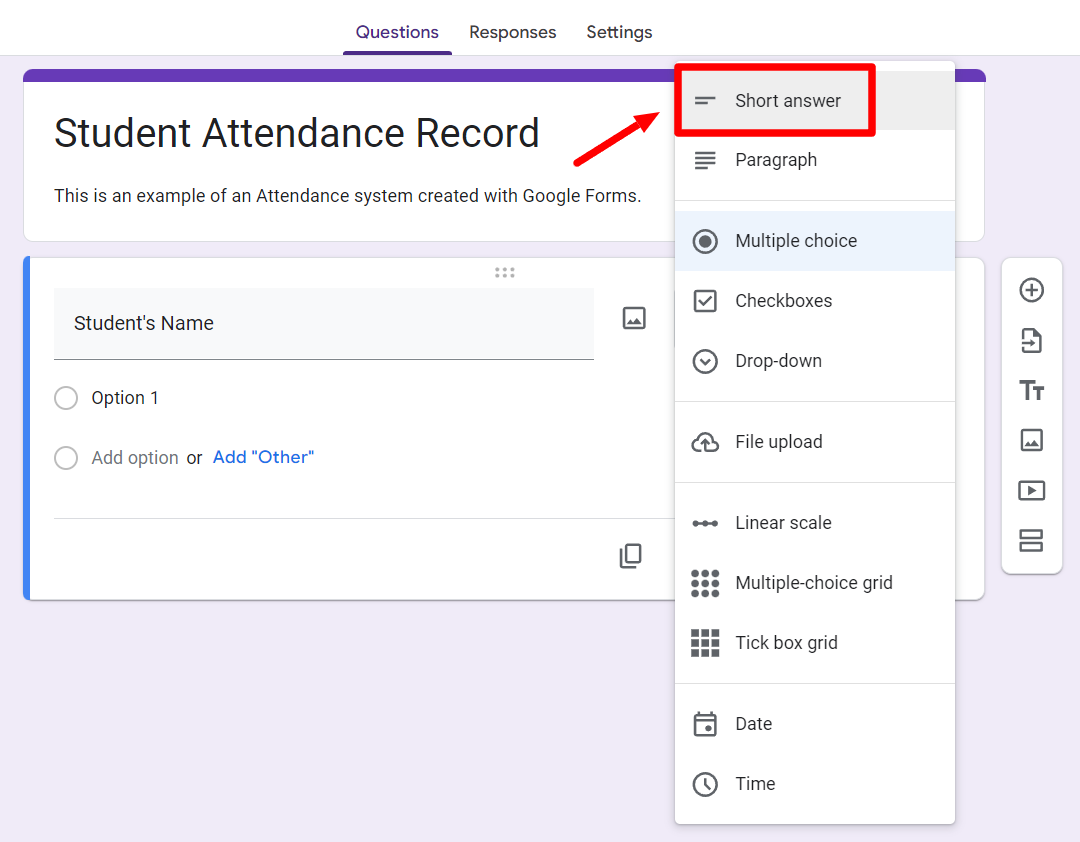
Clicking the down arrow will open up all the question formats available. For this particular question, the short answer format is most appropriate.
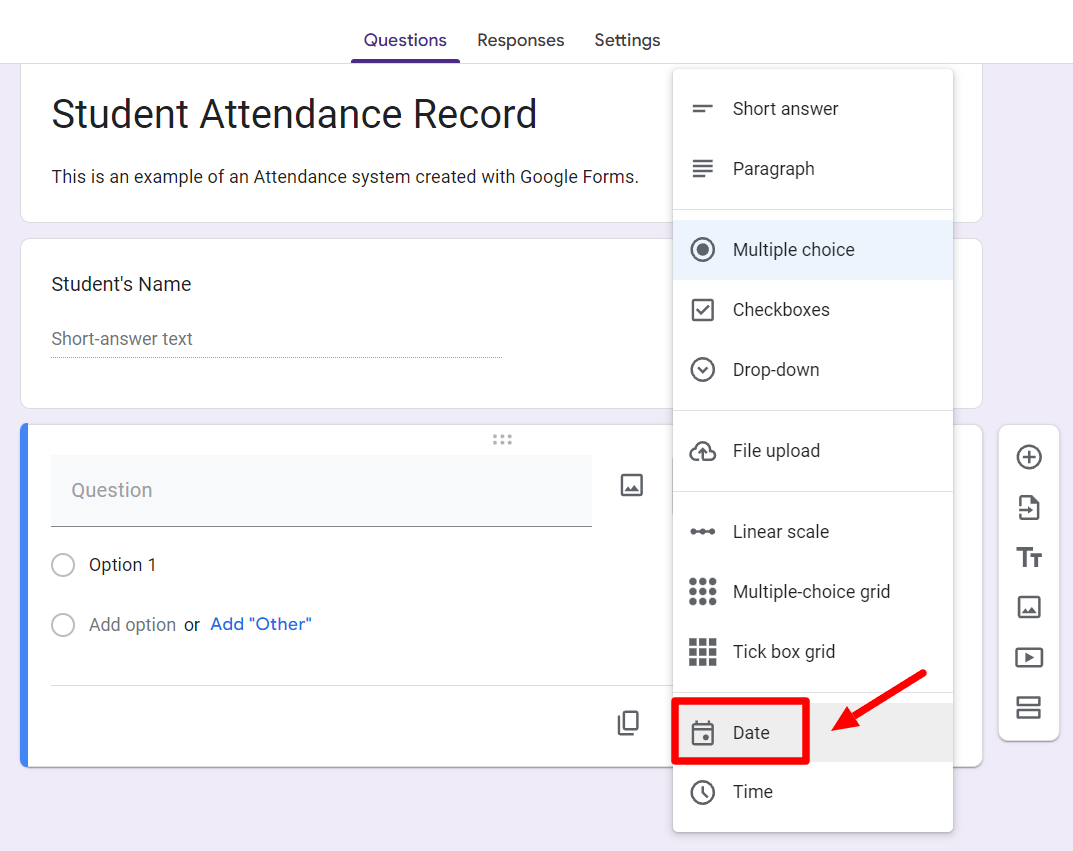
Now click the “+” button in the floating menu to add your next question. We’ll add the date now. To do this, leave the question field blank and click “Date” from the question formats.
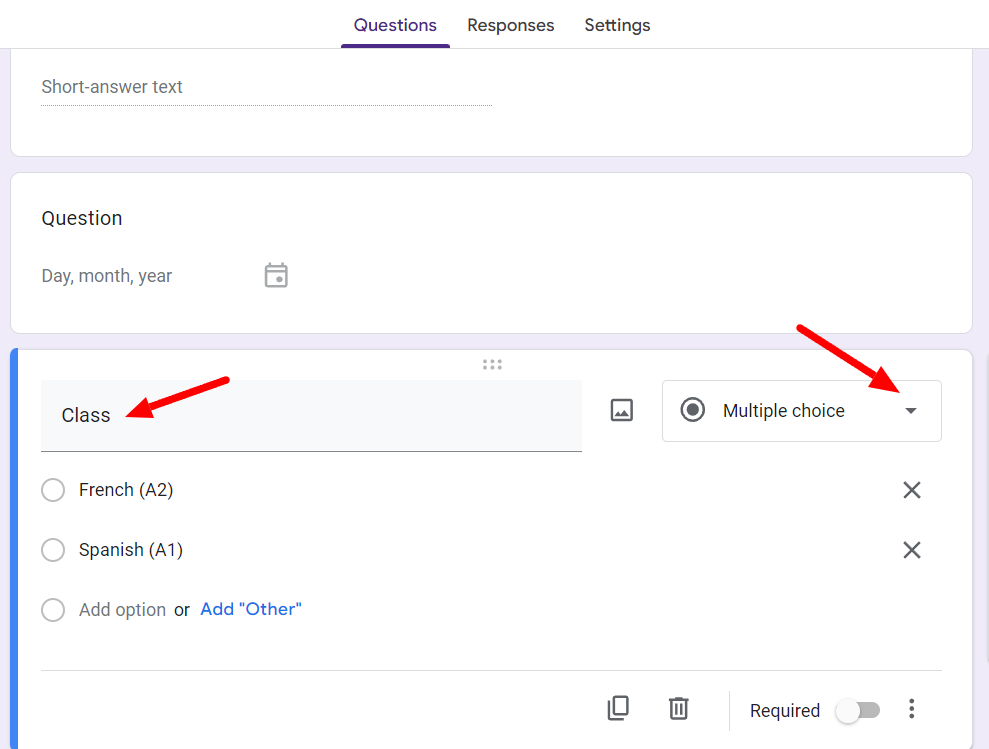
Similarly, add any other required questions and pick the appropriate question format with the help of the button on the right side. For example, if you have multiple classes, you can allow the student to select their class in a multiple choice question.
Now, let’s add an entry ticket question.
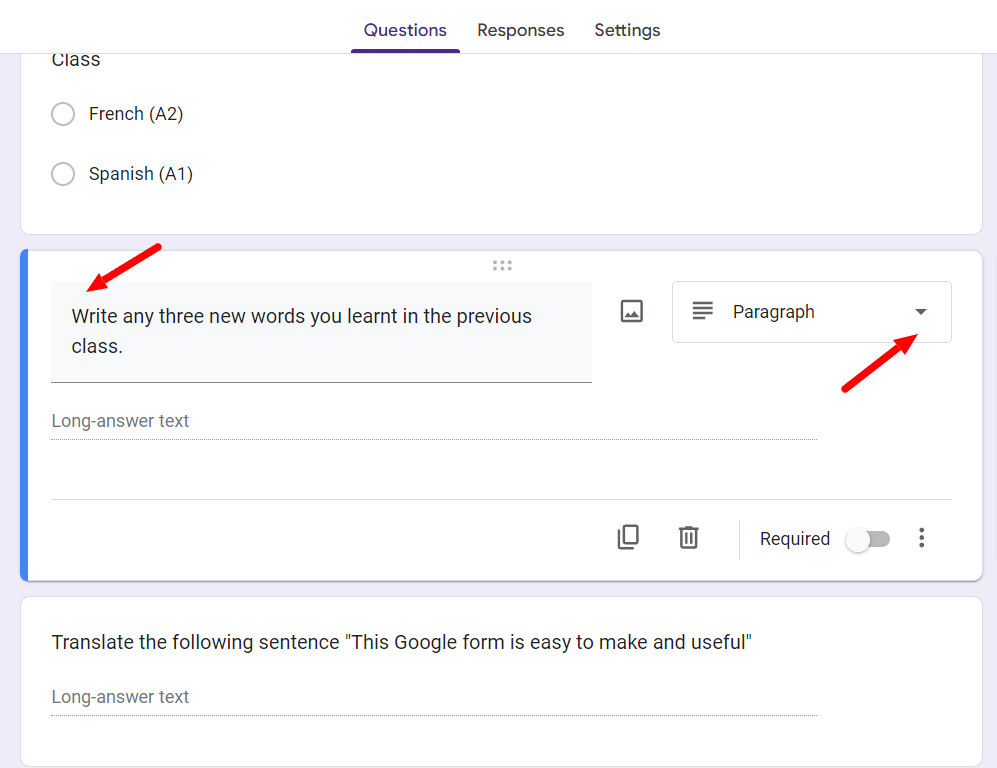
When you’re done, click the “Preview” button to look at how your form appears and add any more questions if needed.

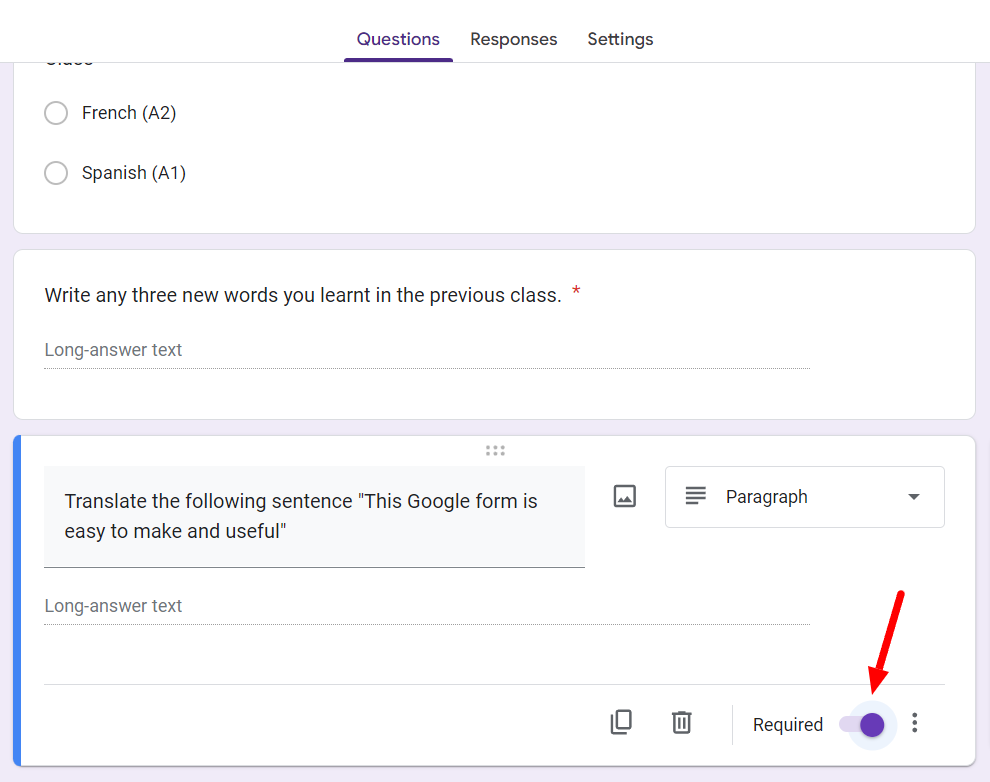
Turn on the “Require a response in each row” setting for the entry ticket questions so that students are not tempted to skip them.
Step 4: Connect the form with a Google Sheet
Further, you can link your Google Form to a Google Sheet to manage responses. This step is critical as most schools, colleges, or educational centers require this data. Many even track attendance in Google Sheets!
Creating a link between attendance and Google Sheets ensures that you can have this data on hand to produce any associated statistics like average monthly student attendance, attendance by class, etc.
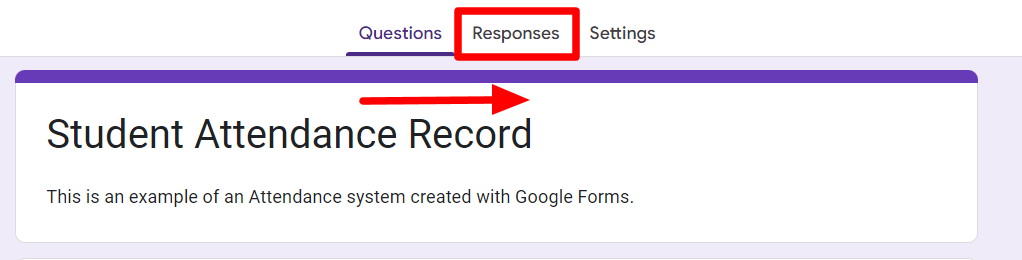
So, to link your form to Google Sheets, toggle to the “Responses” tab.
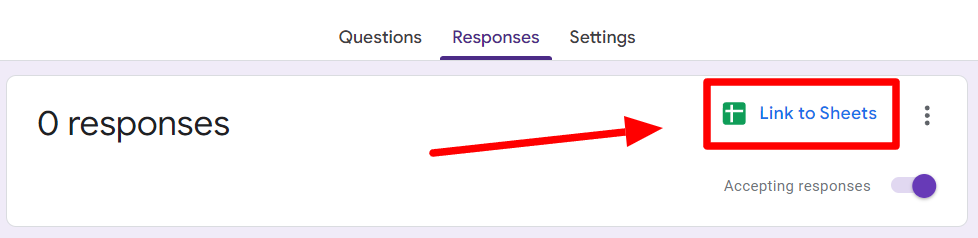
Now, click “Link to Sheets” and give your Google Sheets attendance document an appropriate name. Linking your form to Google Sheets will send your responses to a spreadsheet where you can easily view and manage your collected data. You can also link it to an existing spreadsheet.
Step 5: Share a link to your form with participants
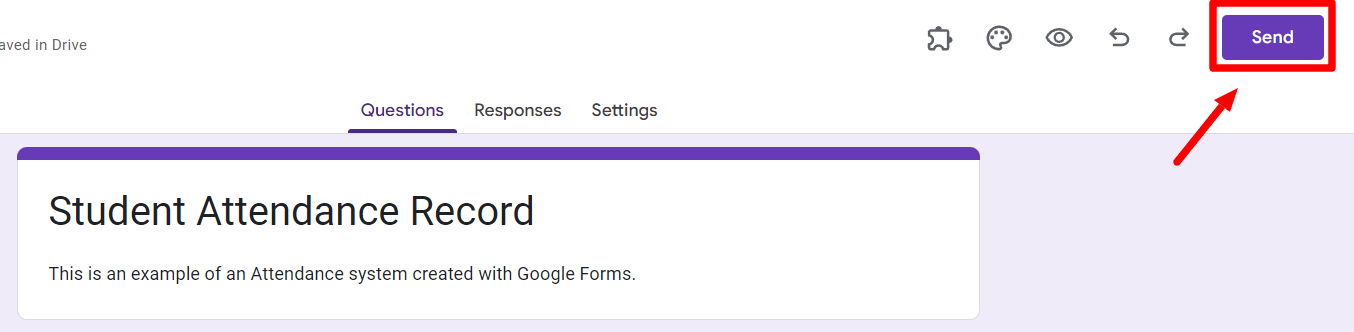
Now that your form is finished, you’ll want to send your form to students, which starts with clicking the “Send” button. Learn the various ways to send your Google Form.
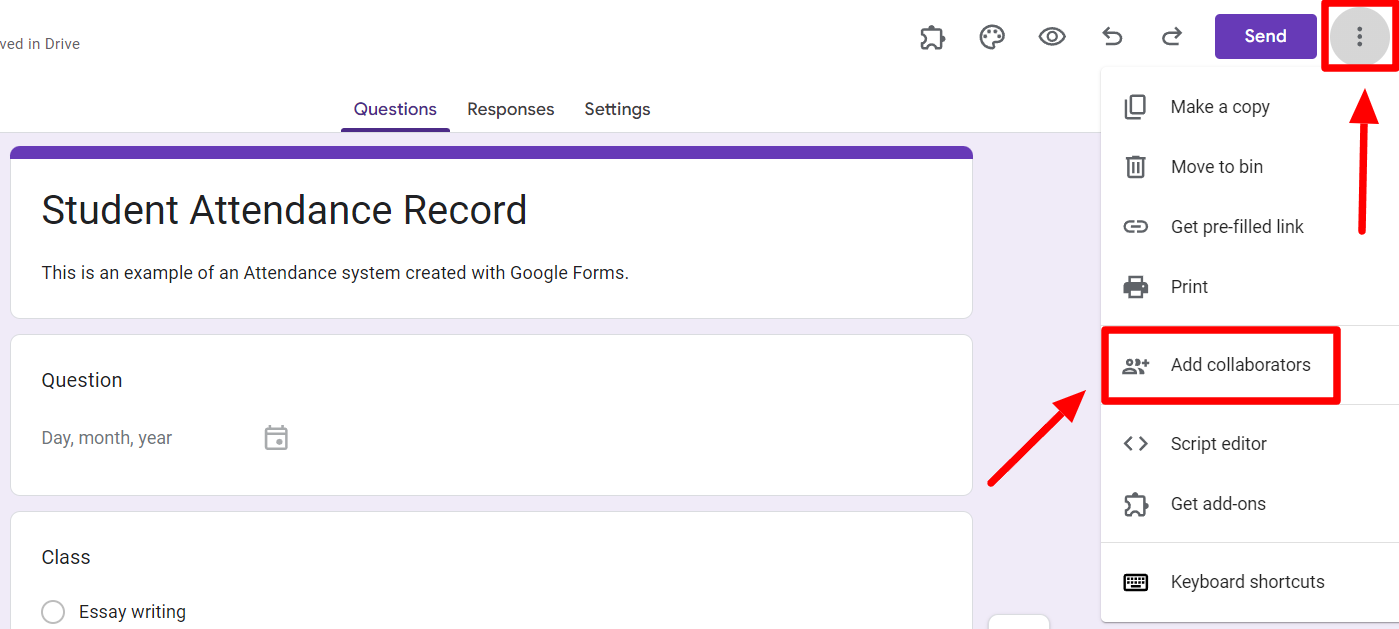
You may want to share your form with a co-teacher or substitute. In such a case, you want to “Add Collaborators.” Collaborators are others who can view results and even edit the form.
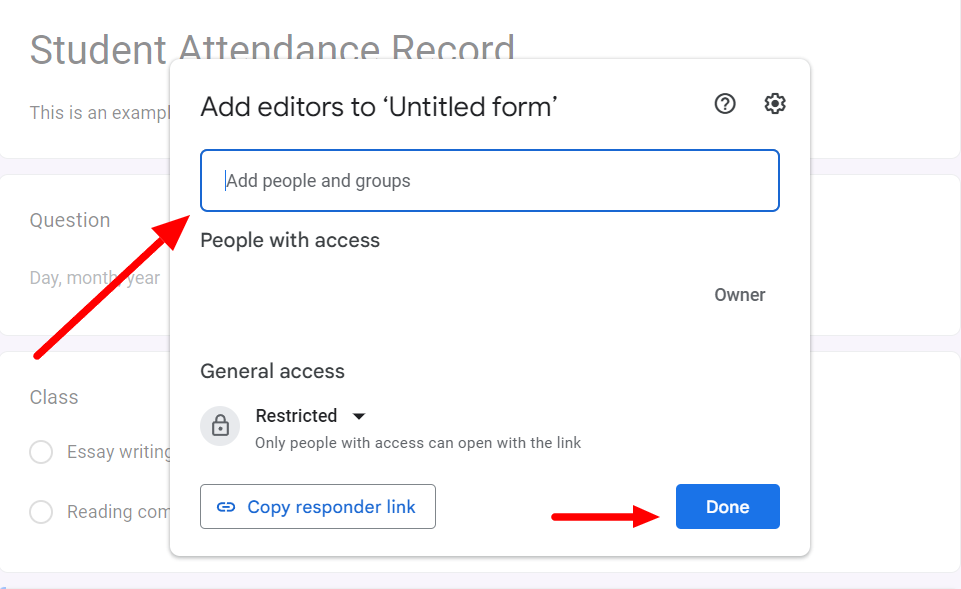
To add collaborators, click the “More” button at the top-right corner. Now find and click “Add collaborators.”
This will open up a new window. Here, you can enter the email address of the people you want to give access to and click “Done.”
Some tips on how to use Google Forms for daily attendance in the classroom
Now that you know how to make an attendance form for school using Google Forms, here are some additional things to keep in mind or integrate into your form to make it even better:
Assign a point value to questions
An entry ticket for attendance is a great way of increasing participation or getting insight into what your students need most. If you’re using the Google Forms attendance system with entrance ticket questions, you may want to assign point values to your questions and turn the form into a quiz.
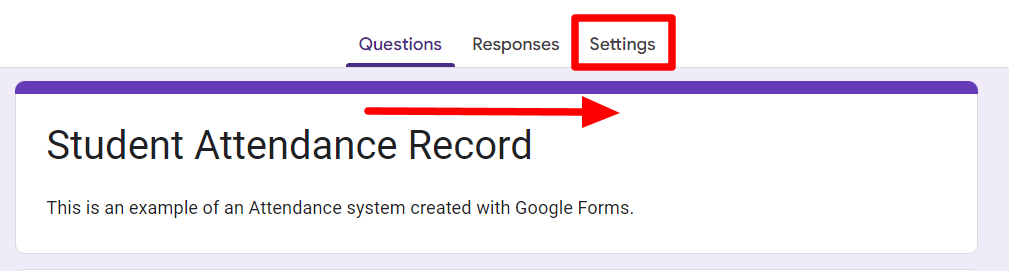
To do this, toggle to the “Settings” tab.
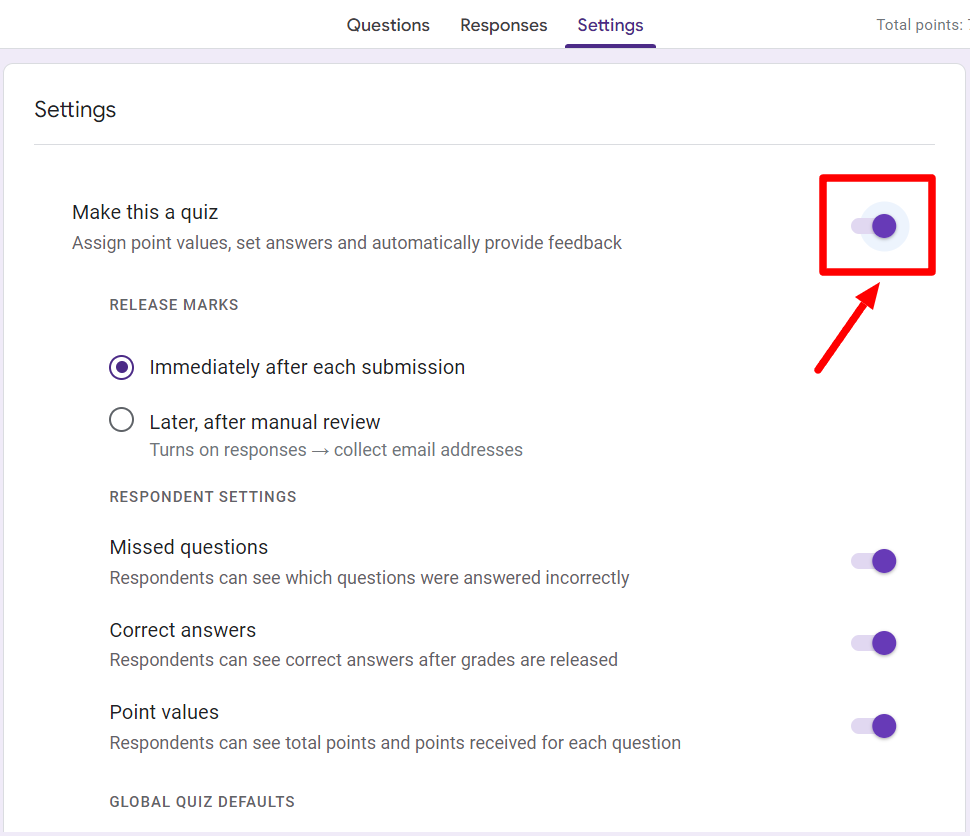
Now, turn on the “Make this a quiz” setting. This lets you set a default point value for each question and assign an answer key.
Mass generate attendance documents from Google Sheets
When you create a Google Form for an attendance system, you realize how easy it is to keep track of student data in Google Sheets. However, teachers sometimes need to generate documents from the data collected for administration or record keeping. If a form also has entry ticket questions, teachers may want to share it with students.
This is where Form Publisher can help. Form Publisher is a Google Forms add-on that automates the document generation process and creates a beautifully and professionally designed document every time a form is filled in. You can also mass-generate documents from your spreadsheet with Form Publisher for Google Sheets.
Try out Form Publisher for your classroom today
To summarize, making an attendance check-in system is easy with Google Forms. Working with Google Workspace is essential for many schools, especially those using Chromebooks. Daily attendance forms are an easy way to cut down on the class time needed for attendance and minimize paperwork.
Looking to minimize paperwork even more? Try Form Publisher! Our add-on is extremely valuable for anyone in an administrative space. Speed up document generation and workflow by integrating Form Publisher into your classroom.
See how Form Publisher works today!