
Why settle for a plain and generic form when you can create a visually stunning experience for your respondents? With Google Forms themes, you can transform your forms into eye-catching surveys that engage your participants and reflect your brand's identity.
Whether you're a business owner, educator, or just someone who wants to spice up their work forms, this blog post is here to help unleash your creativity.
We'll walk you through selecting themes for Google Forms, choosing a color scheme, and picking striking fonts and graphics to create surveys that leave a lasting impression. Let’s dive in!
How to customize themes for Google Forms
Step 1: Open your Google Form
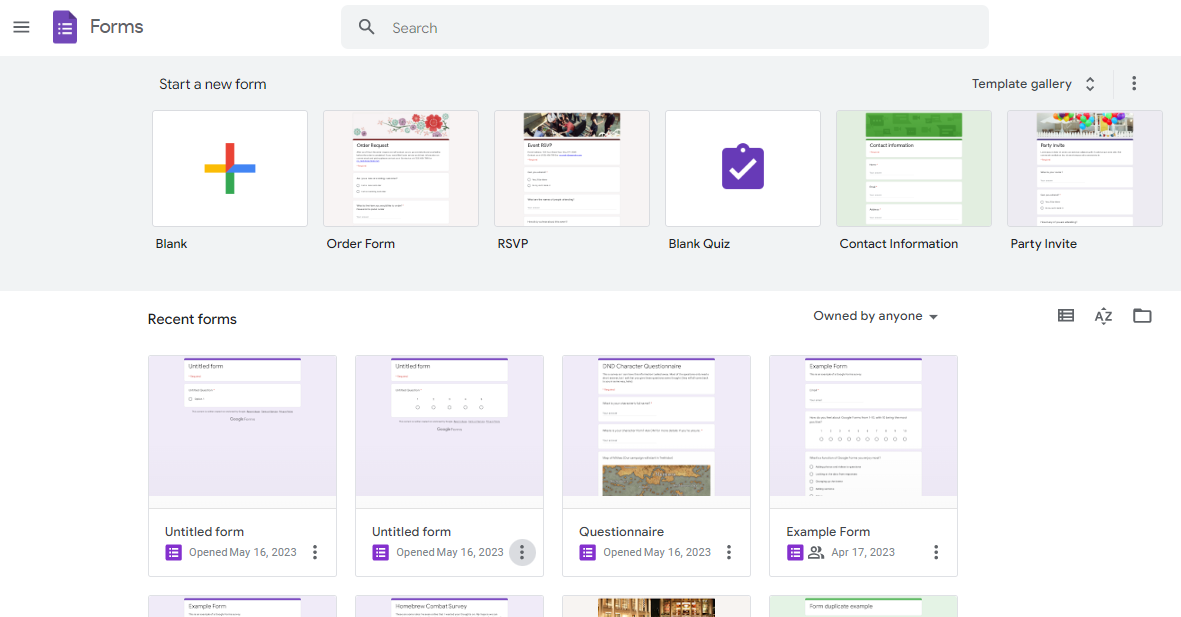
Navigate to your Google Forms and open the form you want to work with. You can find an existing form below under “Recent forms” or through the search bar. Alternatively, you can create a new form from the templates above.
Step 2: Click the palette icon
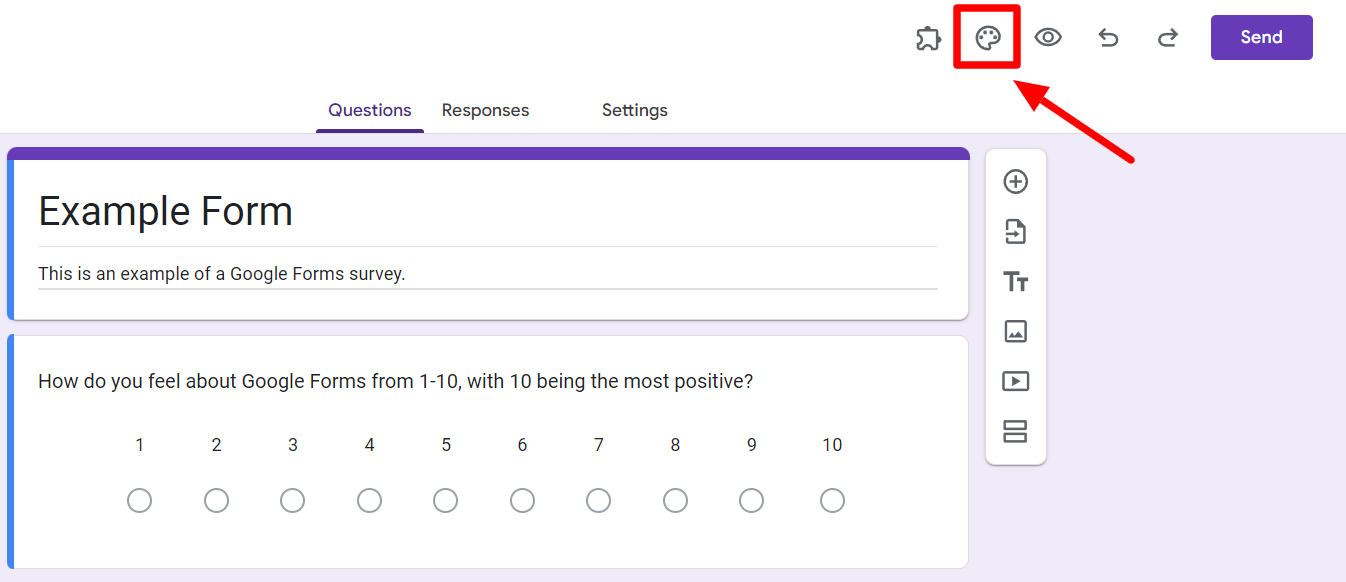
In the top right, click the button to “Choose a theme” in Google Forms (the palette icon).
Step 3: Choose your Google Form font
Doing this will open up the theme editor in the side panel.
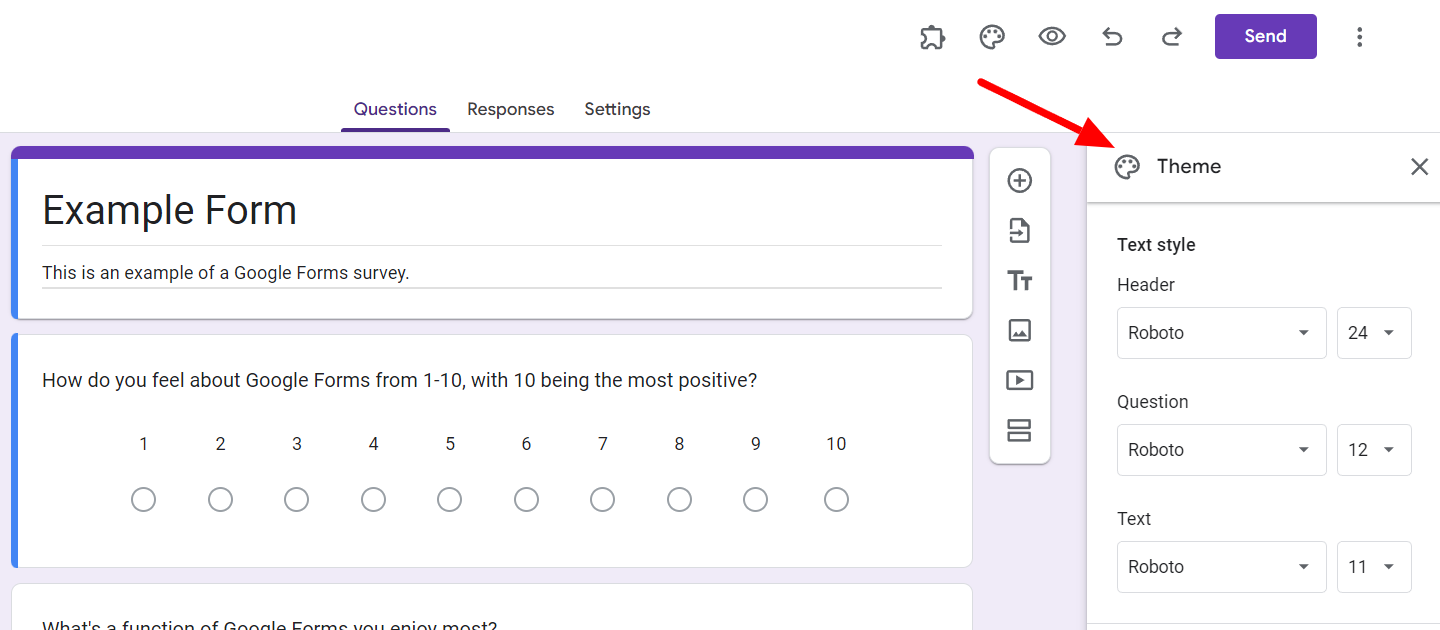
The Google Forms theme editor has three types of fonts. The first two, header and question, are pretty self-explanatory. The “Text” font option applies to the text in the description of the form as well as the answer options. You can change the font size in all three separately.

Pro tip: Each Google Forms font has subvariations like bold, semi-bold, etc. When changing the fonts for your form, you can use these subvariations to customize the look and feel of your form, bringing attention to certain phrases if needed.

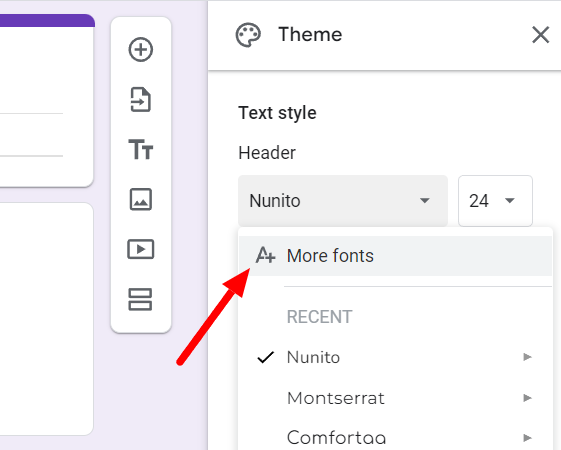
Bonus tip: Not all the available fonts appear in the theme editor. Click the often-overlooked “More fonts” button to open a bunch of other font options.
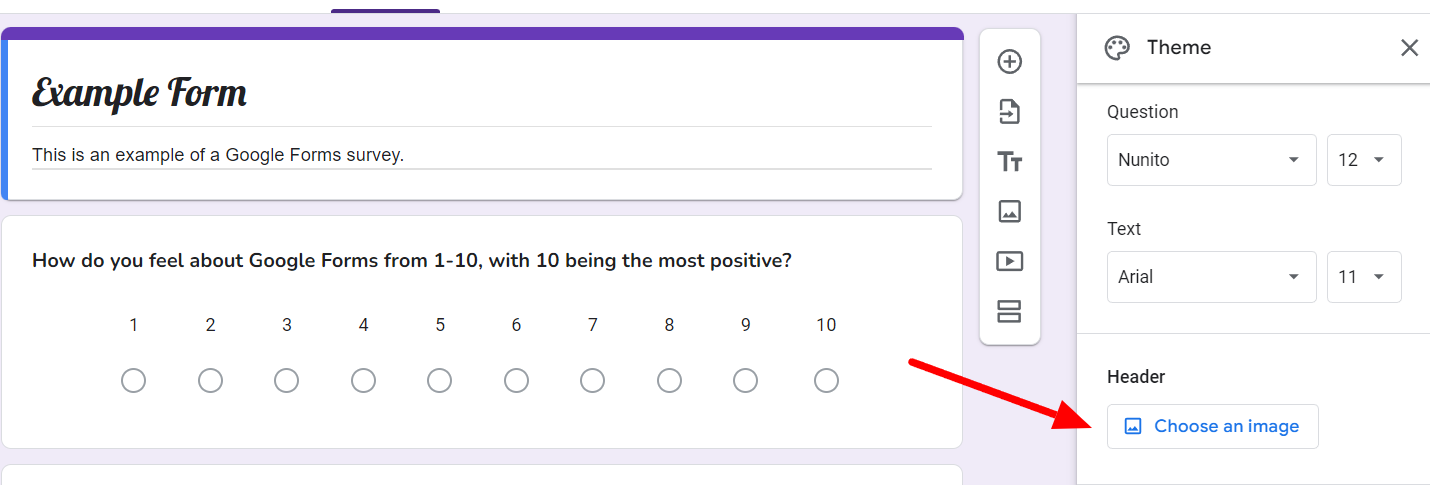
Step 4: Add image to Google Form header
Adding a header image is the easiest way to make a form stand out. So, under the Header in the theme editor, click “Choose an image.”
There are three places you can pick a header image from. The themes section has multiple images sorted by categories.

Pro tip: Upload your business’s logo or brand image as the header image to make an impact. Learn how to pick the right Google Forms header image size.
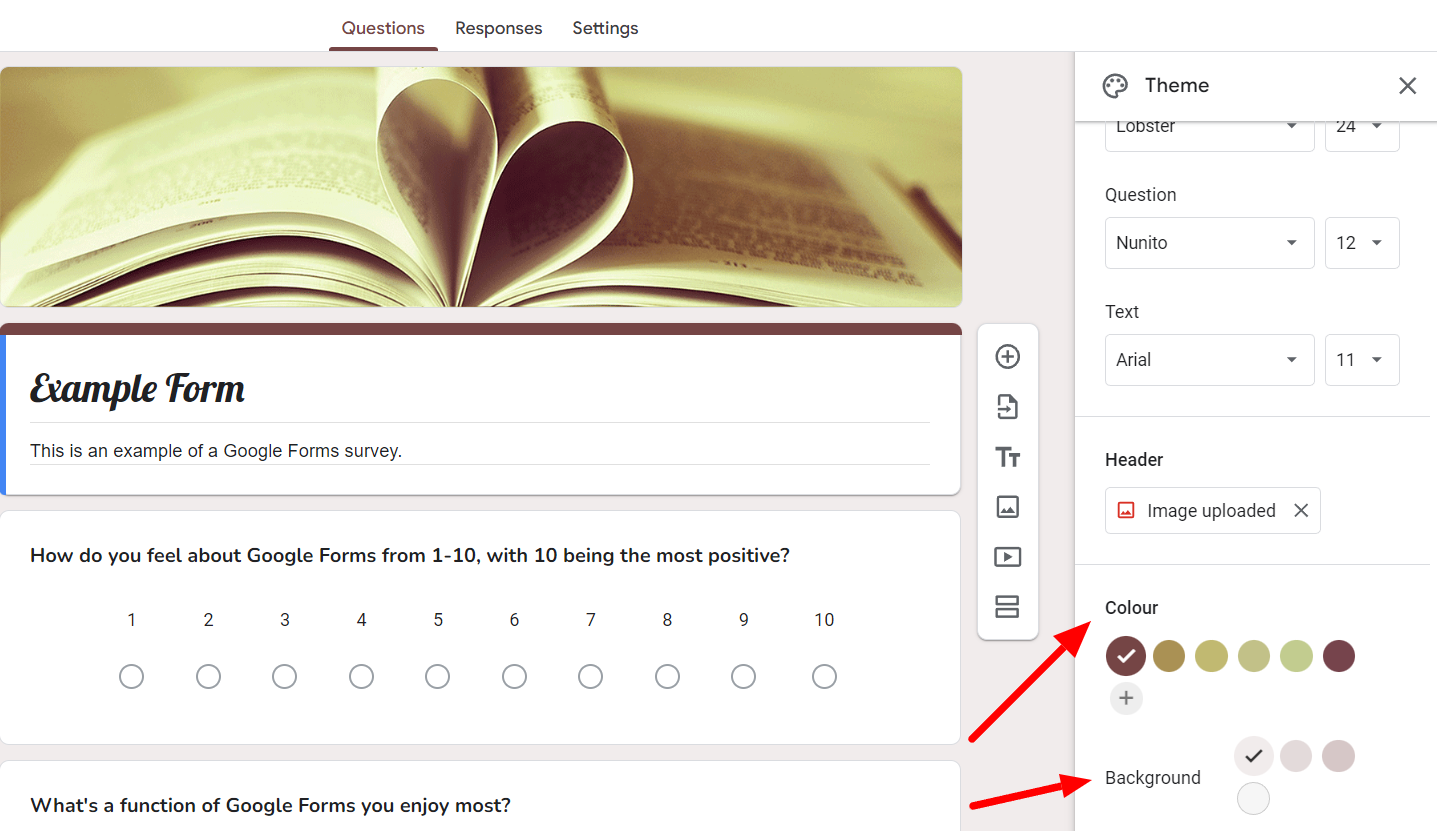
Step 5: Choose the color scheme for your form
Once you have an appropriate header for your Google Form, you can start changing the colors in your form.
Under “Color,” you’ll find six different color options. You can pick a new color by pressing the “+” sign. Under “Background,” you can choose the color of the form’s background. Easy as that!
Pro tip: You don’t have to worry about clashing colors. Upload your business logo to the header and Google Forms will automatically pull the most flattering color schemes for your form from the header and display it here.
Step 6: Finish up your form and send it out
Now that you’ve customized your Google Forms theme and it’s looking how you want it to, it’s time to finish it up and send it out. Before you’re done, check these things:
- If you want to add collaborators, this is a good time to do it. Learn how to allow access to your Google form.
- If you want to collect emails from your respondents, you should enable the setting now.
- You should also see that you’ve made the mandatory questions “required,” as you don’t want respondents skipping them.
- Lastly, you should ensure that “Accepting responses” is turned on under the “Responses” tab.
All you have to do now is send your form!
Go beyond Google Forms themes
Now that you know how to make your surveys pop, here are some other things to consider for improving your Google Forms:
What is the best Google Forms font?
When selecting the perfect font for your Google Forms, readability is essential. You should choose a font that is clear and easy to read, especially when viewing on different devices or screen sizes.
Secondly, consider the tone and personality you want to convey. Fonts can evoke emotions and create a cohesive brand experience. Whether you want to appear professional, playful, or elegant, select a font that aligns with your desired impression.
Lastly, keep it simple. Avoid overly elaborate or complex fonts that may distract or confuse your respondents. Opt for a clean and straightforward font that enhances the overall aesthetic of your survey while maintaining clarity.
Make a response summary that matches your Google Forms themes
Another way to stand out with Google Forms is by offering response summaries to your respondents. We’re not talking about the bland and boring Google Forms response summary. We’re talking about sending customized and personalized summaries with a matching theme.
How? With Form Publisher! With Form Publisher, you can send your respondent beautifully yet professionally designed summary documents. The best part is that this add-on has so many pre-made templates that it takes seconds to set it up.
Customize your Google Forms response summary
So there it is! Everything you need to know to make your next survey pop! Customize the looks with the themes, fonts, and header images in Google Forms. But when sending response summaries, rely on Form Publisher. It's the better alternative to sending bland and boring inbuilt Google Form summaries that lack personalization and customization. Interested? Explore how it works!