

A header image is the first thing that your audience will see when they open up your Google Form. Just like any good first impression, you want to make sure that your Google Form header image is the right size to look professional and catch people's attention.
But what is the right size for a Google Forms header image? In this article, we'll answer that question and give you a few tips on how to make sure your header image looks its best.
What is the right size of a Google Form header?
What are Google Forms header images or banners?
A header image is a banner that appears at the top of your Google Form which is why they are also referred to as “Google Forms banners”.
The Google Forms header image can be a logo, photo, or anything else that informs what the form will cover.
There are a few benefits that come with adding a header image to your Google Form. First, it can make your form look more professional and polished. Second, it can help brand your form and make it more recognizable. And third, it can make your form more visually appealing, which may encourage more people to fill it out.
When picking your image, make sure that it’s relevant to the topic of the form; for example, a Google Form survey about favorite dogs might have a dog at the top. Your header image could be informative, light-hearted, or include your branding.
Your Google Form header image should be high quality so it doesn’t appear blurry, and it should be eye-catching enough that people notice it. Also, try to find an image with a transparent background so the header doesn’t look out of place.
What size is best for a Google Forms header image?
While header images are a great addition to a Google Form, it’s not exactly clear what the right header dimensions are. If you don't use the correct size, your header image will be automatically resized to fit the available space. This can cause the image to become blurry or pixelated. You might even need to crop out important sections of the image. To avoid this, make sure to use an image that is the correct size.
A header image follows a 4:1 aspect ratio, which means that it should be four times as wide as it is tall. For example, if the header image is 400 pixels wide, it should be 100 pixels tall. The best size for a header image is 1600x400 pixels. This size fits perfectly into the form header with a 4:1 aspect ratio. It also has enough resolution to look good on most screens.
However, keep in mind that Google Forms doesn't have automatic resizing for mobile. That means that if someone is filling out your form on mobile, the image might look janky. If your form is intended to be filled out on mobile devices, make the size 1000x1400 instead.
Now that you know the size and aspect ratio for a header image on Google Forms, let's move on to adding one!
How to add a header image to a Google Form
Step 1: Go to your Google Form
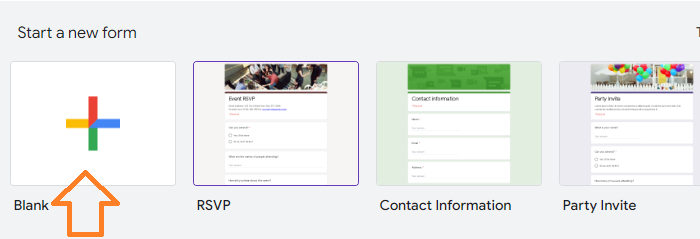
Open up the form you want to add a header image to. You can do this by going to Google Forms and opening up the form from there. If you haven’t created a form before, click on the "+" sign to create a new form.
Step 2: Click “Theme”
Once you're in the form, click on the "Customize theme" button in the top right-hand corner—it looks like a paint palette. This will open up a new page with all of the different theme options.

Step 3: Choose the header image for your Google Form
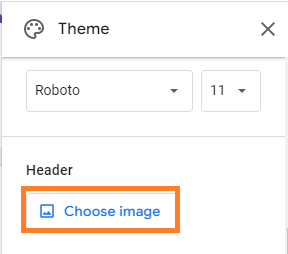
Scroll down until you see the "Header" section. Simply click on the ''Choose image'' button and it'll open up a new window where you can upload your header image.
If you’re artistic and have created a header image independently, you can upload it here. You can, of course, also select an image from the stock photos. Next, click on the "Upload" button and select the image that you want to use from your computer. Make sure to use an image that’s the correct size (1600x400 pixels).

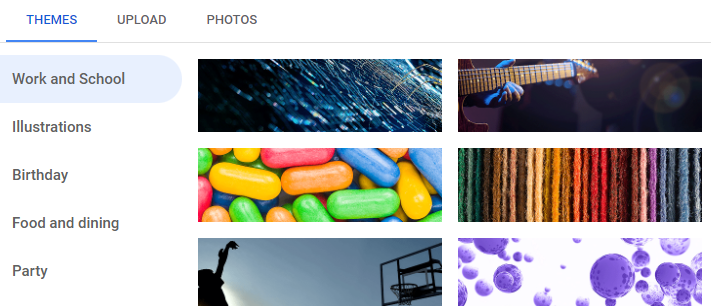
You can also choose to use one of the header images provided by Google. There are various options you can choose from: Work and School, Illustrations, Birthday, and more.
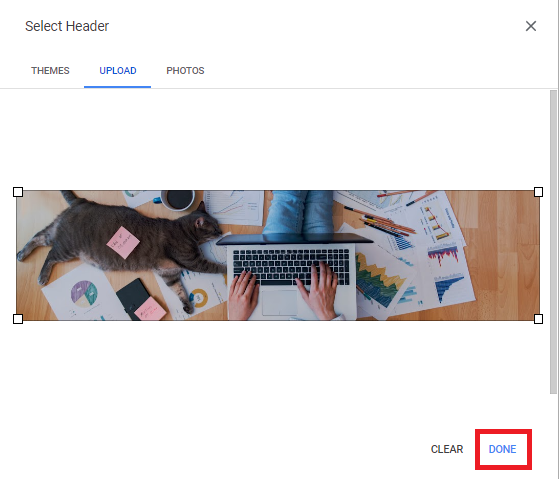
Step 4: Click “Done” to apply your Google Form header image
Once you've selected your header image, click the "Done" button in the bottom right-hand corner. This will add the image to your Google Form header.
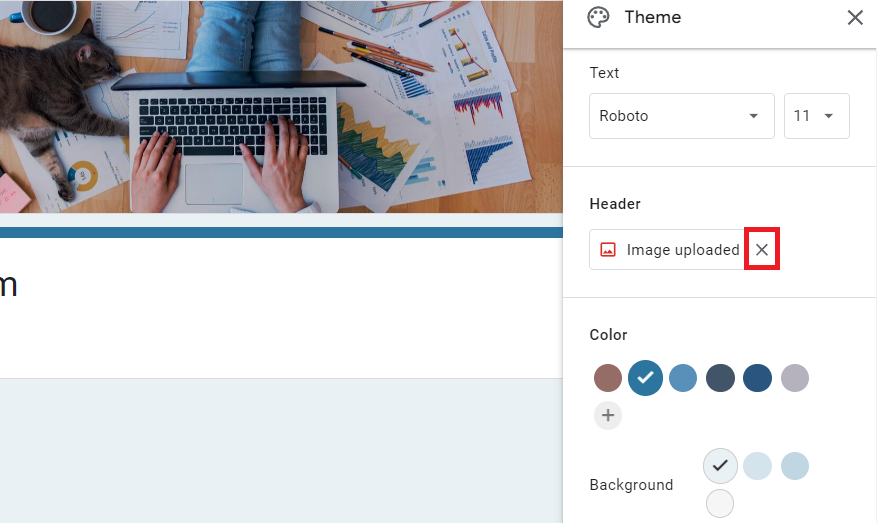
Now you can customize your theme to better match your form header! There are plenty of options under the theme settings. Choose a color scheme or font that complements the image at the top.
If you ever want to remove your header image, simply click on the "X" button next to the header image option. This will remove the image from your form.
That's it! You now know how to add a header image to your Google Form.
Your Google Forms header image looks great!
As you can see, it's pretty easy to add images to Google Form headers. Just make sure that it’s the correct size and high quality so you’re not distracting anyone from the content of your form. With a bit of customization, you can create a form that looks professional and easy to fill out!