
Have you ever wanted to create a form that others can fill out electronically, without having to print it out and scan it back in? You can certainly create questions and tables to fill out on a printed document with Google Docs, but you can also use Google Forms!
With this guide on how to create fillable forms in Google Docs, you have achieved your goal in no time! Plus, we’ll also give you some insight into an even better tool that can be used to transfer form responses from Google Forms to a Google Doc: Form Publisher!
How to create a fillable form in Google Docs
Step 1: To create a fillable form start by opening a new Google Doc
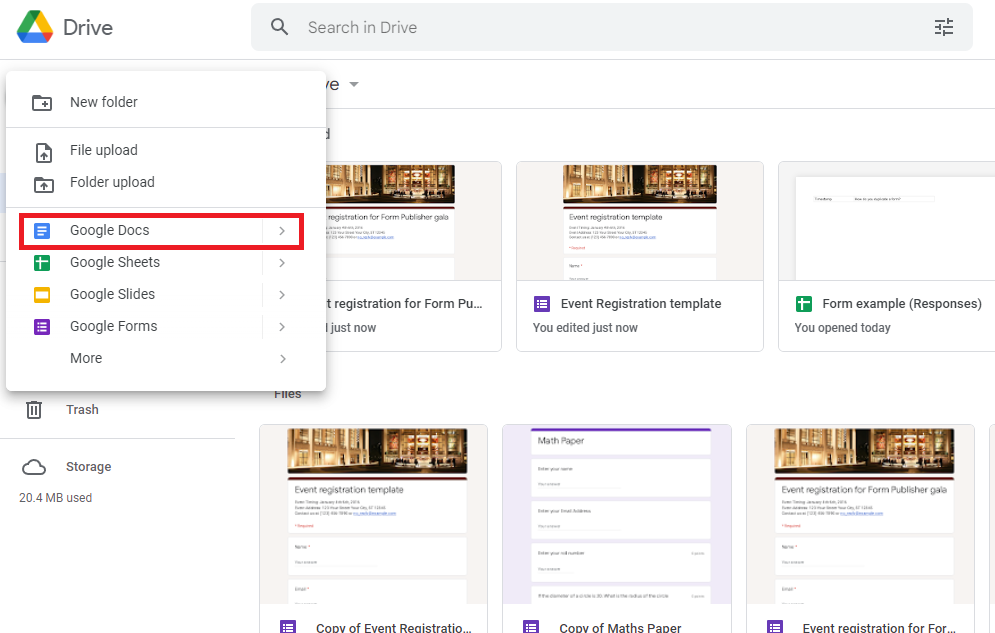
The first thing you’ll want to do is create a Google Doc. If you want to start from scratch, you can do this by going to Google Drive, selecting the “New” button in the top left (the one with the plus next to it), and then selecting Google Doc from the dropdown.
If you want to focus on the layout and theme while creating fillable forms, you could use Slides as well. This is better from a design viewpoint, as there are far more options for customization. You could also create a nice, organized template with Google Sheets. This makes it easier to create a structured form.
While we’d recommend these other tools to create fillable forms, we’ll be using a Google Doc for the purposes of this guide.
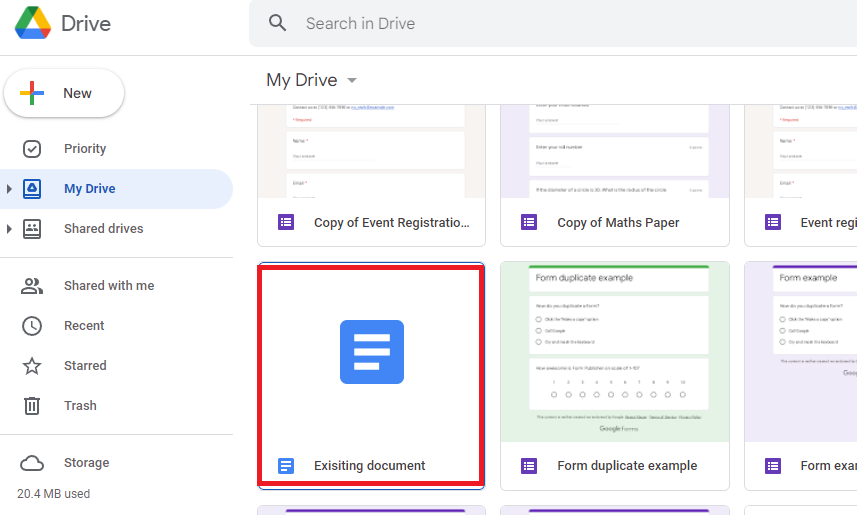
You can also use an existing Doc by finding that document in your Drive and opening it; if you need help finding it, you can use the search bar at the top to type in the title.
Once you have the document you need, selecting it should open it in a new tab. If you’ve created a new Doc, you’ll have a blank document to fill out that will be titled “Untitled document.” You can change the title in the top left text box.

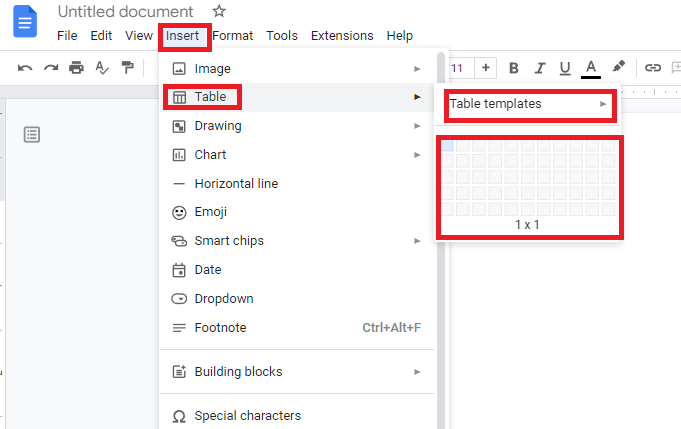
Step 2: Insert fillable questions into the Doc
Once you’re in your Doc, you’ll need to include tables. Click on the "Insert" tab in the top menu, then click on "Table." You’ll need to select how many cells the table has by length and width. You can also use one of their table templates from the dropdown menu.
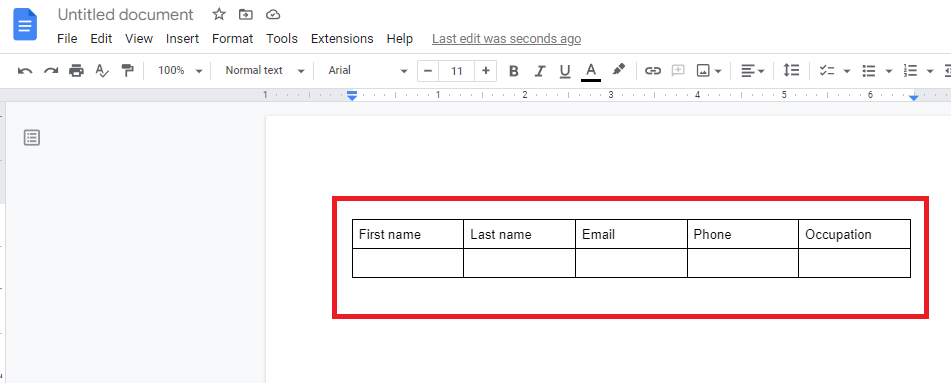
Once the table is created, you can start filling out fields like First Name and Last Name. Leave the cells blank if you want the respondent to fill out their information. You can repeat this process as many times as necessary.
Step 3: Adjust your table as needed
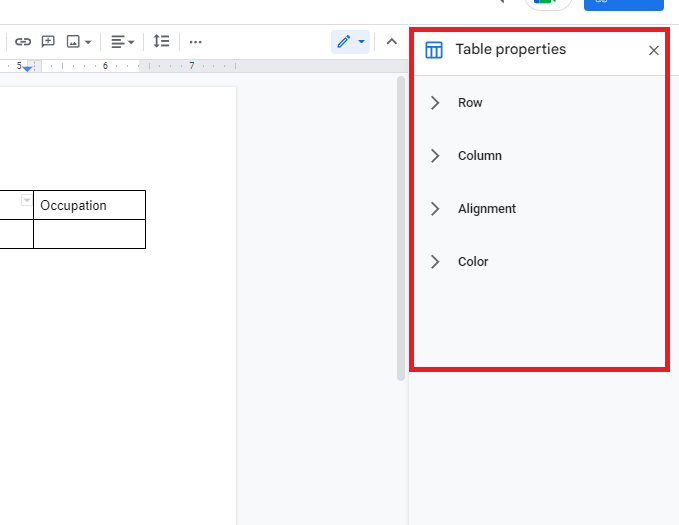
Once your questionnaire is filled out, you can adjust each table you’ve created by right-clicking on it and choosing “Table properties.”
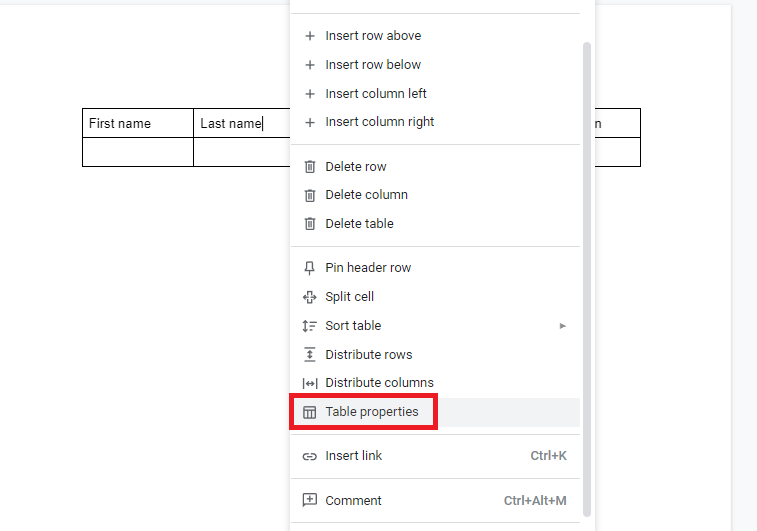
This will open up a side menu on the right side where you can select from many options: rows, columns, alignment, and color.
Once you’ve played around with that, you can pretty up the Doc by adding images and such.
Step 4: Print out your Google Doc
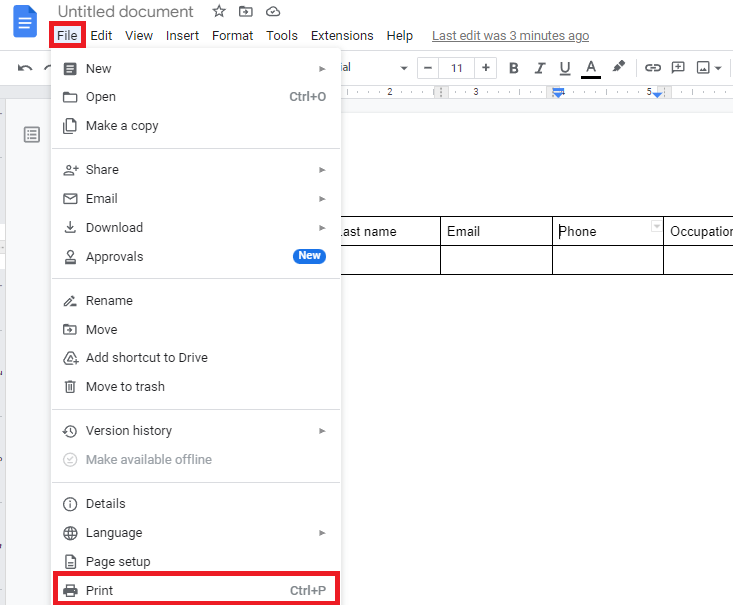
When you’re happy with how your document looks, feel free to print it out by going to the File menu and then clicking “Print.” Once you have the physical forms, you can distribute them as needed.
While this is a native way of creating forms on Google Docs, it is by no means the simplest. Google Forms is a standalone application for creating forms, and it would be nice if responses could be automatically transferred to a Google Doc after being completed electronically, as they can with Google Sheets. This is possible with a little help!
Can you fill out a Google Doc with a form?
Wondering if you can use a Google Form to fill out a Google Doc, but don’t want to mess with Apps Script? Luckily, this is possible with the add-on Form Publisher!
What is Form Publisher?
Form Publisher is a free add-on on the Google Workspace Marketplace that can be used to automatically create documents like Google Docs, PDFs, and Microsoft documents with the responses of a Google Form. If you’re trying to go paperless at your workplace, Form Publisher allows you to do so while streamlining your workflow!
It doesn’t stop there, either. You can pick from different templates and adjust the look of the final document as needed. With markers included, responses will be filled out to your preference. You can also choose who receives this document, meaning you don’t need to print it out or email it manually.
The best way to create fillable forms in Google Docs is with Form Publisher
To use Form Publisher, you just need to download the extension and agree to the permissions it needs to function. Don’t worry, Form Publisher has no access to your personal information; we just need your permission to pull up documents from your Drive and the like! You can read more about privacy considerations here.
When you create a Google Form, you can click on the extension and choose what format and template you want. You can also choose custom fields. Then, you’ll add who you want to share the final document with and what permissions they’ll have, even including an approval workflow and signature request. Once that’s done, Form Publisher will store the docs where you want and email notifications to recipients with the document included.
This is the best way to create a fillable form in Google Docs, as you can use Google Forms natively and everything is done for you.
Try out Form Publisher for free today
Creating fillable forms in Google Docs is easy! Just follow these simple steps and you'll have your form up and running in no time. Creating a printable form in Google Docs is alright, but Form Publisher makes this process even smoother.
Plus, Form Publisher also works with Slides. As mentioned, using Slides is a great way of creating fillable forms that can be customized. If you end up wanting your form as a Slides document, it’s as simple as a few clicks!If you’d like to try on Form Publisher for size, you can download it for free on the Google Workspace Marketplace. It’s a super useful tool that should be in any form of creator's toolbelt. Check us out!