
Making your Google Form public has some great benefits. By making your form public, you can reach more people, make it easier for people to find and access your form, and even increase the response rate. Public forms are also shareable, meaning you can quickly and easily spread the word about your form to get more responses.
While making a Google Form is fairly straightforward, you need to take a few extra steps if you want to make your Google Form public. This blog post will provide easy-to-follow instructions on making your Google Form public so anyone can access it. So, let’s go and make your form available to the world.
How to make a Google Form public
Before we begin, it's essential to understand what it means to make a Google Form public. If you make your form public for responses, anyone with the link can view and submit responses to your form. If you make your form public for collaborators, anyone with the link can view, edit it, and submit responses.
For the purposes of this tutorial, we’ll be focusing on making a form public for responses, as this is likely what you want to do. Here are the steps:
Step 1: Open your Google Form settings
First, you’ll want to navigate to Google Forms. Once there, you’ll need to either create your form from scratch or choose an existing form to make public. We’ll create a new form by clicking “Blank”:
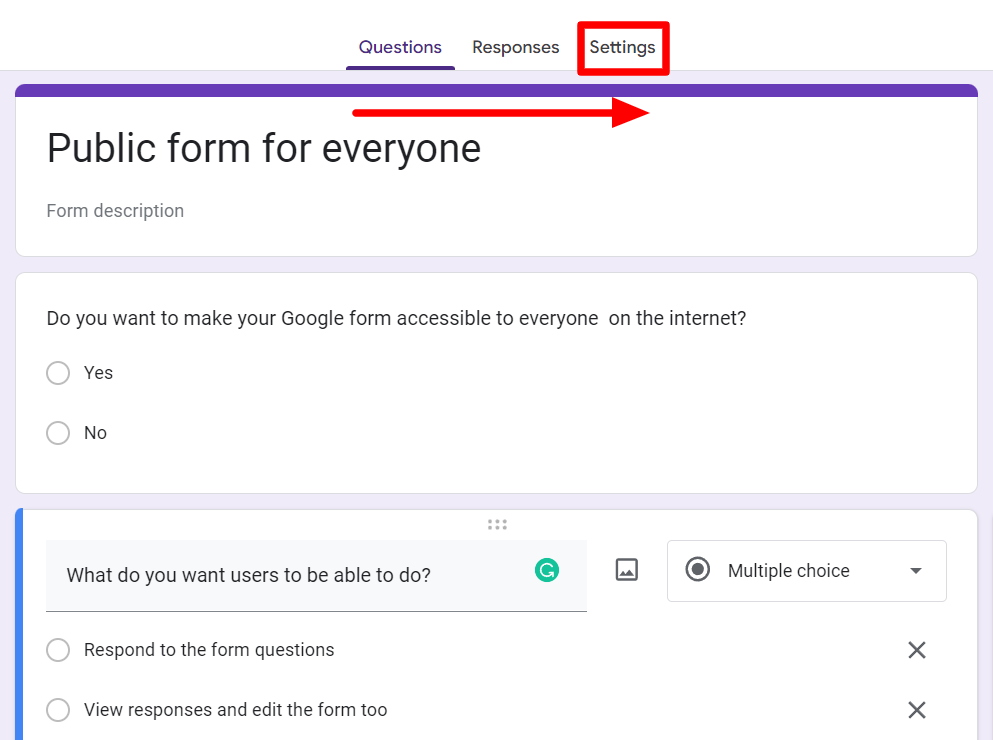
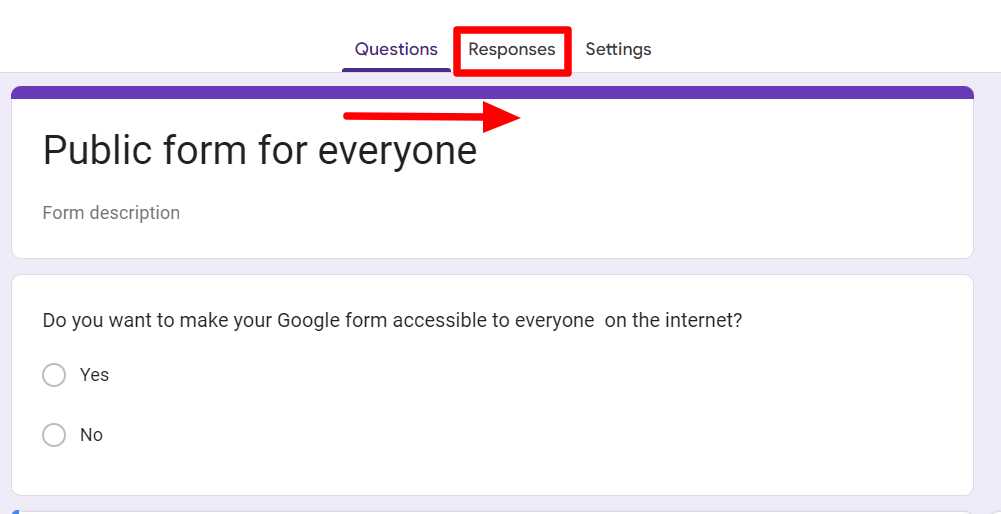
After opening the form you want to make public, toggle to the Google Forms “Settings” tab. Clicking Settings will open options that help you manage how the responses are collected. This will be important to make sure the form can be public.
Step 2: Ensure “Limit to 1 response” is off
To make a form public, you must ensure that the ”Limit to 1 response” option is turned off. This is under the Responses section of Settings.
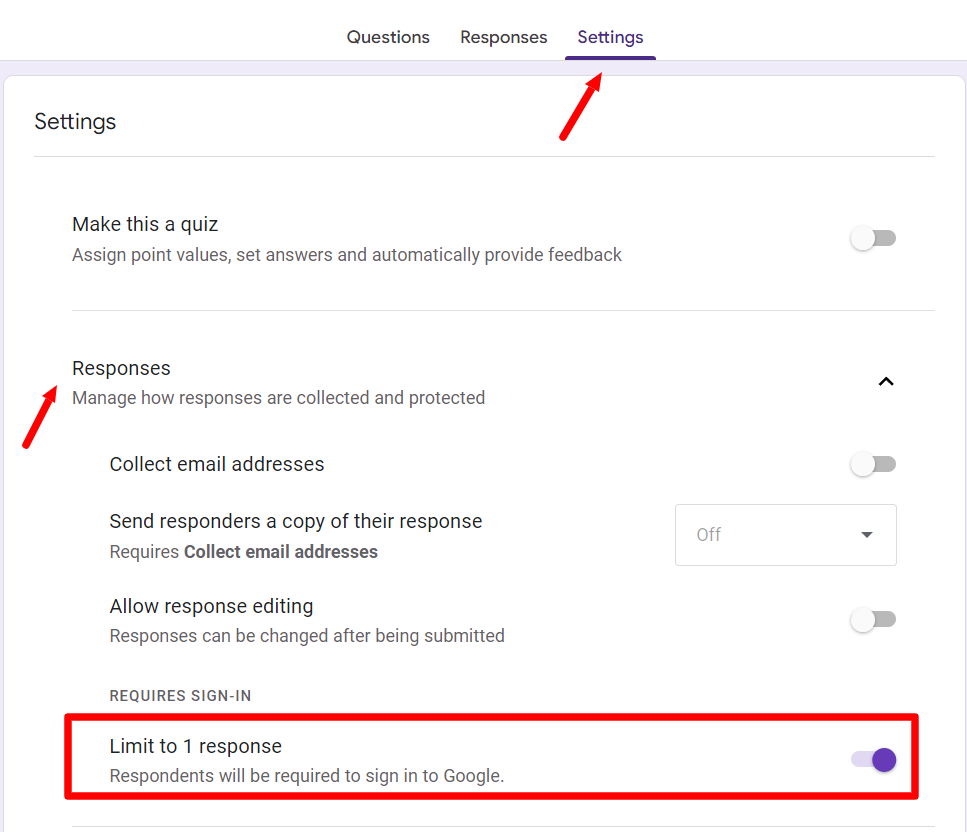
When this option is turned on, the users must sign into Google Forms to use and respond to the form, which means that the form is not public. Turning it off will ensure that anyone can see your Google form without signing into Google forms.
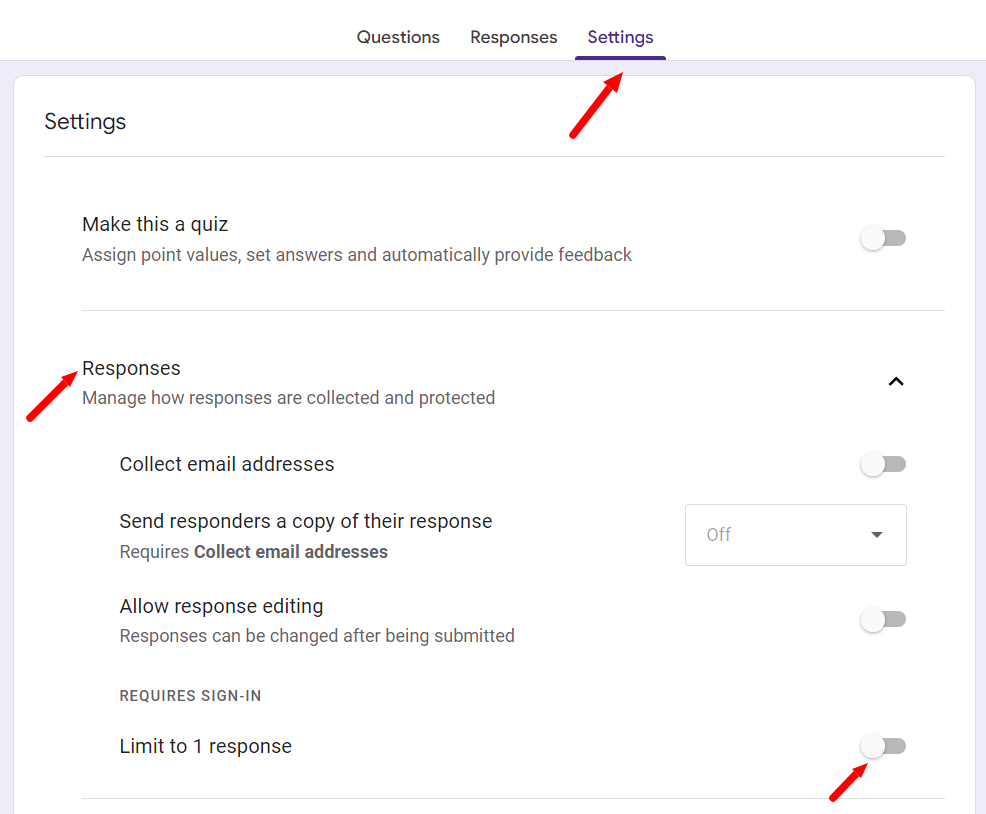
When this setting is turned off, it’s going to look like this:
Within the “Responses” category in the Settings tab, there is another setting you’ll need to turn off: collect email addresses.
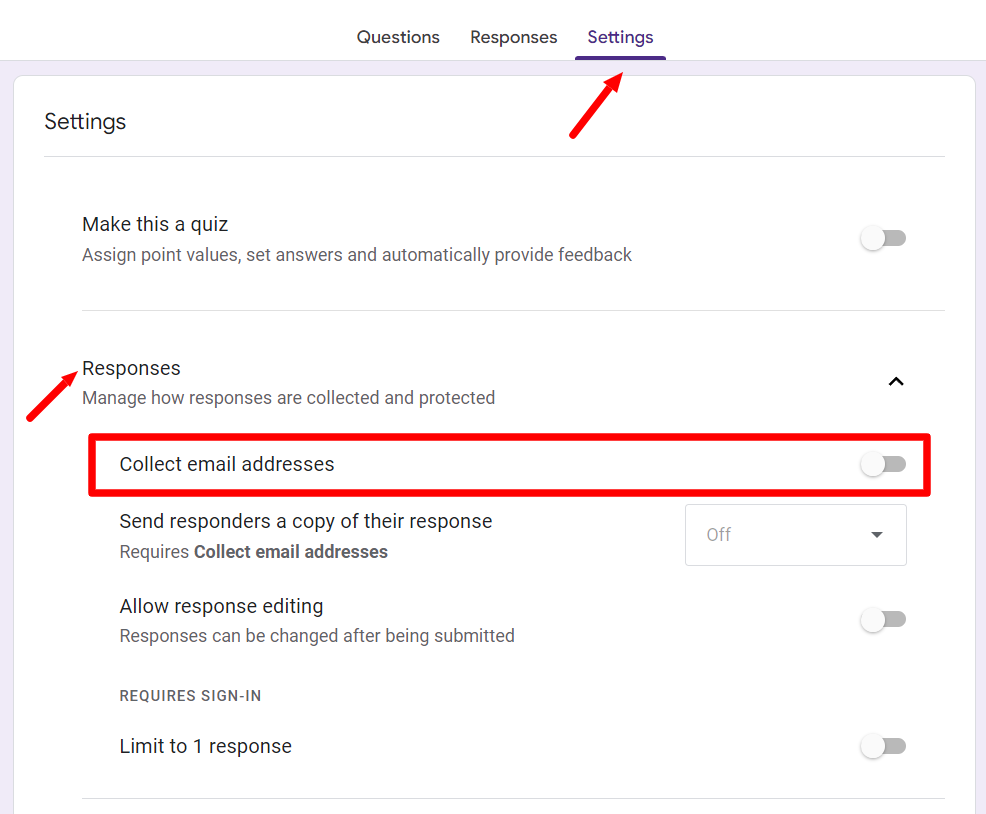
When this option is on, users must provide their email addresses when responding to your form. Even if this option is turned on, your form can still be public; however, turning this off ensures anyone can fill out your form regardless of if they want to provide an email address or not.
Step 3: Send or Share your Google form
Now that your form is public, you must share it with the world to attract responses. To share your Google Form, you can start by “Sending” it. Here’s how to do it:
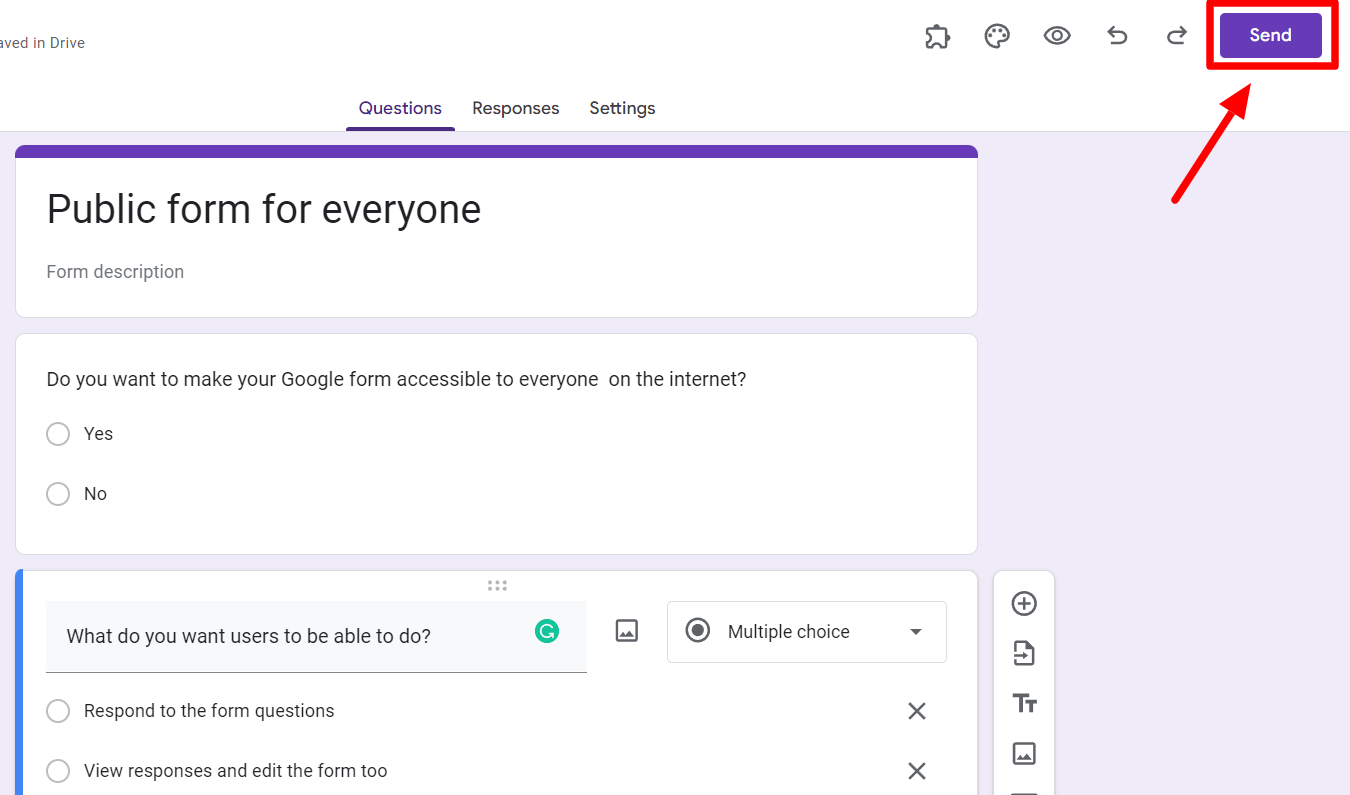
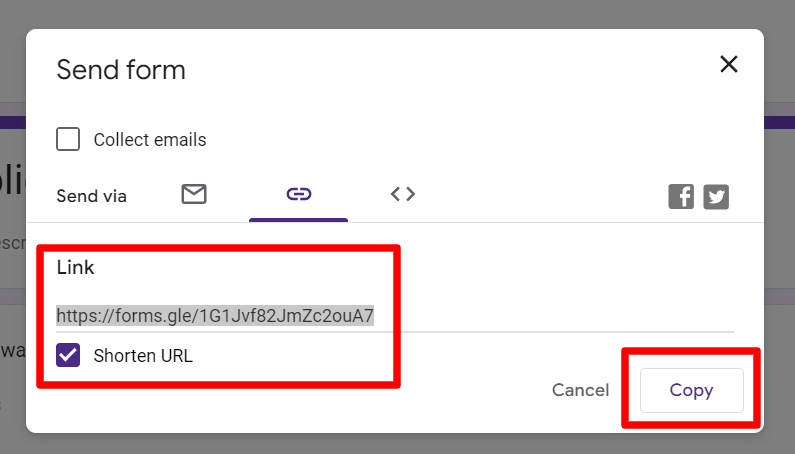
Find and click the Send button on the form you want to share. Doing this will open up a pop-up window like this:
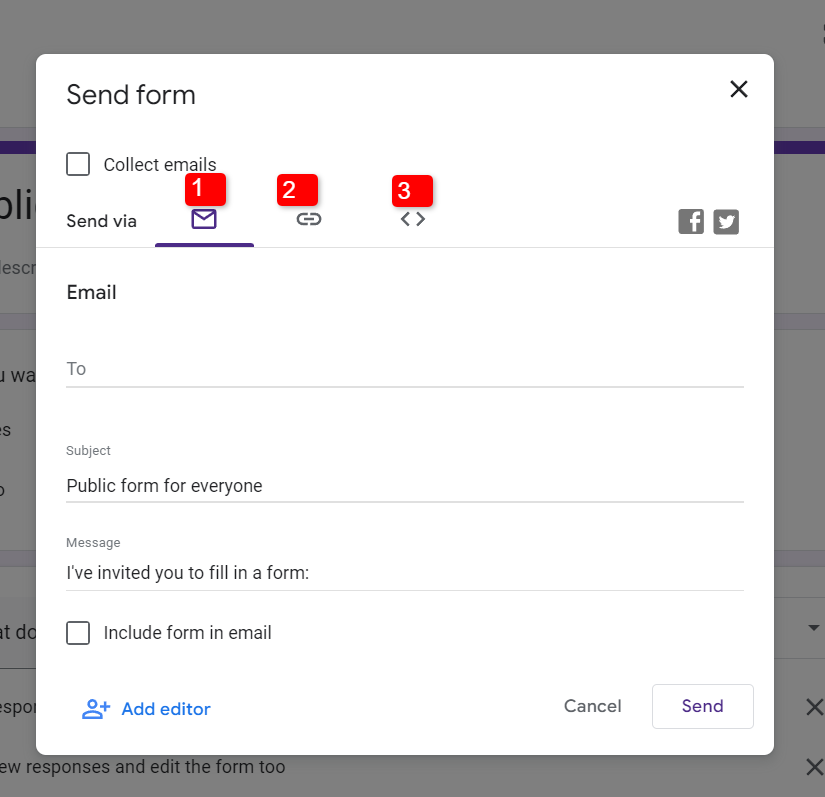
Here, you can see all your options for sharing your form with someone. The first and most commonly used method is via email. When this option is selected, you simply have to provide the email addresses of the people you want to share the Google form with.
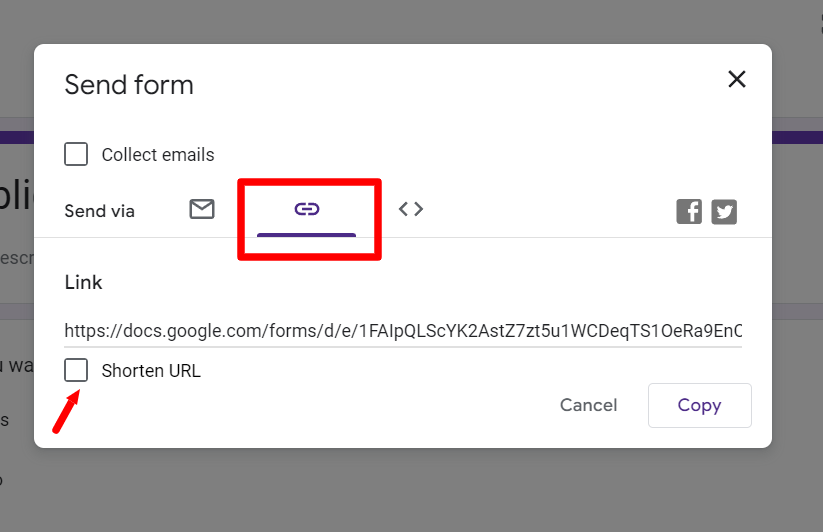
The second option for sharing your form is more appropriate if your form is public. This is through a link. You can copy the link and paste it anywhere for the form to be accessible. The hyperlink to the form is usually long, so Google provides an option to “Shorten URL” for ease. You can even make the link a QR code that can be scanned!
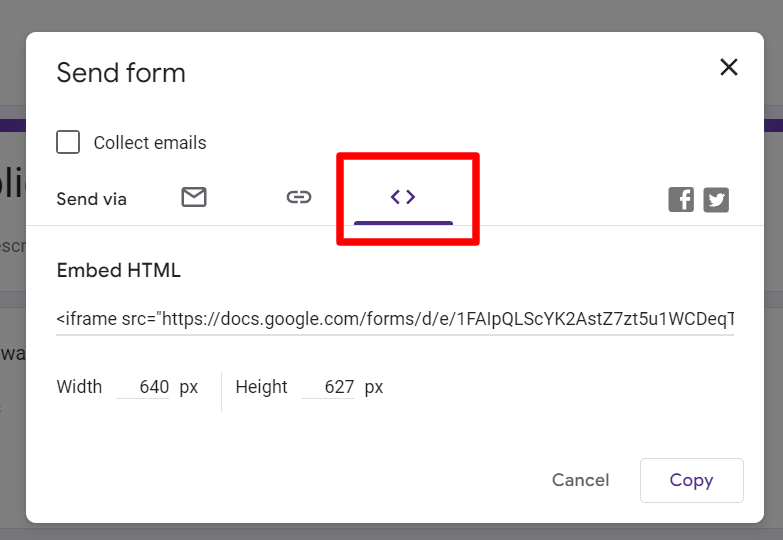
Embedding it into a webpage is the third option for sharing your Google Form. If the form is public, any user can access and respond to the form as they scroll your site.
How to test if your Google form is public
Now that you have gone through the steps to make your Google form public, you may wonder if there is a way to verify that your form is public. To test your form, press the Send button and toggle to the URL tab. Copy the URL.
Open a browser where you will not be automatically signed into your Google Form. You can also open an incognito tab.
Now, paste the copied link into the URL field. This should open your form without requiring a sign-in. However, if you have not successfully made your form public, you will see a pop-up window requiring a sign-in.
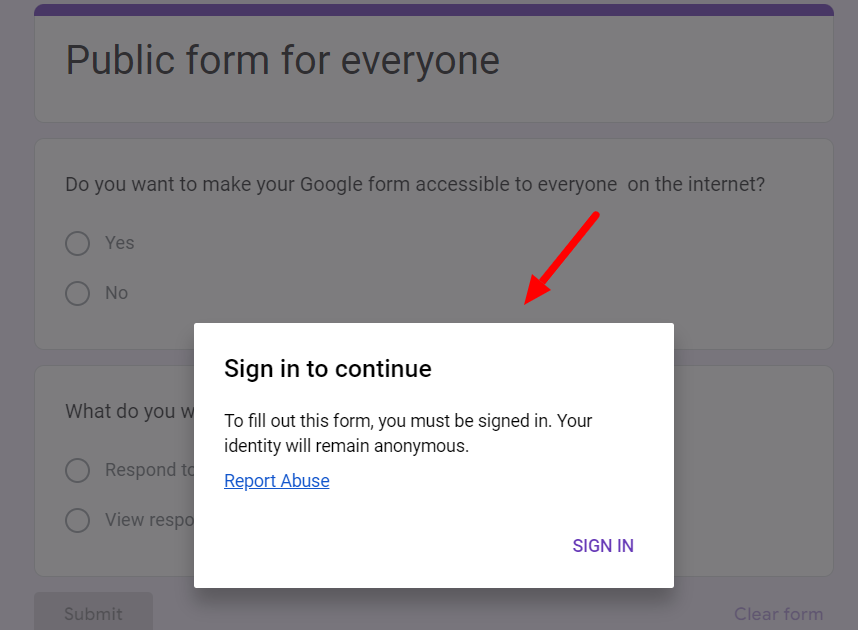
If this pops up, go back to your form and double-check that you turned off the right settings.
Things to keep in mind when making a Google Form public
While making a Google form public is easy, there are a couple of things to be mindful of that will ensure the success of your form.
How to make a Google Form public but not editable
As mentioned already, there are two ways in which a user may interact with your form: as respondents or as collaborators. Respondents can view your form and provide their responses. However, they can not edit the form or view other responses.
Collaborators, on the other hand, can edit the form and the responses. You can add collaborators to a form by clicking on the “More options” button and selecting “Add collaborators.”
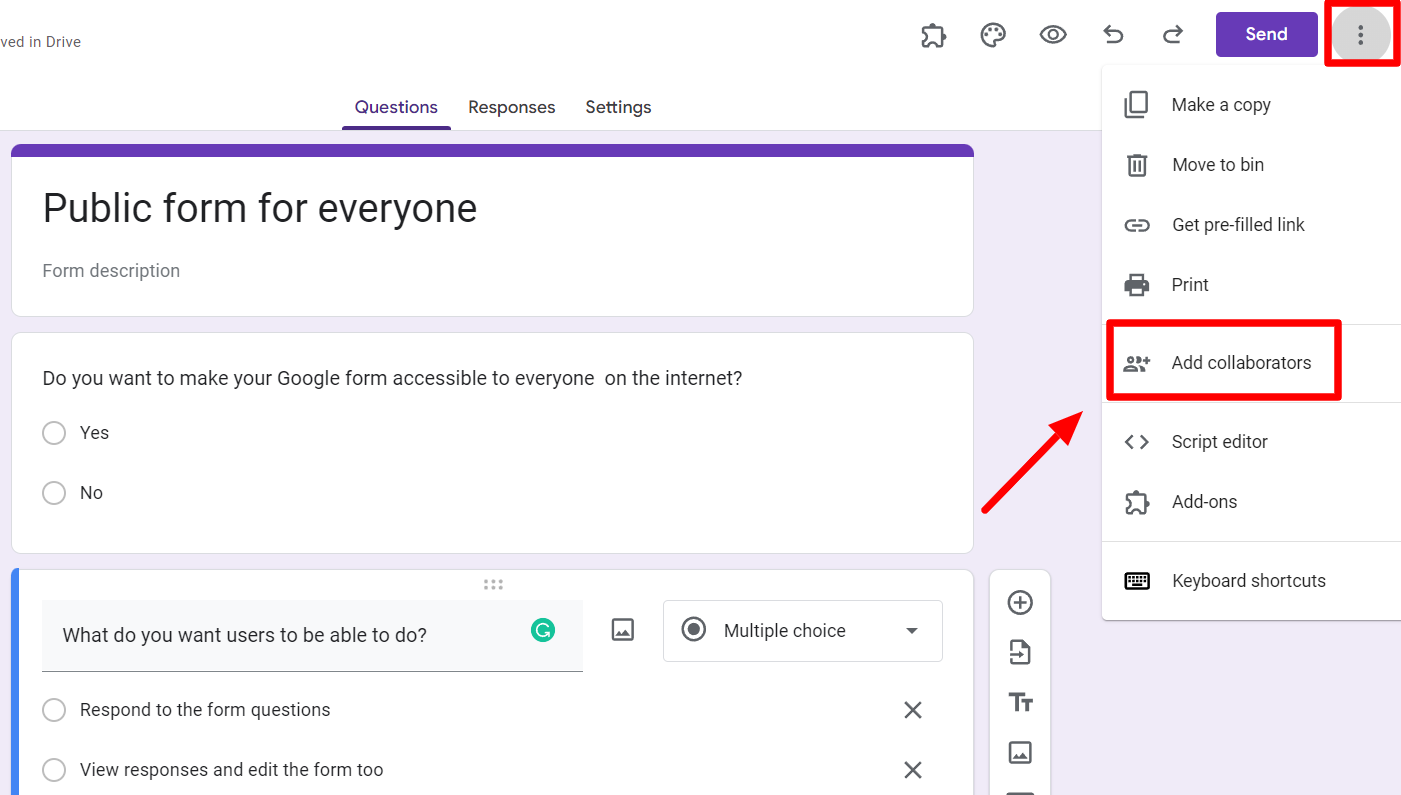
After clicking this, another window will open where you can enter the email of the people you want as collaborators to your form. You should ensure that the Google form access is set to “Restricted,” which means only the people you grant access to can edit the form.
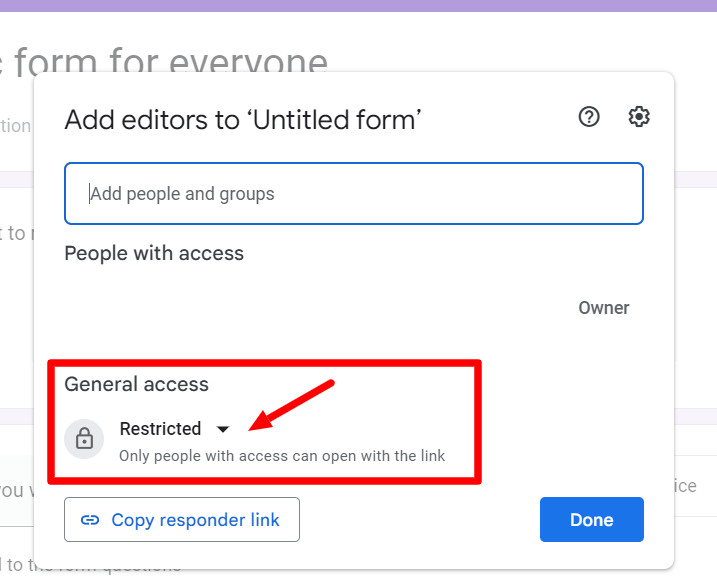
Selecting the other option (i.e., “anyone with the link”) will grant the editor access to anyone with the form URL and make your form publicly editable. Giving editor access to everyone should not be done in almost all cases.
Remember you can stop accepting responses any time
When you make a form public, you can expect to get a lot of responses. However, if you’ve reached the limit of the responses you need, there is a simple way to stop receiving responses immediately.
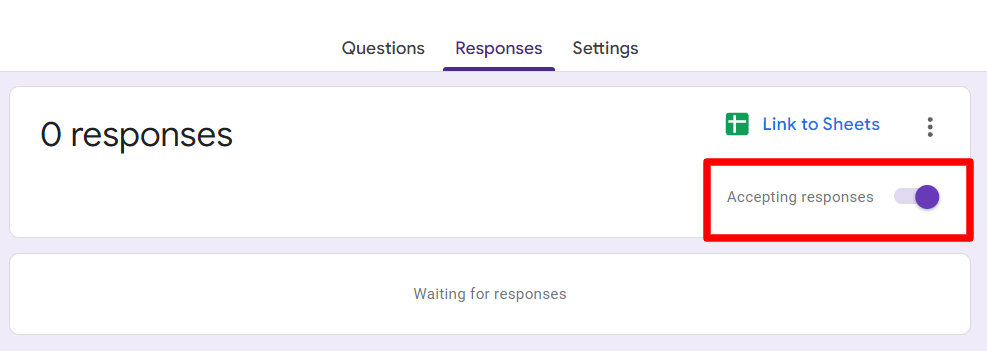
Go to the Responses tab in your Google Form. Here, you will see that the “Accepting responses” setting is turned on.
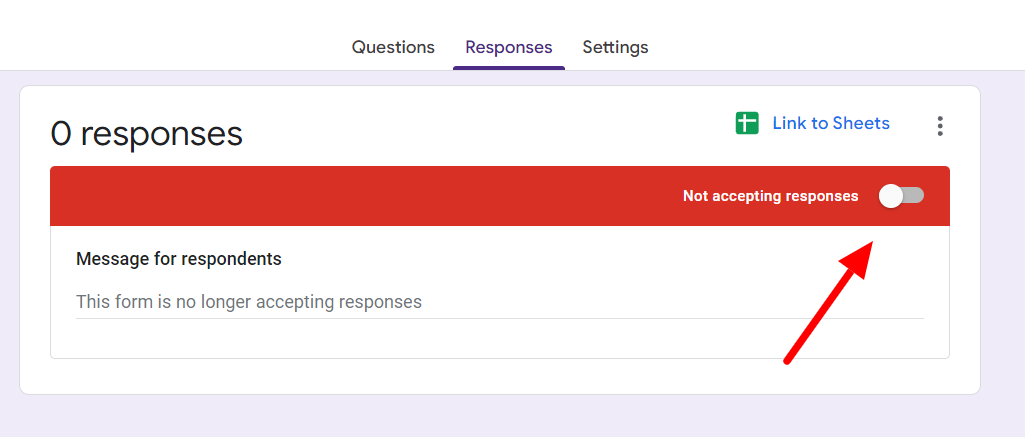
To stop receiving responses, turn it off, and your form will stop being available for responses. You may even enter a custom message to display when someone tries to respond after you’ve stopped accepting responses.
How to make a Google Form public but not editable
The reason you want to learn how to make your Google Form public is that you want to collect as many responses as possible. These responses can come from different sources including people you don’t know. So now that you’ve made your form public, you need to learn how to publish your Google Form for free so that people can find it and fill it up.
The usual methods of doing this include emailing it to everyone you know, posting it on your socials, and even sharing it through SMS or WhatsApp to all the numbers that you have.
Beyond these ideas, you can share the public link of your Google Form in open Forums such as Quora and Reddit. For instance, there’s a subreddit called r/SampleSize, where you can share your form and have people from across the world fill it for free. To ensure the sanctity of your target audience, we recommend tagging your post properly in the subreddit.
Go widen your survey reach with public forms
Now that you know how to make your Google Forms public, you can make your form accessible to everyone. This ensures that your surveys can be filled out by anyone. Remember that you need to be careful not to make the form publicly editable!If you work with Google Forms a lot, understanding all these features can help you become more effective. Head to the Form Publisher blog to learn more about Google Forms and explore how Form Publisher can take your Google forms experience to the next level.