
The business landscape is full of risks and legal considerations. Crafting a comprehensive liability waiver form is crucial for safeguarding your business and minimizing any potential legal risks.
This step-by-step tutorial will cover how to create a liability waiver form that meets your specific needs. You’ll learn how to include essential fields and details that provide the protection your business needs. So, are you ready to implement liability waivers confidently? Let’s dive in!
What is a release of liability waiver form?
A release of liability waiver form is a legal document that protects one party from getting sued by another party. It’s used when a person or business participating in an activity, event, or using a service agrees to release the provider from any liability for injuries, damages, or losses that may happen during that activity.
Various situations, such as sports events, recreational activities, fitness classes, etc., have inherent risks. By signing a release of liability waiver, the participant acknowledges the potential risks involved and agrees not to hold the provider responsible for any harm or injury if it takes place during the specified activity.
There are many different types of waiver forms, depending on the activity and risk involved. Here are a few:
- General release of liability waiver: Covers a broad range of activities and events.
- Event liability waiver: Specifically designed for events such as parties, weddings, and social gatherings.
- Property damage waiver: Focuses on protecting against damage to property during certain activities or events
- Transportation waiver: Addresses potential risks and liabilities related to transportation services.
The form is a legal tool designed to minimize the risk of lawsuits and protect the entity providing the service or organizing the event. This is why the waiver form must be explicitly tailored to the event or service involved.
How to create a general liability waiver form with Google Forms
Here are the steps to creating an effective general liability waiver form using Google Forms, a free platform for form creation.
Step 1: Create a new Google Form
Navigate to your Google Forms.

Click on the ‘Blank form’ button to start a new form.
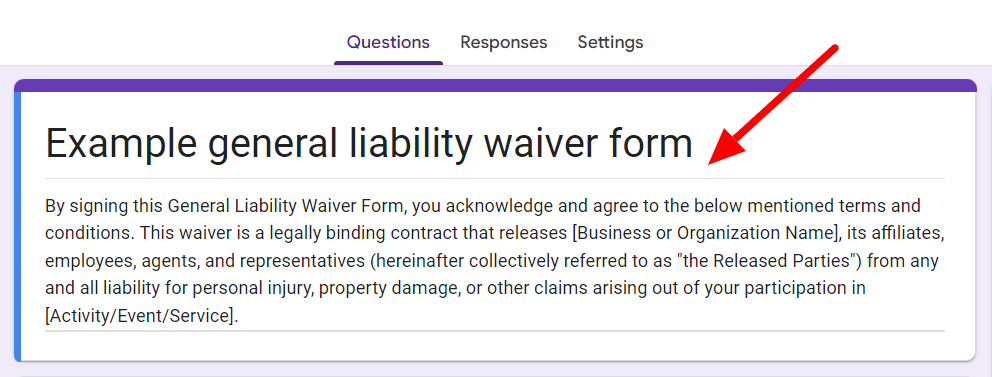
Give it an appropriate title and description. In the description, you can introduce the liability form and its purpose. You should also mention that it’s legally binding and clearly state the name of your business, organization, or individual to whom the waiver will apply.
Step 2: Describe in detail the activity and its location
This section must be specifically tailored to the activity for which the waiver is sought. Let’s assume that this form is a skiing-related general liability waiver.
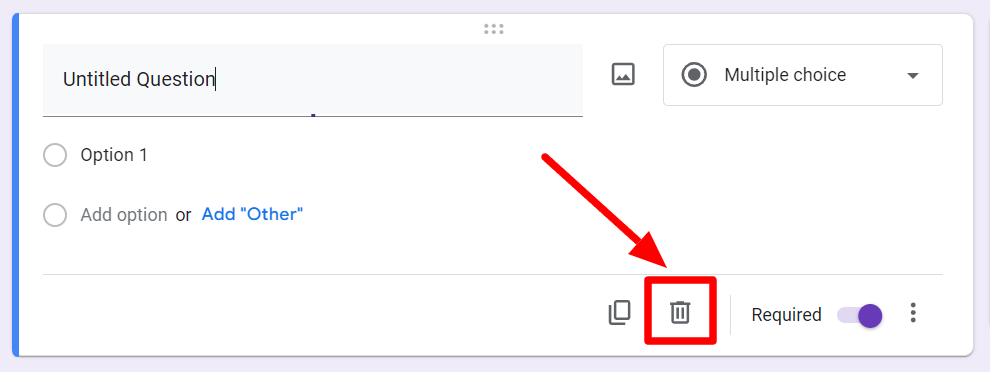
Every Google Form starts with a default question. Click on the trash can button to delete this question.
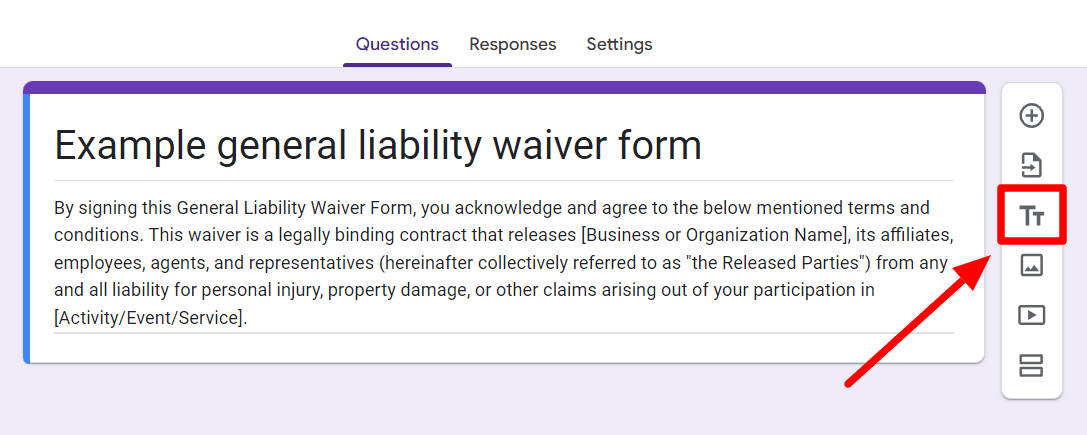
Click the ‘Title and description’ button in the flotation menu.

Title the added block appropriately and describe the activity and location in detail. Frame the waiver in the first-person language.
Step 3: List the possible injuries and risks
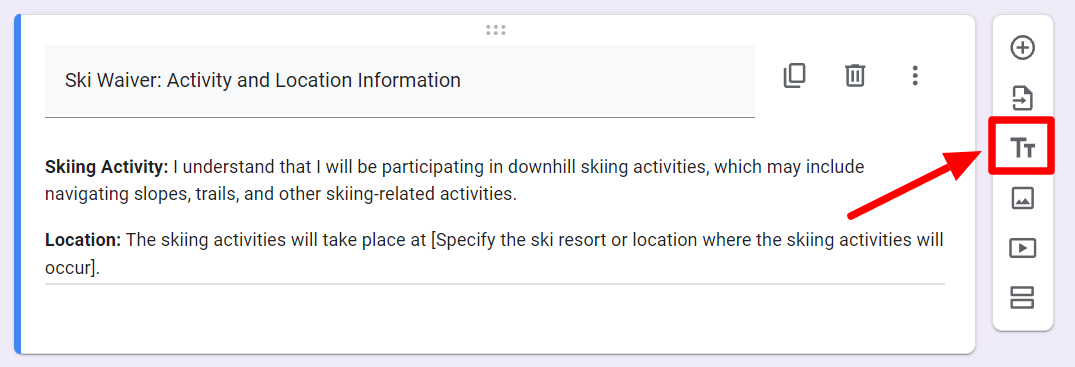
You can add another title and description box by clicking the ‘Add title and description’ button from the floating menu.
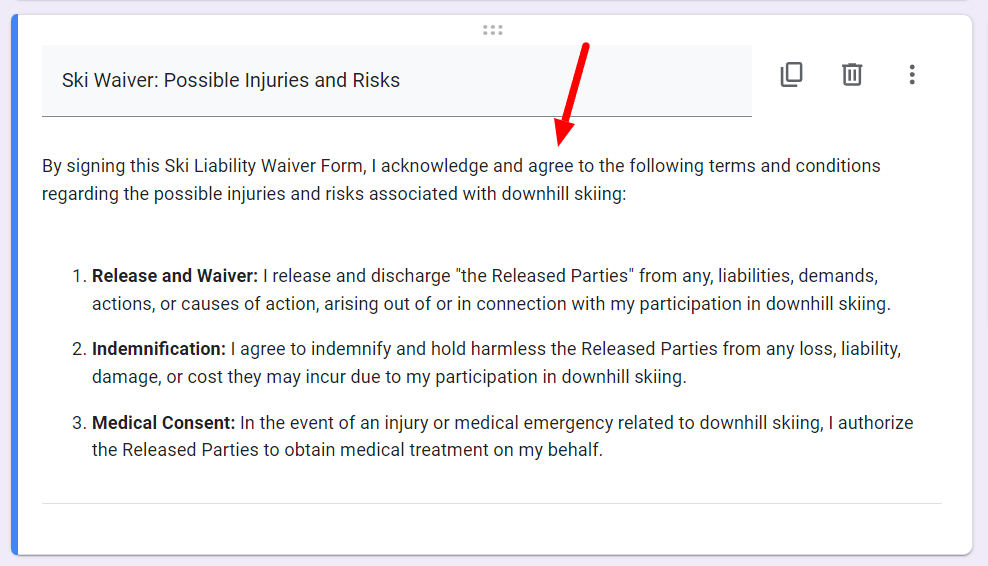
Title this block: ‘Possible injuries and risks.’ Then, input the release waiver and indemnification statements. You can also add medical consent if relevant. It’s a good idea to have these sections reviewed by a legal professional before distribution.
Step 4: Include fields to enter name and accept risks
Now that you’ve added the waiver statements, it’s time to collect the participating party’s name and their final agreement to accept risks.
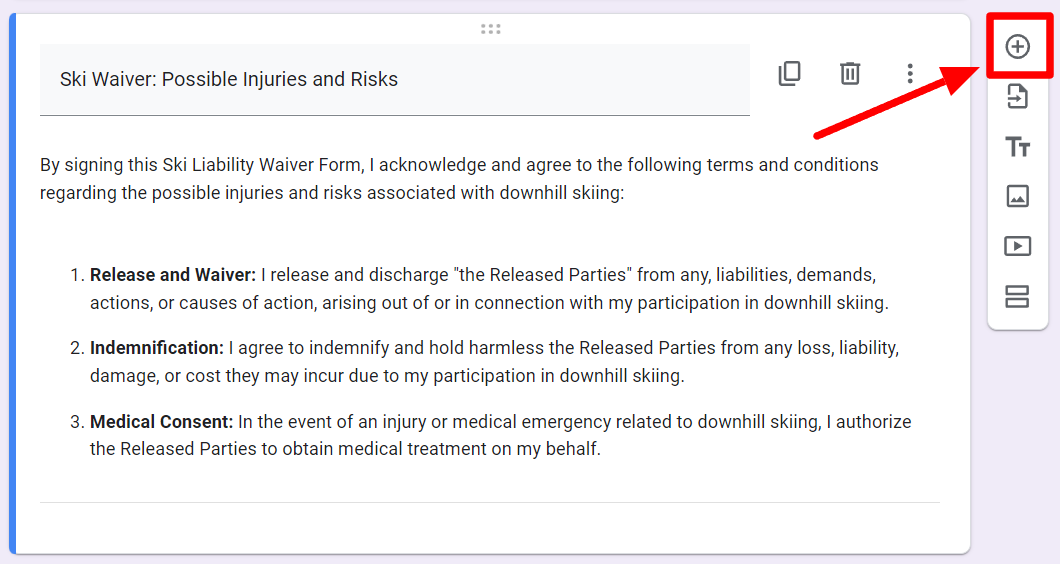
Click the ‘Add question’ button to add a question to your form.
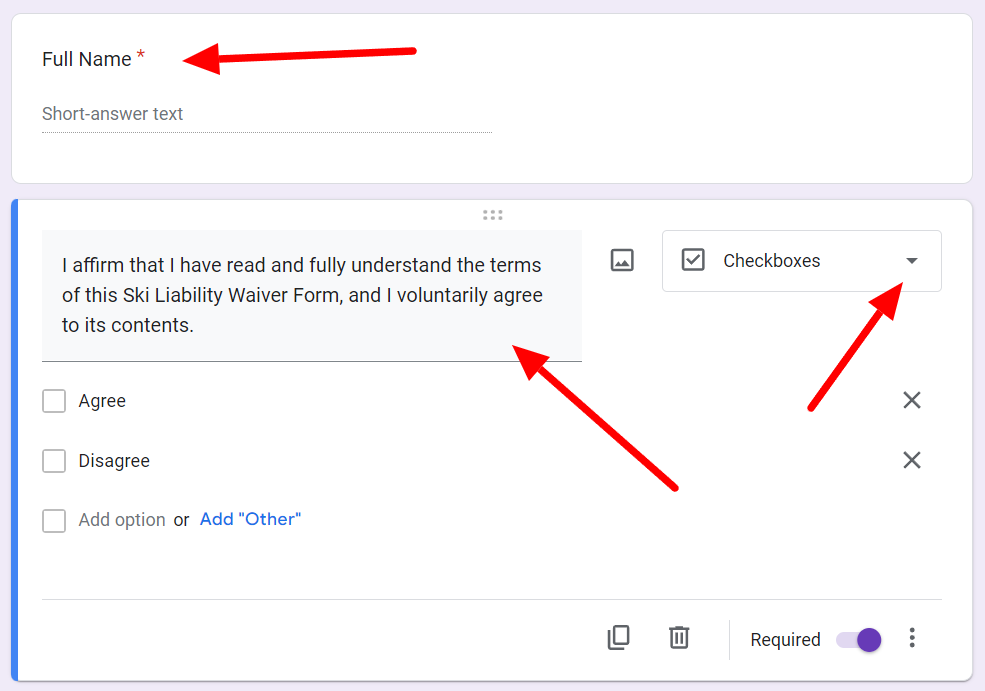
Add a short answer format question to gather the name. Then, insert another question and input an agreement statement. You can opt for the ‘Checkboxes’ format for this question.
Step 5: Collect e-signatures and autocomplete documents with Form Publisher
Since waiver forms are legally binding documents, you should ideally collect e-signatures in every form. However, Google Forms doesn’t have an inherent feature for doing that. If you want to make your waivers legally binding by collecting e-signatures, you can rely on Form Publisher.
Form Publisher is a Google Forms add-on that allows you to collect signatures in your Google Form, automate individual document creation, and expand the workflow capabilities of Google Forms.
Create beautiful, printable waiver of liability forms for free with Form Publisher
If you’re making waiver forms, you should consider making them printable. While it’s possible to print Google Form responses, Form Publisher makes it easy and efficient. Guess what? If you’re making waiver forms for your business, you can also reflect your branding by adding your logo to your form.
If you’re making forms, you can do all this and more with Form Publisher. Explore all that Form Publisher can do!