
Are you organizing an event and need an efficient way to manage registrations? Look no further than Google Forms registrations! Google Forms is a simple but powerful tool that enables you to design customized forms and collect responses, all for free.
In this blog post, we’ll show you how to create a form with Google Forms for event registration to ensure a smooth and hassle-free experience for you and your attendees. Let’s get started!
How to create a Google Registration Form
Step 1: Create a new Google Form
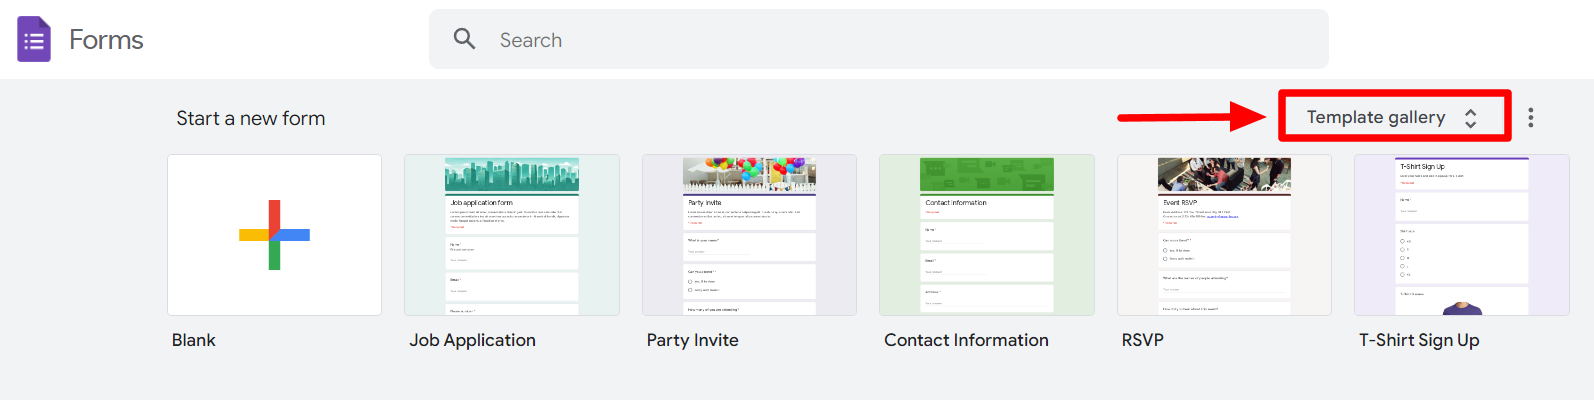
Navigate to your Google Forms. You can start your form with a premade template or choose a blank form to start from scratch.
To choose a template, click on the “Template Gallery” to open the full selection of templates that Google Forms offers.
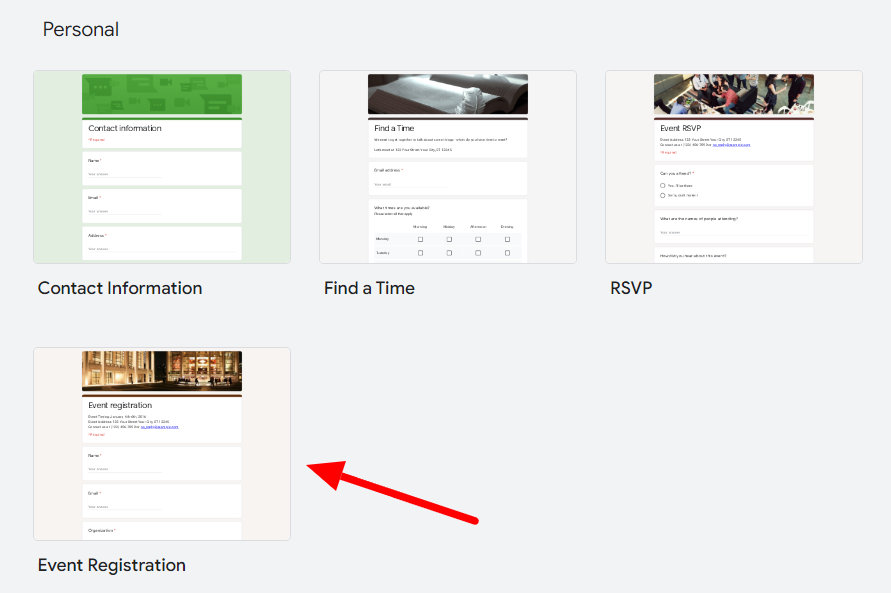
To create an event registration form, find and click on the “Event Registration” template.
Alternatively, click the “Start a new form” button to open a new blank form. We’ll be starting with a blank form.
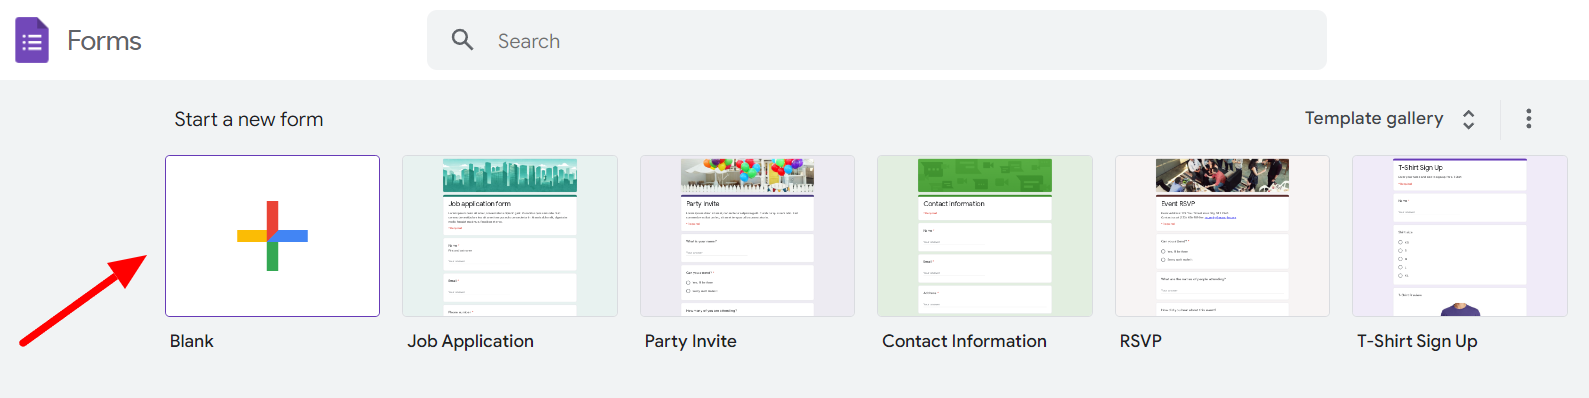
However, if you’ve picked a template, you can still follow the steps below to customize it to your needs.
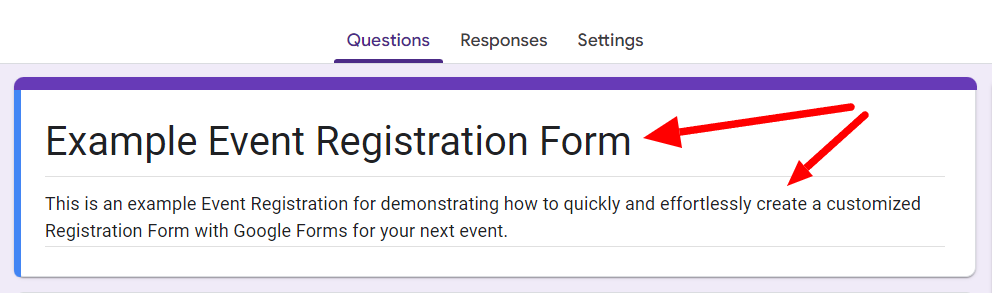
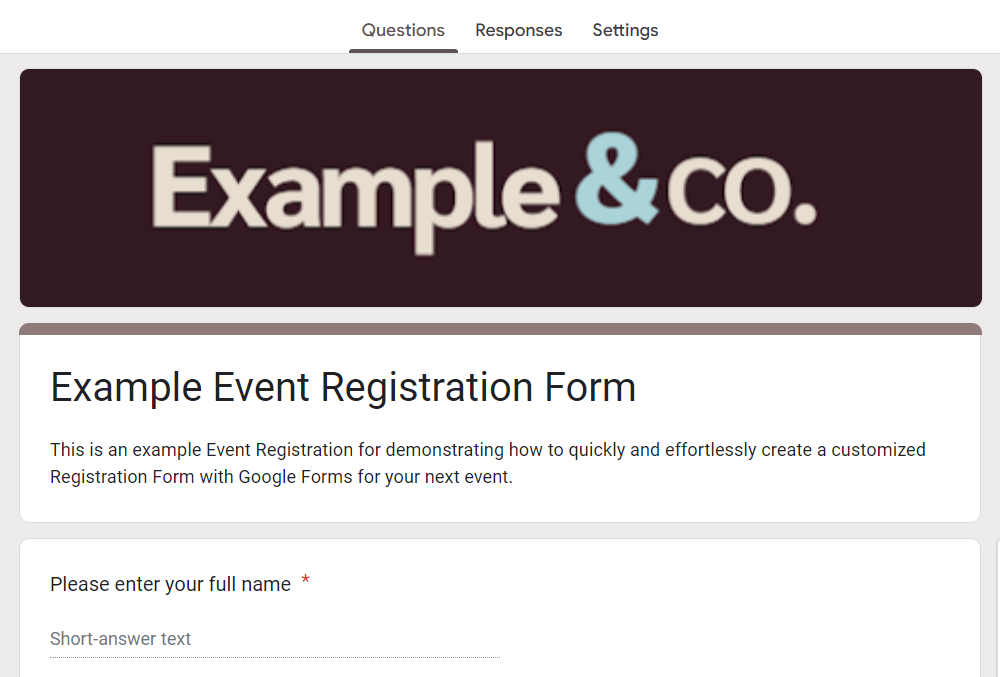
Step 2: Add a title and description of the event
Enter an appropriate title for your form. Under the title, add a description. Here you can include a brief description of your event and relevant associated details like the date and time of the event, event hosts, speakers, etc.
Step 3: Add necessary registration questions
Now, it’s time to add the necessary registration questions. If you’ve picked a template, it comes with a few appropriate questions for an event registration form. However, here are some pieces of information you might want to add questions for:
- Full name
- Contact details (email address, phone number, etc.)
- Name of and/or role in organization
- Which sessions/days do you want to attend?
- What are your expectations from these sessions?
- Dietary preferences
- Accommodation requirements
- Mode of payment
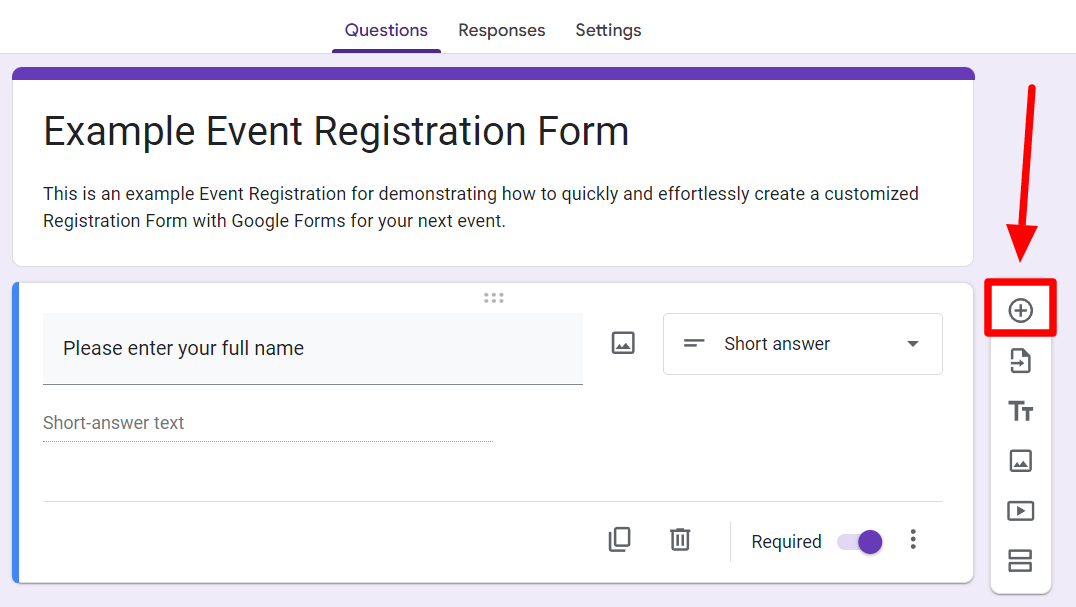
To add a new question, click the “Add new question” button (+ icon) on the floating menu next to the Google Form.
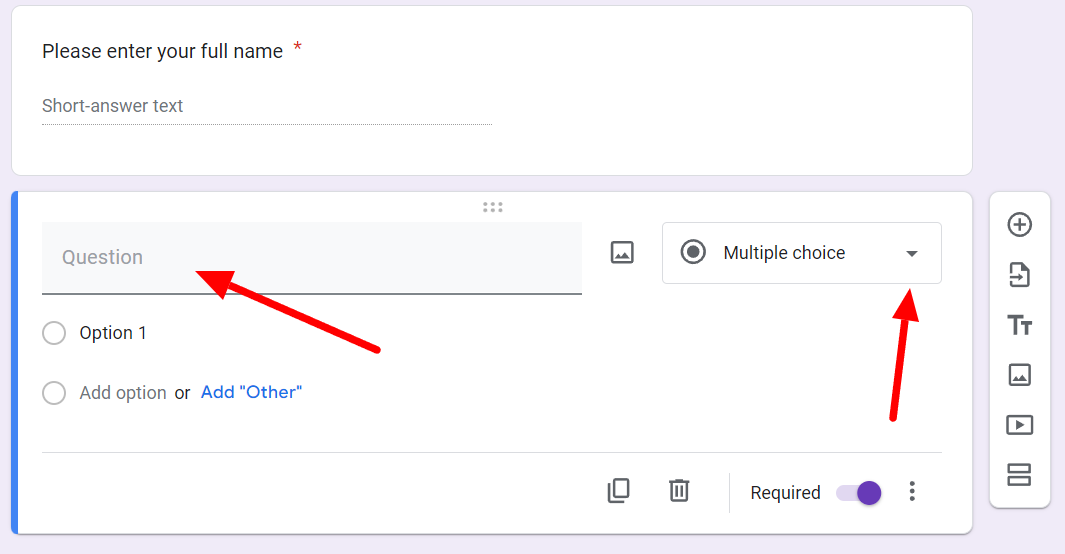
When the new question window appears, enter your question in the empty question field. Then, click the dropdown next to the question field.
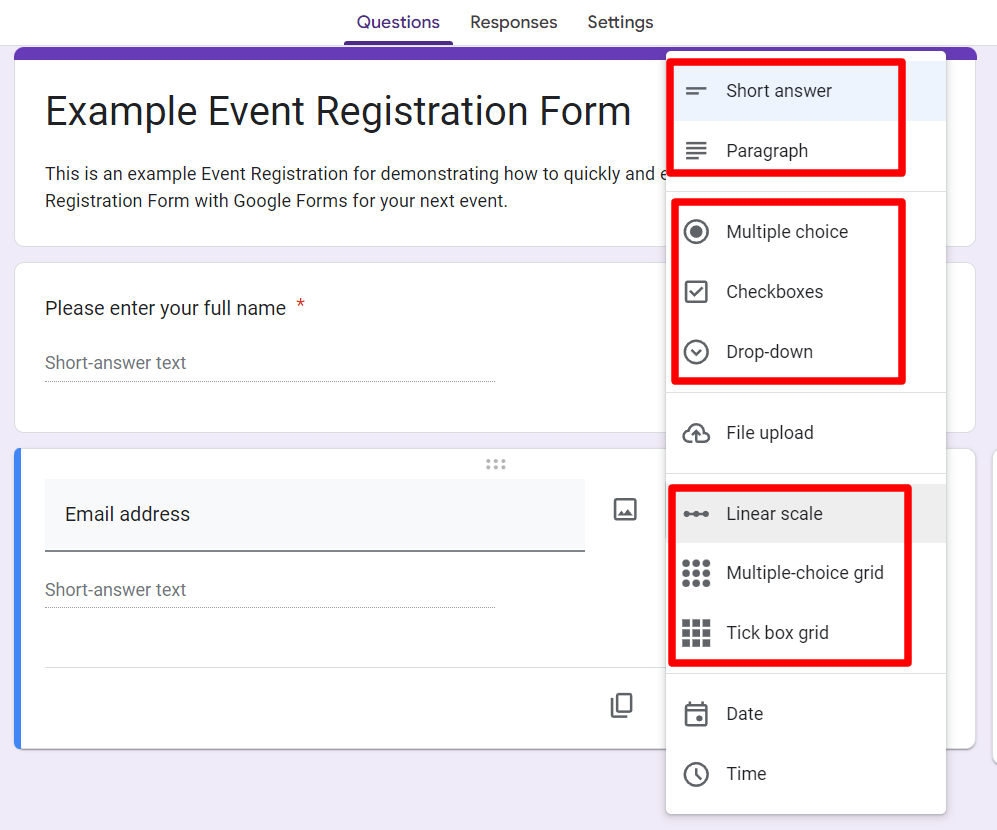
Google Forms provides tons of options for question formats that you can view in the dropdown. For email addresses, we’ll use a short answer question.
You can add the rest of your questions as described above. If there are too many questions on your event registration form or not all questions are relevant for everyone, consider using the skip logic branching feature of Google Forms. Learn about conditional questions in Google Forms.
Step 4: Customize the form’s theme
Once you’ve added all the requisite questions, you can move on to customizing the appearance of your form. To do this, click the “Customize Theme” button on the top right of your form.
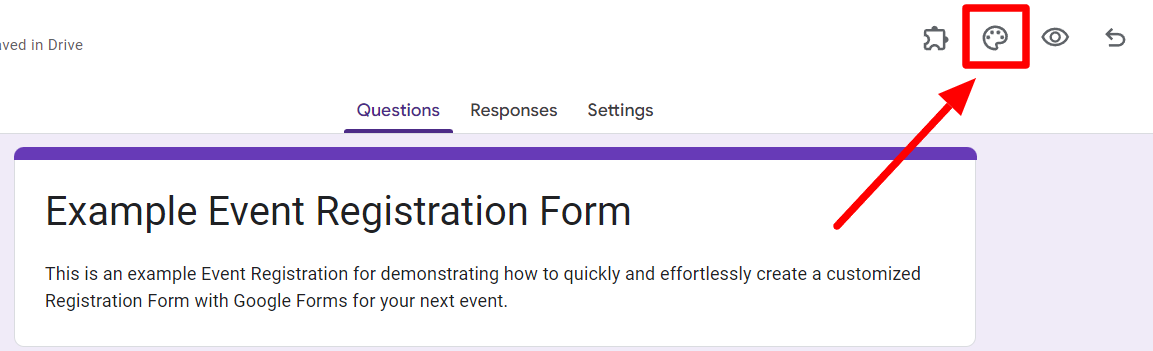
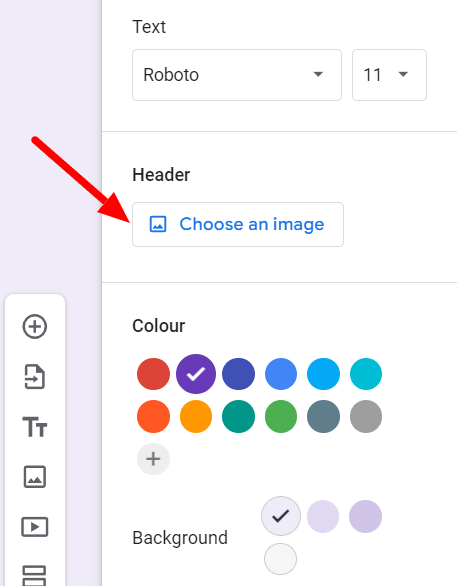
This will open up a side panel where you can change the text style of your form, upload a header image, and even change the colors of your form.

The easiest and fastest way to customize the appearance of your form is to upload your brand or company logo as the header image for your Google Form. To change your Google Form header image, click the “Choose an image” option in the side panel.
In the open window, click “Upload” and follow the steps to upload your company logo as the form header.
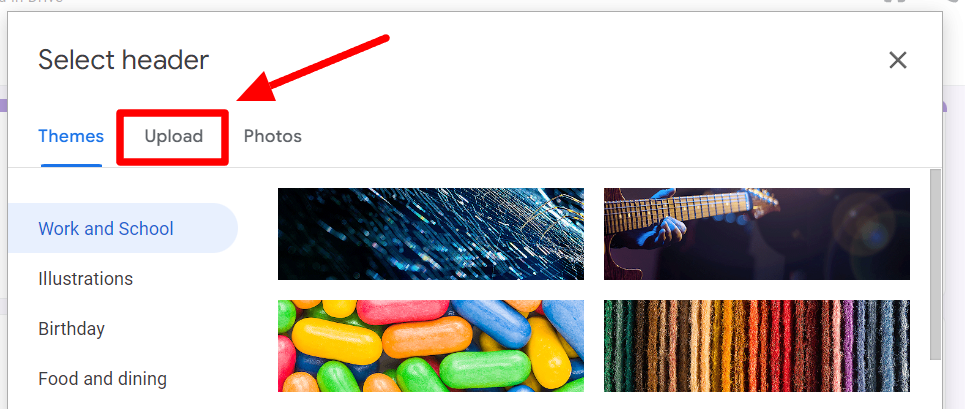
Make sure that the header image is sized correctly!
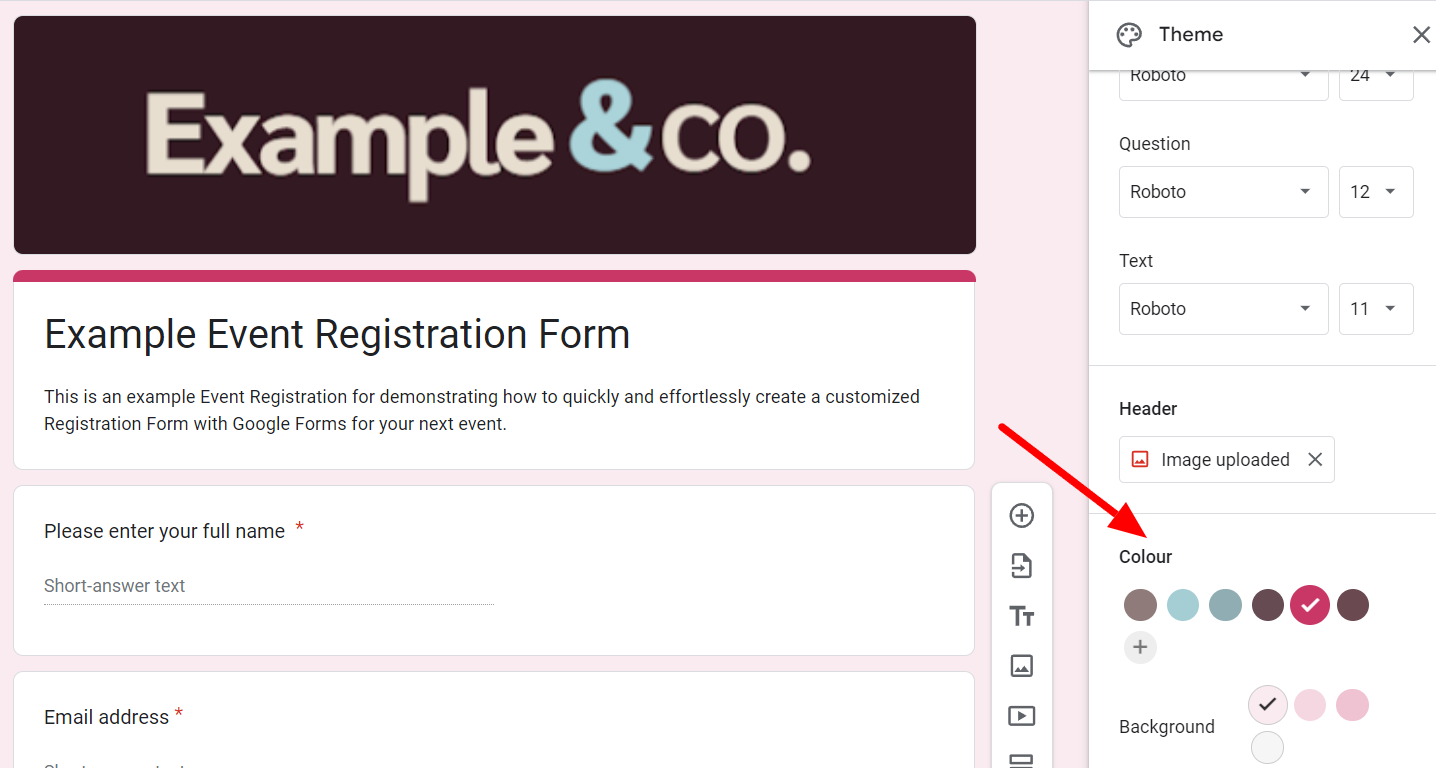
A great feature of Google Forms is that when you upload a header image, Google Forms automatically pulls the most flattering colors from the image and applies them to your form.
If you’d still like to modify the color scheme, you can do so from the side panel, where more complementary color palettes are listed. And with that, your event registration form is done!
Step 5: Test it out before sending
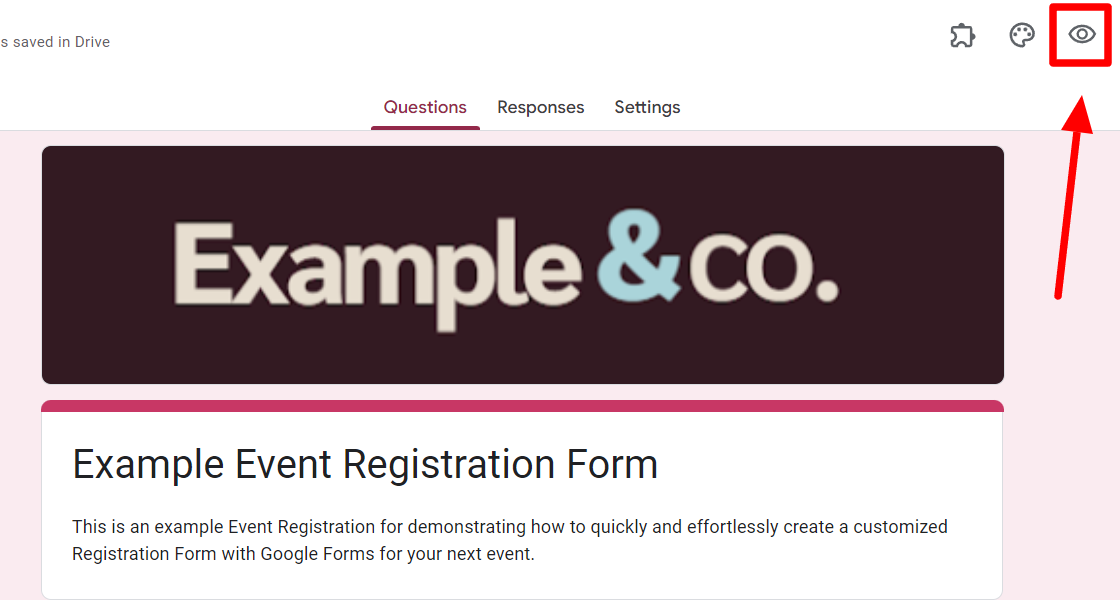
Now that your event registration form is finished, click the “Preview” button to see how your form appears to your respondents. You can even fill out the form to test it before sending it.
Tips for making better online Google Forms Registration
Here are some more tips on how to make better Google registration forms:
Customize the event registration form confirmation message
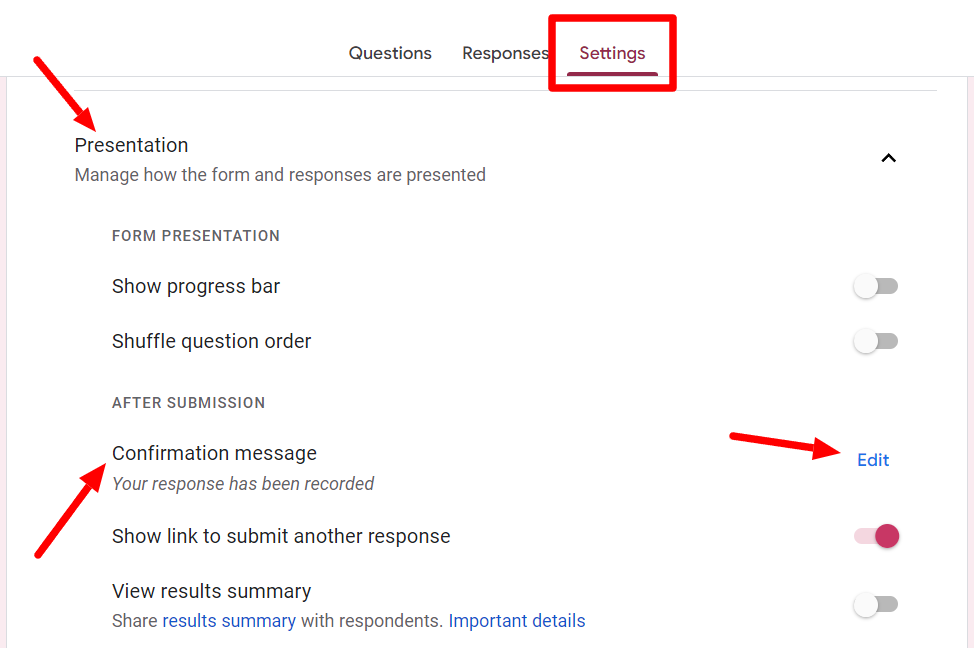
Rather than having your event attendees see the generic, default confirmation message when they submit the form, create a customized message instead. This is quickly done and can leave a lasting impression.
Open the “Presentation” tab under Settings. Then, click “Edit” before the confirmation message and enter your new personalized message here.
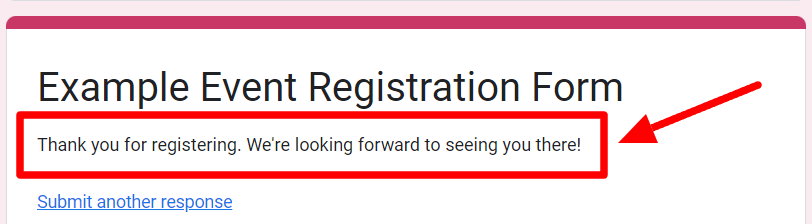
Now, when your event attendees fill out your form, they’ll see your custom confirmation message.
Collect email addresses by default in your Google Forms registration
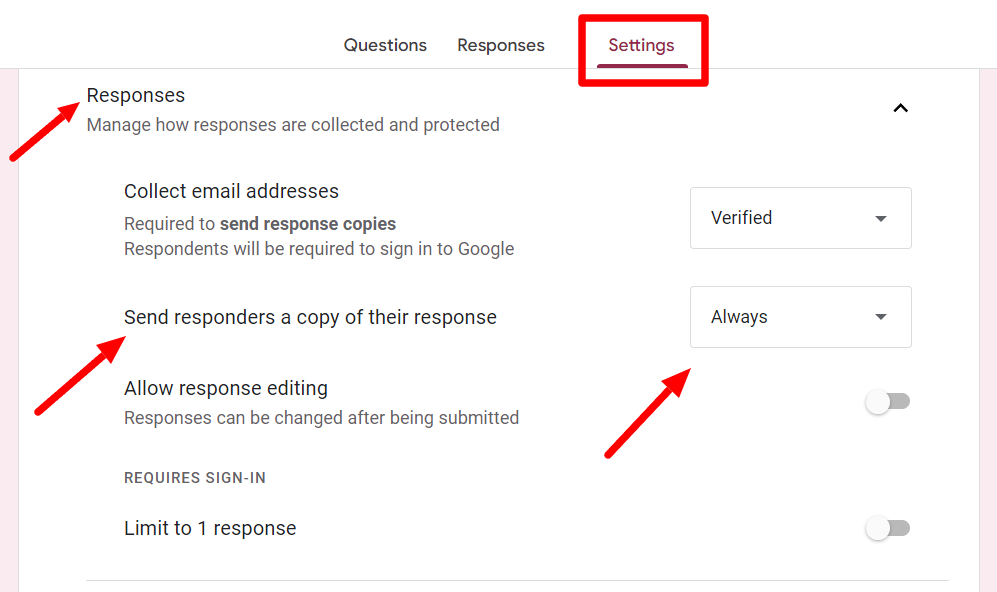
Another way to make your Google Forms registration application more effective is by simply collecting email addresses by default. To do this, go to the “Responses” tab under Settings and ensure your form collects email addresses.
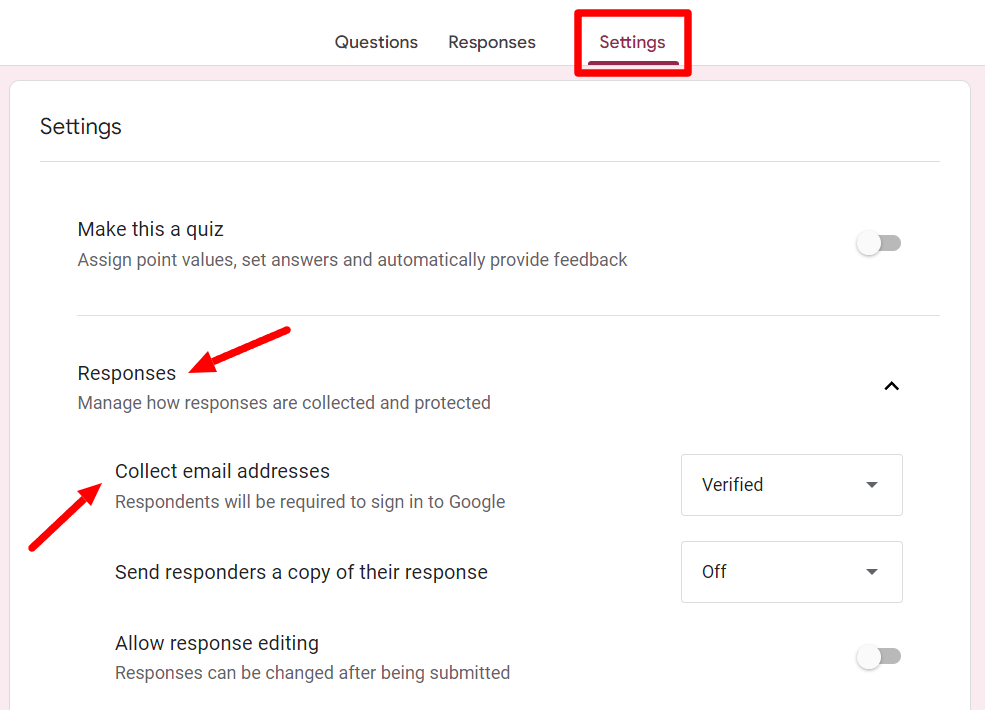
You can even remove the question in your form for collecting email addresses if you do this!
Send the respondent a copy of responses
Sending the respondents a copy of their responses is a great way to close the registration loop. One way to do this is through the Google Form settings. Under the Responses tab of Settings, ensure that “Always” is selected for sending responders a copy of their response.
However, there are better ways than this, as your respondents will receive a generic, non-personalized, and bland copy of their responses sent to their inboxes. There’s a better way: Form Publisher!
How to create a Google Form for event registration with the help of Form Publisher!
If you want to send your event attendees a customized and personalized copy of their event registration response, use Form Publisher!
Form Publisher allows you to generate customized documents based on the information provided by your attendees in Google Forms. Imagine being able to automatically send personalized confirmation emails to each registrant, complete with event details, schedule, and any other relevant information.
This saves you time and creates a professional and personalized experience for your attendees. Is this something you could use for your event registration form? Get started with Form Publisher today!