
Running a business is tricky because you have to comply with various employment, labor, and financial laws. However, choosing the right tools can significantly streamline your legal workflow and ensure proper compliance.
Google Forms is a versatile and user-friendly tool, and with just a little help from a smart add-on, it can help you transform your workflow for the better. Below, we’ll explore how you can reshape the way you manage information and automate routine tasks within your legal compliance team. Ready? Let’s begin!
Are Google Forms legally binding?
While Google Forms is a valuable tool for data collection, it isn’t legally binding. However, it is a document, and the same parameters that apply to other documents may also apply to it.
The enforceability of a document relies on various factors. There needs to be a clear intent of the parties involved, the presence of essential legal elements like an offer or a contract, and some form of agreement.
Google Forms lacks the built-in security features required for legally binding agreements. However, if measures like e-signatures are included with the help of specialized platforms, depending on your jurisdiction and the nature of the agreement, they may be considered legally valid.
How to establish a workflow for legal forms in Google Forms
Whether creating legally binding forms or not, you can undoubtedly create efficient workflows to support compliance tasks in Google Forms. Here’s how.
Step 1: Download Form Publisher
Google Forms can do a lot already. However, it can do even more with Form Publisher. Form Publisher is an add-on that allows you to create documents automatically when a form is submitted, and then helps you create an approval workflow. The documents can even contain an area for an e-signature.
Head on over to the Google Workspace marketplace, download, and install Form Publisher.
Step 2: Create a form covering all items
Regardless of what kind of legal compliance form you’re dealing with, the first step is to create a form in Google Forms that suits your purpose. Creating a form in Google Forms is very easy. Here are the basics, and also feel free to follow our guide to creating a Google Form from scratch.
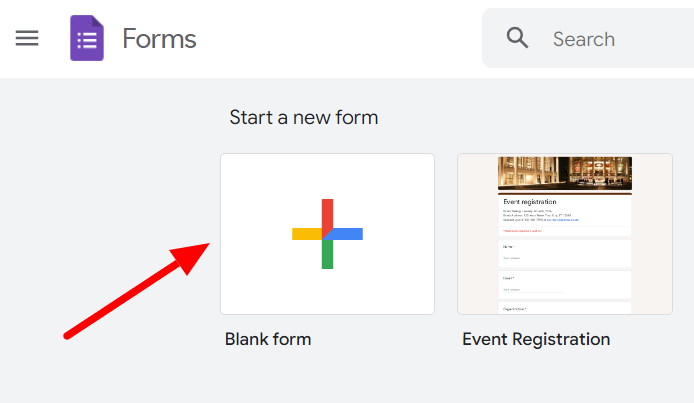
Click on the “Blank form” button to start a new form.
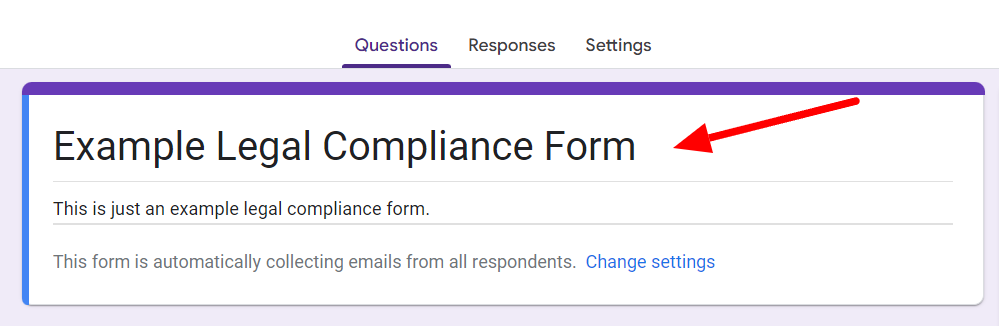
Give your form a name and a description.
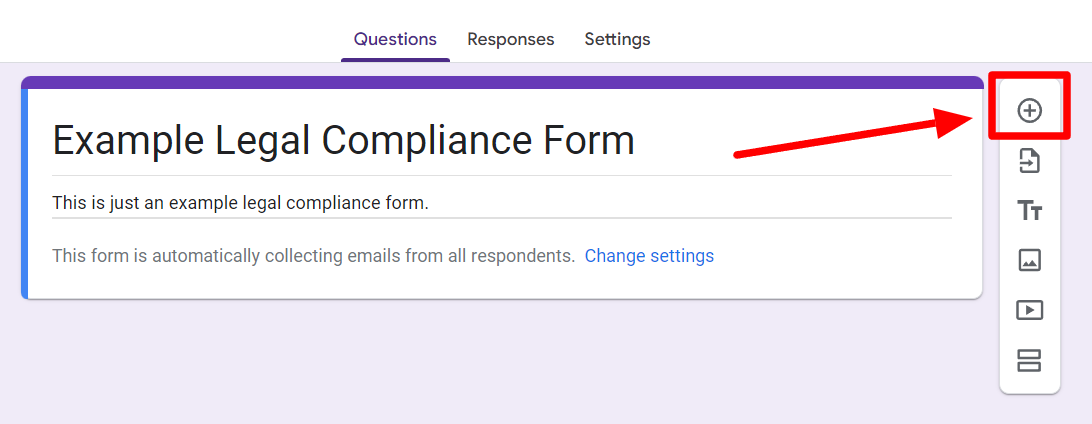
Click on the “Add question” button to start adding your questions.
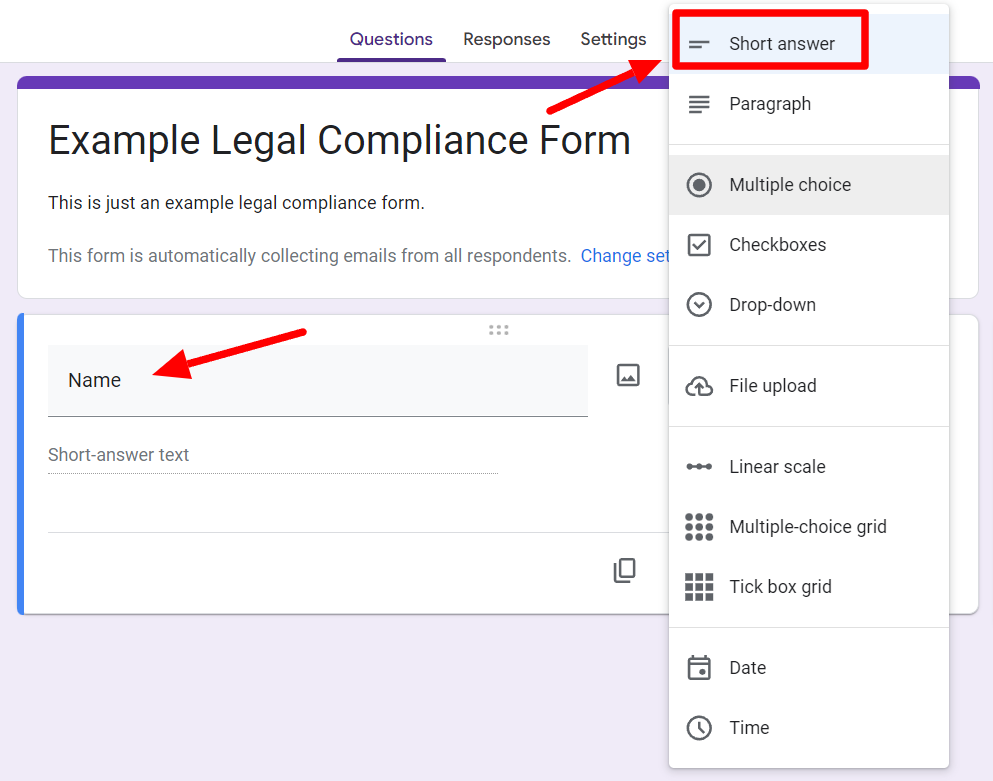
Add your question and choose the most appropriate question format from the drop-down menu next to it. When making forms for legal or compliance purposes, a few Google Forms features can come in handy.
Optional: Use file upload
If you want to add documents to the forms, you can use the file upload feature.
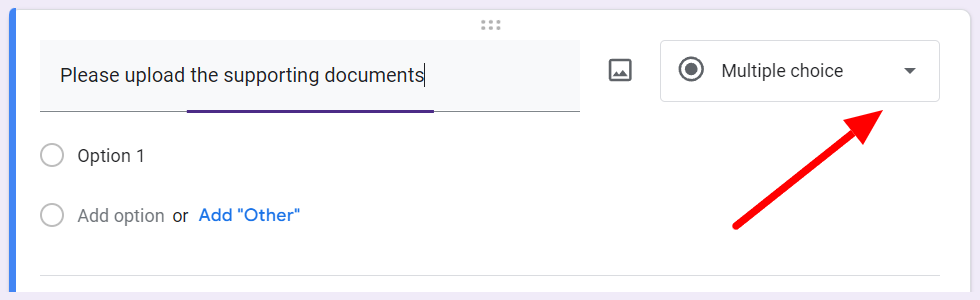
Enter your request in the question field and click the drop-down menu button next to it.
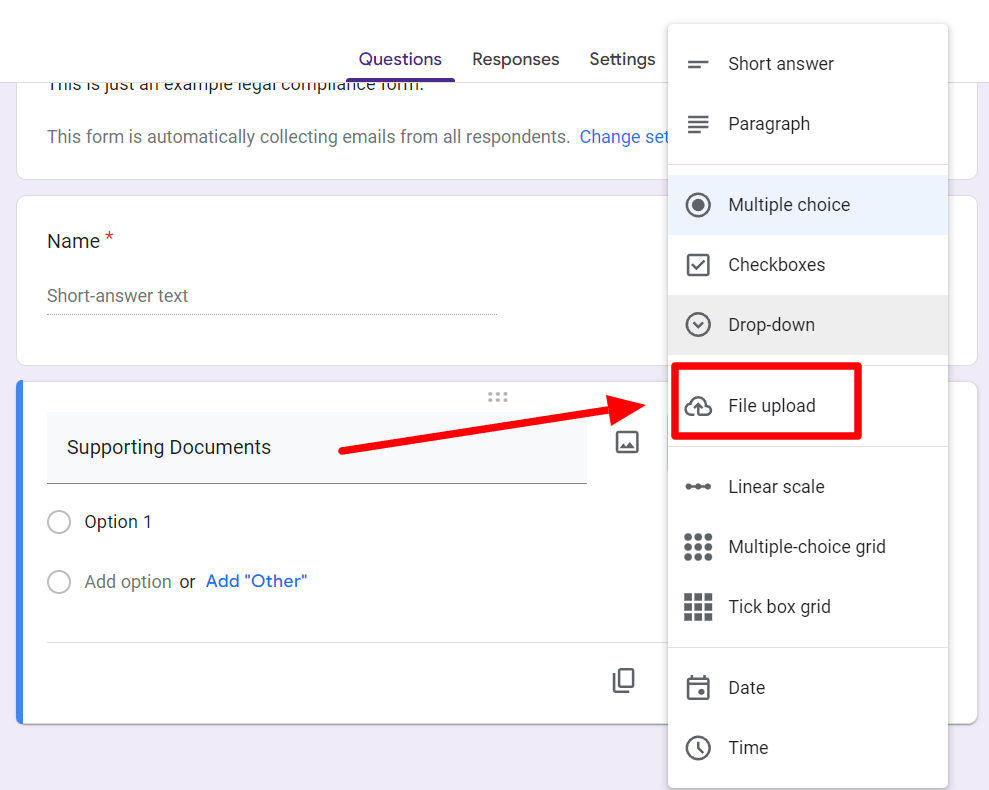
Find and click the “File upload” button.
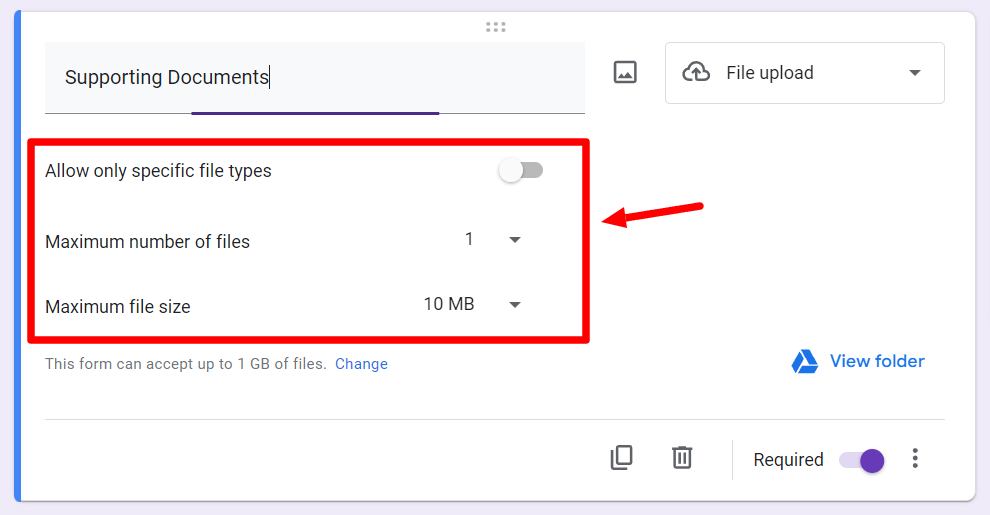
This will open up a new set of options under the question where you can allow certain specific files and set the maximum number and size of file size. Respondents will be able to upload important documents for your reference.
Optional: Use branching logic to skip N/A items
Not all questions are relevant for all respondents. Another feature worth noting is the branching logic to skip questions or items that don’t apply.
Skip logic branching allows you to add all the questions to your form but changes the sections available to the respondents depending on their responses. You have to set the parameter, though. Learn how to use branching logic in Google Forms.
Step 3: Define your Form Publisher parameters
Now, it’s time to turn your form into a workflow process.
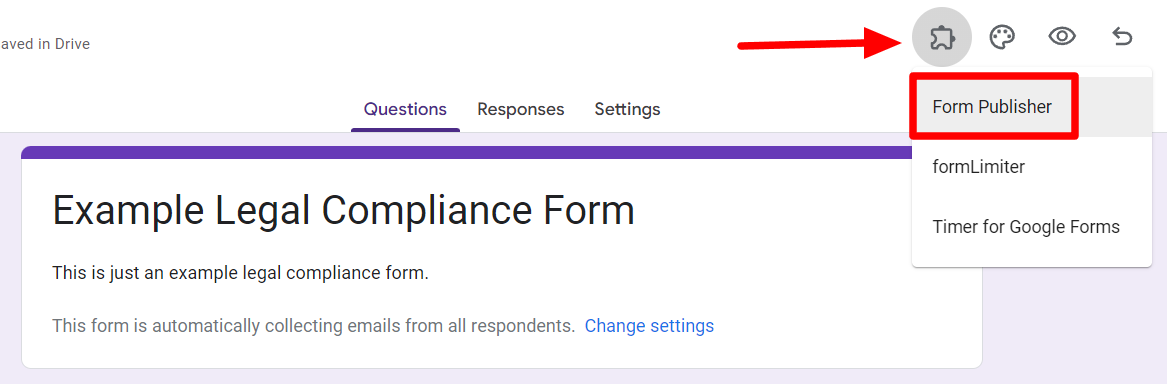
Click on the ‘“Add-ons” button in the top right corner. If you’ve installed Form Publisher correctly, it will appear in the list of add-ons. Select “Form Publisher” then select “Get Started.”
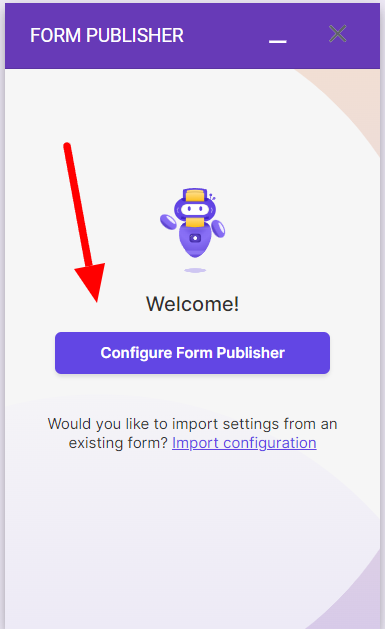
When Form Publisher opens in a new window, click “Configure Form Publisher.”
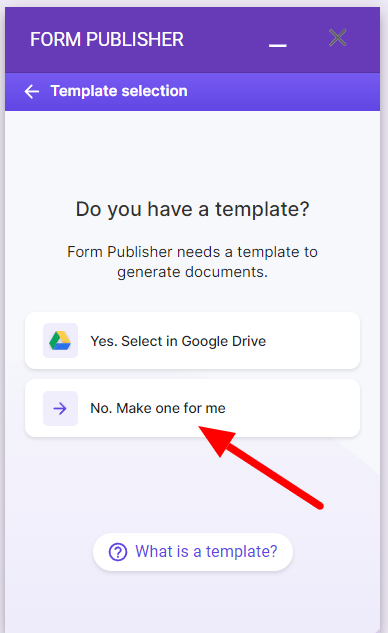
When Form Publisher asks if you have a template, select “Yes” if you do. For this example, we’ll choose “No. Make one for me.”
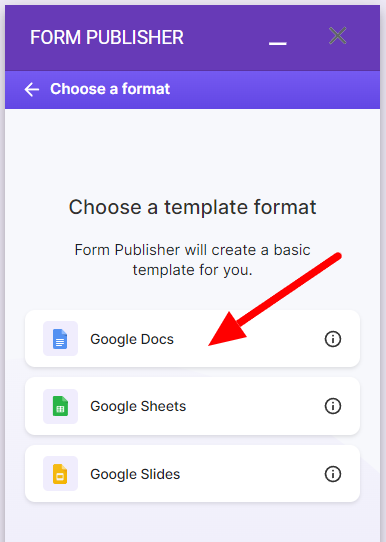
The add-on will then prompt you to select a format for the template it will create for you. We’ve selected Google Docs. Now, it's time to turn this form into an approval workflow.
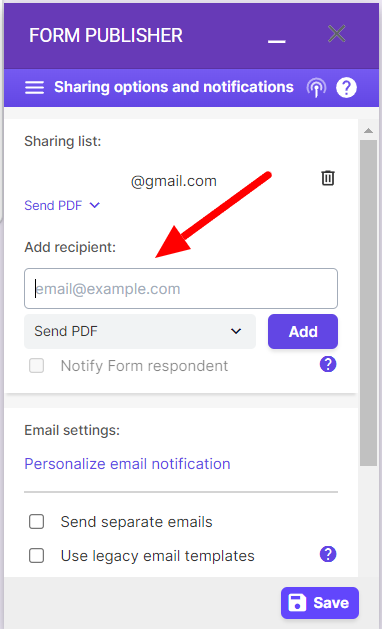
Go to “Sharing options and notifications” under “Settings.” In the recipient field, add their email address to which you want to send the form for approval.
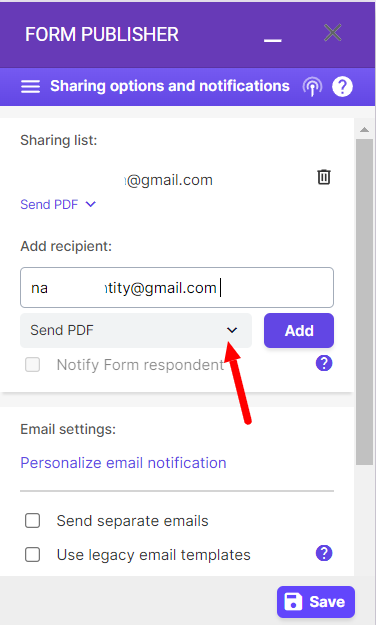
You can also select the format of the file that’ll be sent to them for approval.
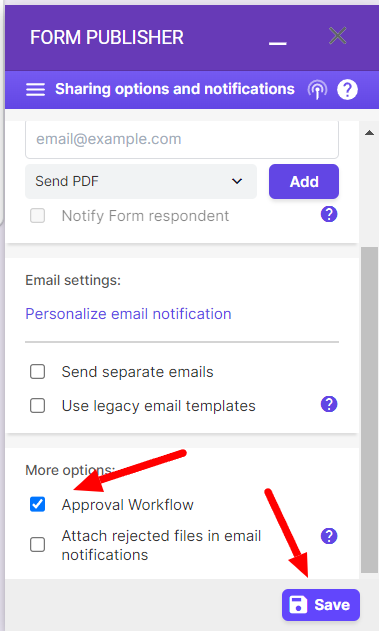
Scroll down to find “More options” and select “Approval Workflow.” If you want to receive rejected files, select “Attach rejected files in email” as well. Click Save.
Optional: Include an e-signature in request template
Now that you have an approval workflow set up, you can include e-signatures by tweaking only a few more settings. Learn how to add e-signatures to Google Forms.
Step 4: Have document sent automatically for approval
When you fill out this form and click “Submit,” Form Publisher will automatically send a document to the approver for their approval. If you set up e-signatures, they can also insert their e-signatures for approval.
When the document is created, the approver will be notified by email. Similarly, when the document is approved or unapproved, the owner of the document will be notified by email notification.
Step 5: Store approved documents in Google Drive
Since Form Publisher attaches a copy of the approved document with the email notification, you can easily have the approved document with the e-signature in your Google Drive. You can change the designated folder for the generated Form Publisher documents if you want.
Prevent spam in your Google Forms
Establish a legal workflow with Form Publisher
There you have it! Form Publisher improves a critical element of many legal forms, which is fully compliant approvals and signatures of forms, even if you’re using Google Forms!
Whether managing client information, generating legal agreements, or handling internal documentation, Form Publisher empowers you to create polished, accurate, and legally compliant documents. Try Form Publisher now to see the power of automated legal workflows in action!