
Google Forms is an incredibly powerful tool that can be used for various purposes. And given its versatility, you may wonder if there’s a way to create a Google Forms survey with a payment option. This could be very useful for those asking for donations in surveys.
While there’s no inherent feature in Google Forms for payment, there are some ways to do so. This blog post will detail the step-by-step method to create a Google form with payment options. Read on!
How to create Google Forms with payment options
It’s important to mention that, sadly, there’s no inherent function or feature in Google Forms specifically designed to add a form of payment for customers.
However, with some knowledge of Google Forms functions and a few helpful add-ons, you can easily include a Google Forms payment option. Let’s see how it’s done!
Step 1: Create a new form
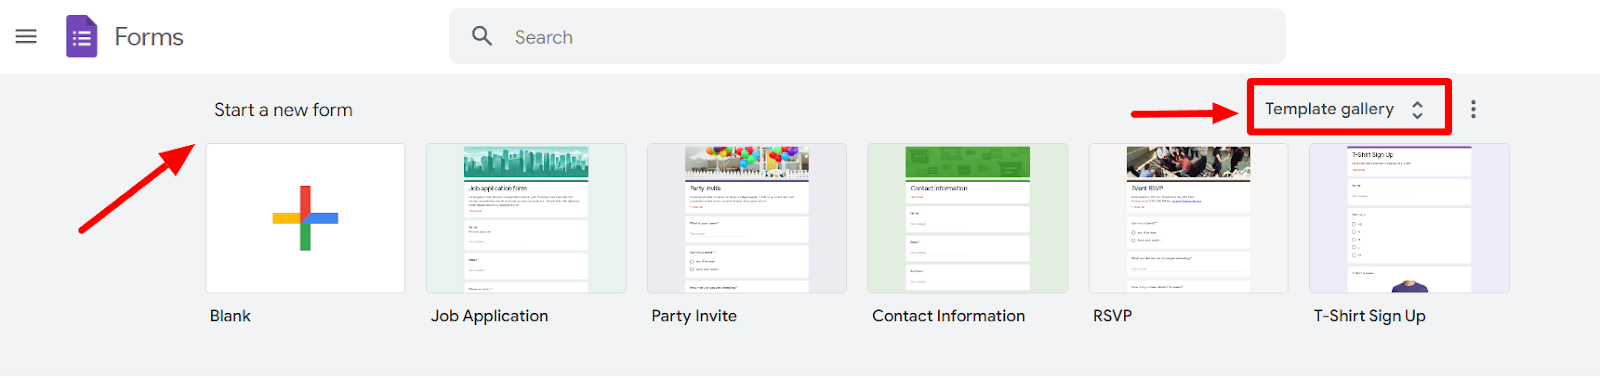
As you’d probably guess, go to Google Forms to get started. Start a new form by clicking the big “+” button. You can also use a template from the template gallery and build your form upon it.
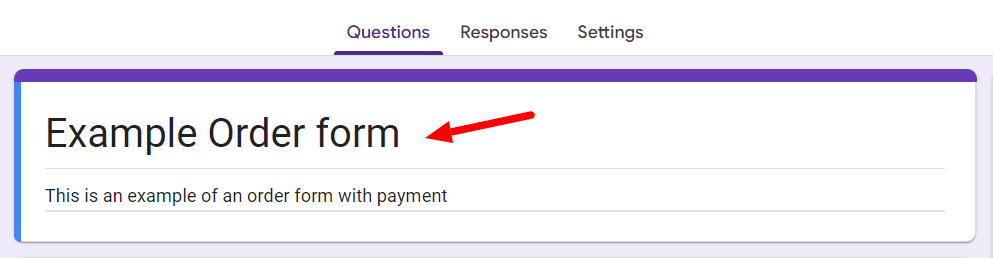
After you create a new form, give it an appropriate title and description for your users. This will also make it easier to find later in your Google Forms folder. For our example, we’ll make an order form. Read more about how to create an effective order form on Google Forms here.
Step 2: Fill out your questions
Now, you can start adding questions to your form. Google Forms with payment options generally involve a product or service. The broad categories of the questions could be:
- Personal information
- Information regarding the product/service
- Special instructions/requests
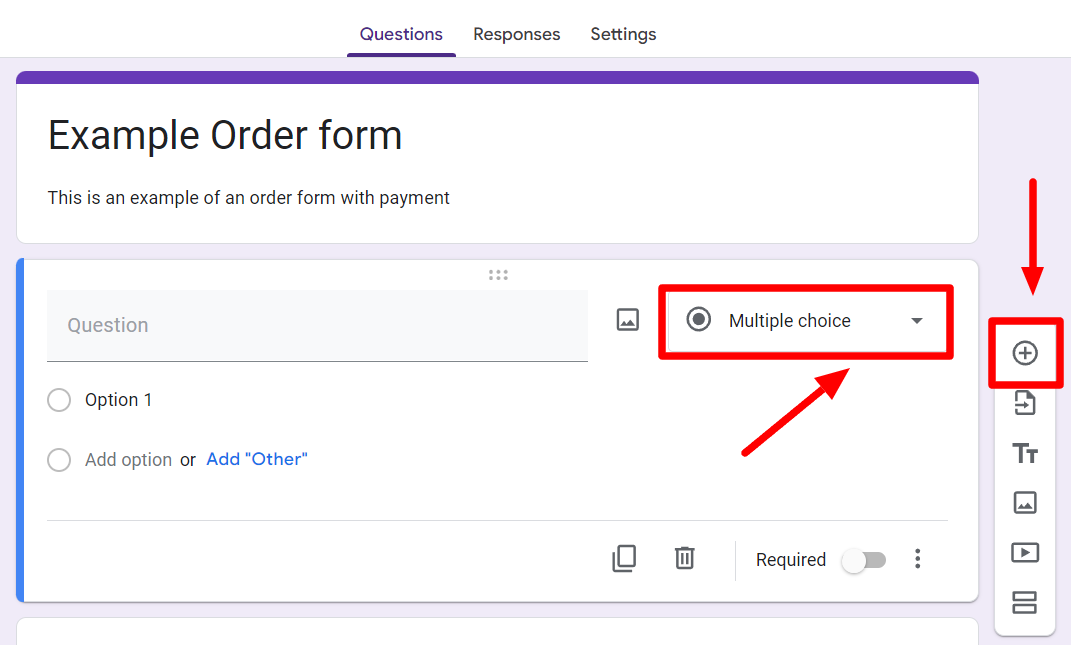
To add a question, click the “+” button on the floating menu. This will add a new question to your form. Then click the dropdown next to the question to decide on the format of this question.
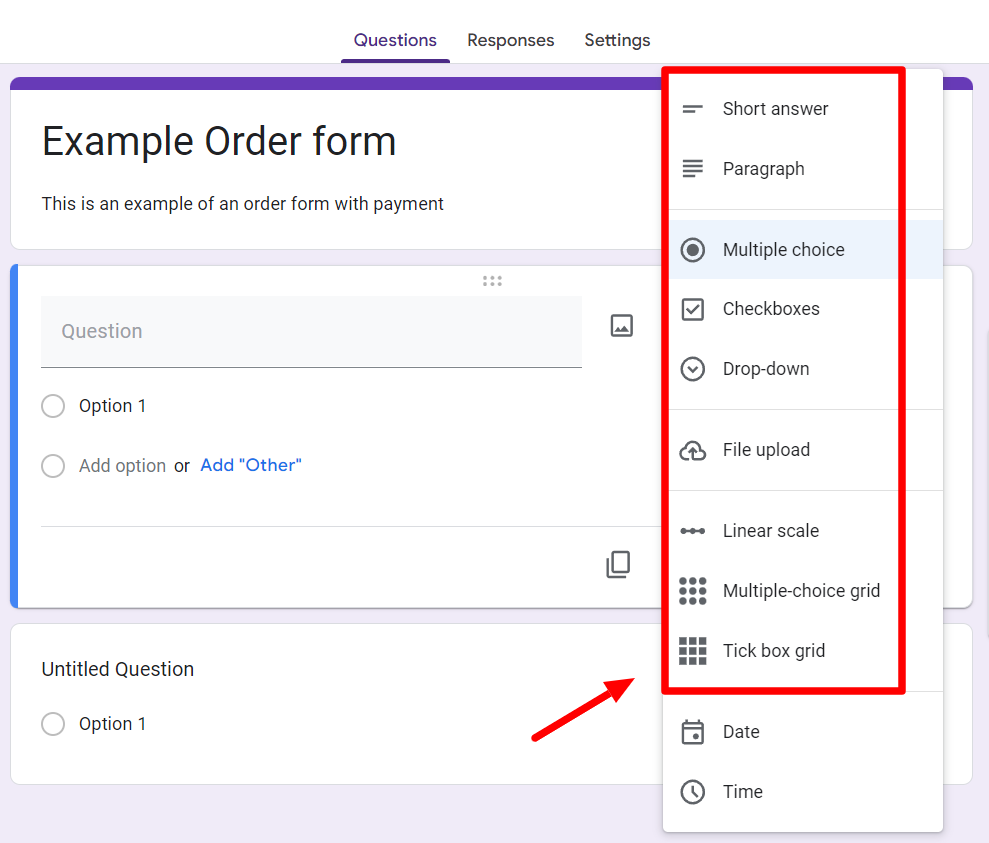
Google Forms offers diverse question formats so that you can get the most out of your forms. Go ahead and fill in all your questions, picking the correct format for each one.
Step 3: Include a question about payment
Now for the most critical part of this tutorial: a form of payment option. After you have inserted all the relevant questions, click the “Add title and description” button from the floating menu on the side panel.
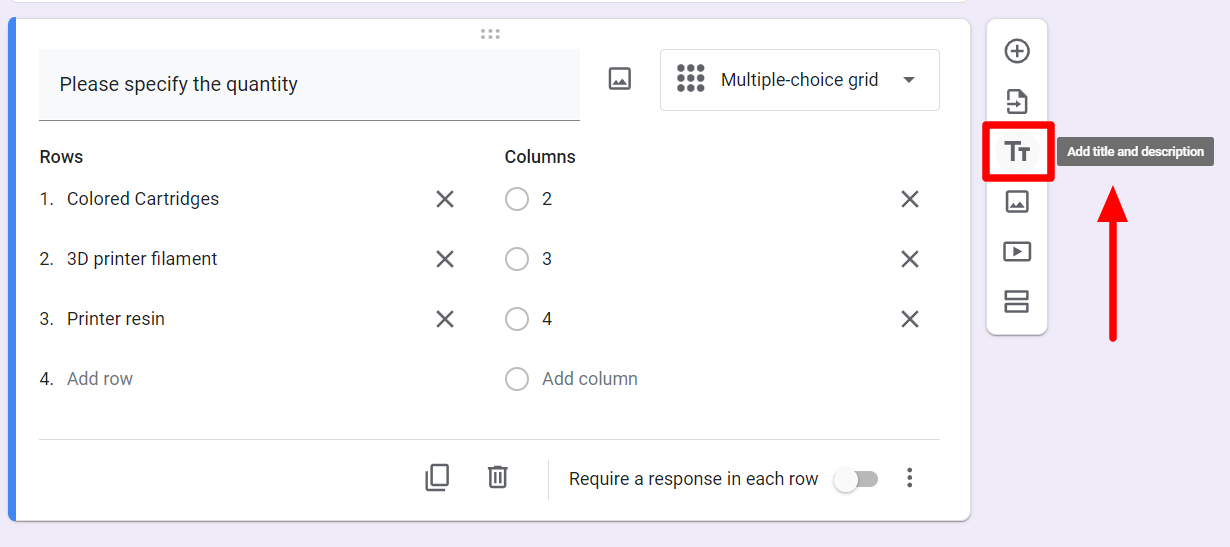
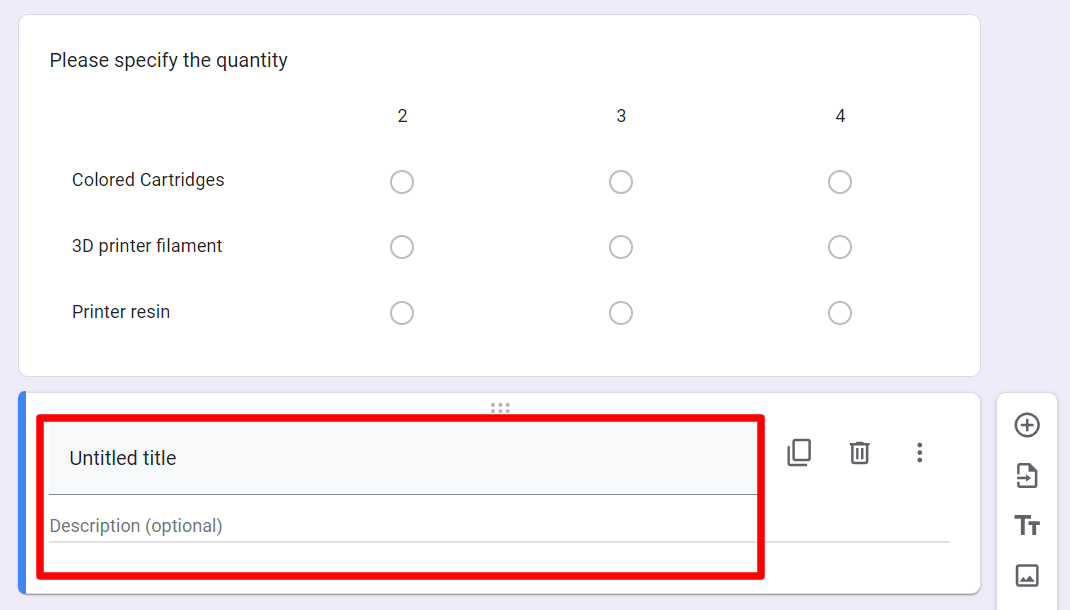
This will insert a title and description area under the last question like this:
Step 4: Link to a payment service
As mentioned earlier, there’s no inbuilt way to receive payments in Google Forms. However, you may link out to any payment service like Venmo, PayPal, Zelle, Stripe, etc.
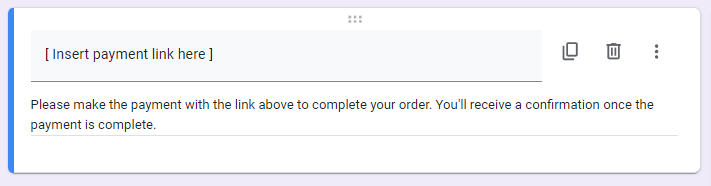
First, you must register with a payment service to generate a link for others to submit payments to you. Once you have the link, paste it into the Title field of the area you inserted in the last step. You should also add a description so the users can understand this step.
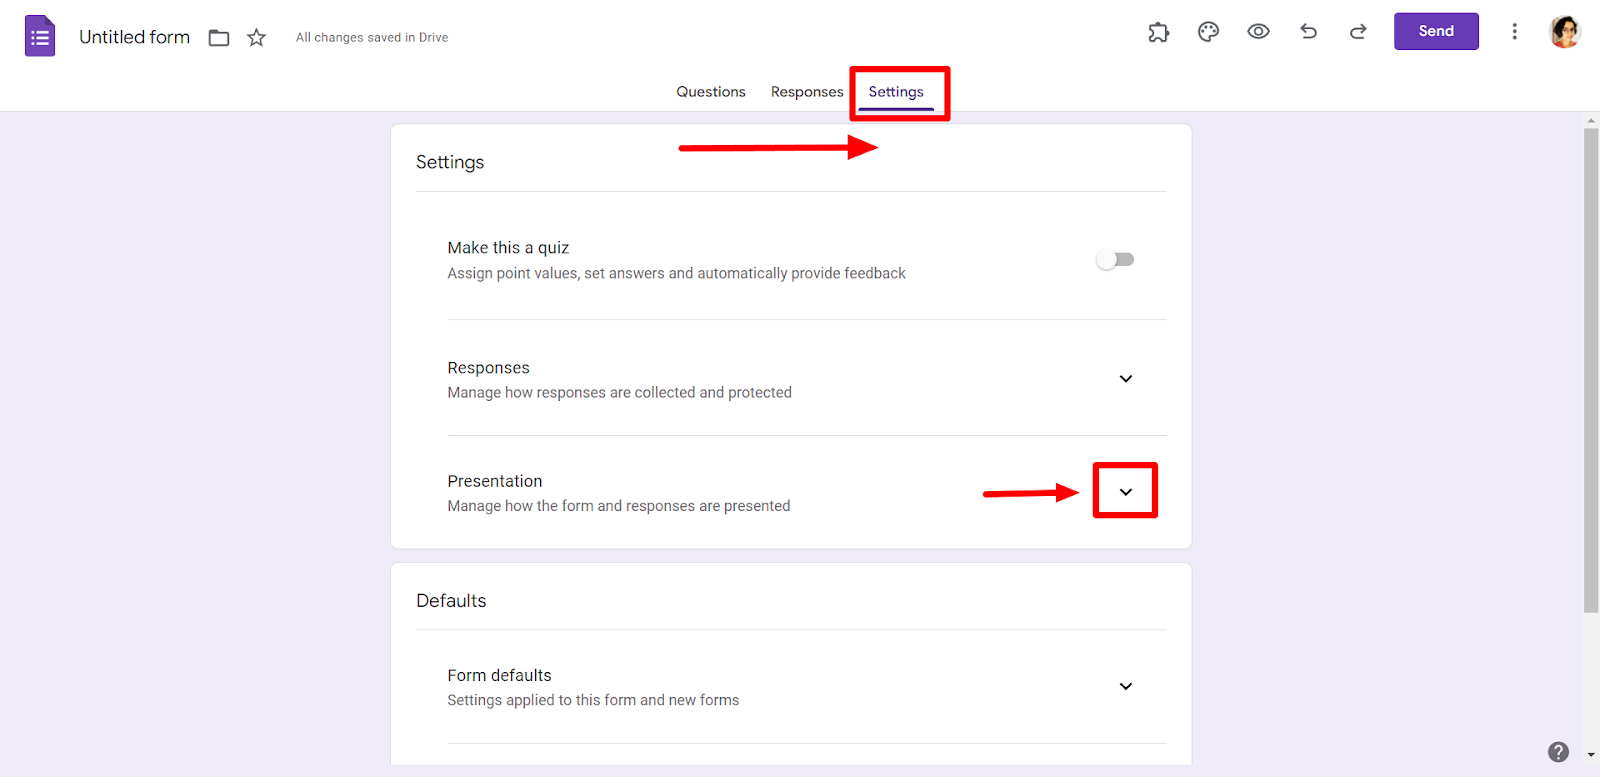
If you want to have a payment option but don’t want it in the form itself, you can always add it to the confirmation message that comes after the submission of the form. To do this, toggle to the “Settings” tab and click the drop-down button on the “Presentation” tab.
Now, paste the link and a message in the “Confirmation message” field and remember to click save.
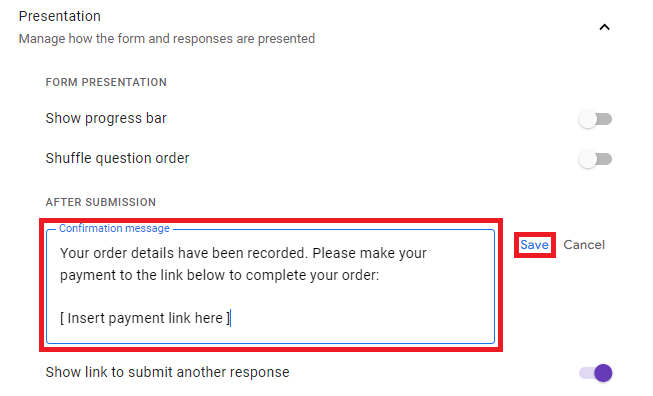
Adding your link to your form in this manner means the respondents will see the message after completing the form. This method is more viable if payment is optional. Otherwise, a user may not read the confirmation message or ignore it.
Step 5: Finish your form and send it out
Now that you’ve filled in all the essential questions, inserted the payment link in your form, and customized it to your liking, it’s time to check a few settings and send it out.
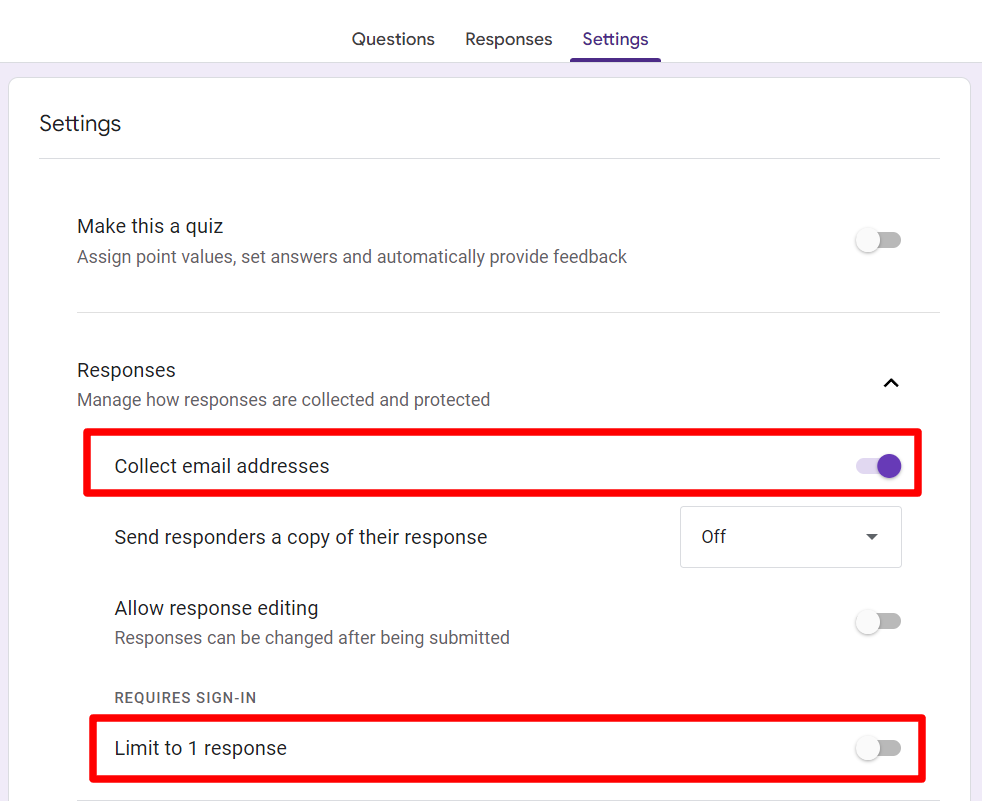
Go to “Settings” and then the “Responses” tab. Make sure that your form is set to collect email addresses. This ensures that you can follow up with your clients or donors. Also, you want to ensure that the “Limit to 1 response” setting is turned off, as you don’t want to limit your order/service requests.
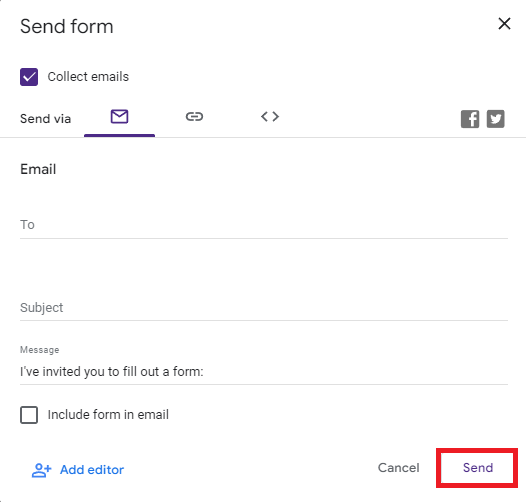
Now that your form is finished, the only thing left to do is share it by clicking the “Send” button in the top-right corner.

A window will appear where you can decide what sharing method you want to use: email, link, or embed code. Choose which one you want to use and click “Send” at the bottom. You’re done!
FAQs about collecting payments on Google Forms
Why would I need to include a form of payment in Google Forms?
You may need to create a Google Form with a payment option when it concerns a purchase, service request, event registration, etc. When payment is involved, you want to ensure the process is as smooth as possible with the least number of context changes.
You may also collect donations for an upcoming event or at the end of a feedback form for your organization. Those that wish to donate by the end of the survey may do so!
Is there a better way to include payment in Google Forms?
Again, Google Forms doesn’t allow payment by default. Linking out to a payment service is the best way to collect payment in your forms, which allows for a secure form with multiple payment gateway options. However, it does take the user away from your form to another website.
To avoid this, you may use a peer-to-peer payment platform and insert a QR code as an image. This simplifies the process even more, as the user never leaves the form. The downside to this method is that you may need to set up a business account on the peer-to-peer payment platform that you’ve chosen.
Need to duplicate your Google Form? Click here to learn how.
Start receiving payments on Google Forms today
There it is! While including payment is not a native feature of Google Forms, you can include a payment option by inserting a link to some kind of payment service within the form.For more tutorials on Google Forms features and hacks to make it even better, check out the Form Publisher blog!