

Do you have a Google Form that you love and want to use again? Or, maybe you have a template that you've used for other forms and you want to make a few adjustments for this new form. To do this, you need to know how to duplicate Google Forms. Luckily, it's easy to make a copy of a Google Form so that you can reuse it or make changes as needed. This is a quick and simple guide on how to make a copy of a Google Form that will enable you to do just that.
How to duplicate a Google Form
If you want to duplicate a form you’ve already created, follow these steps.
Step 1: Open up Google Forms
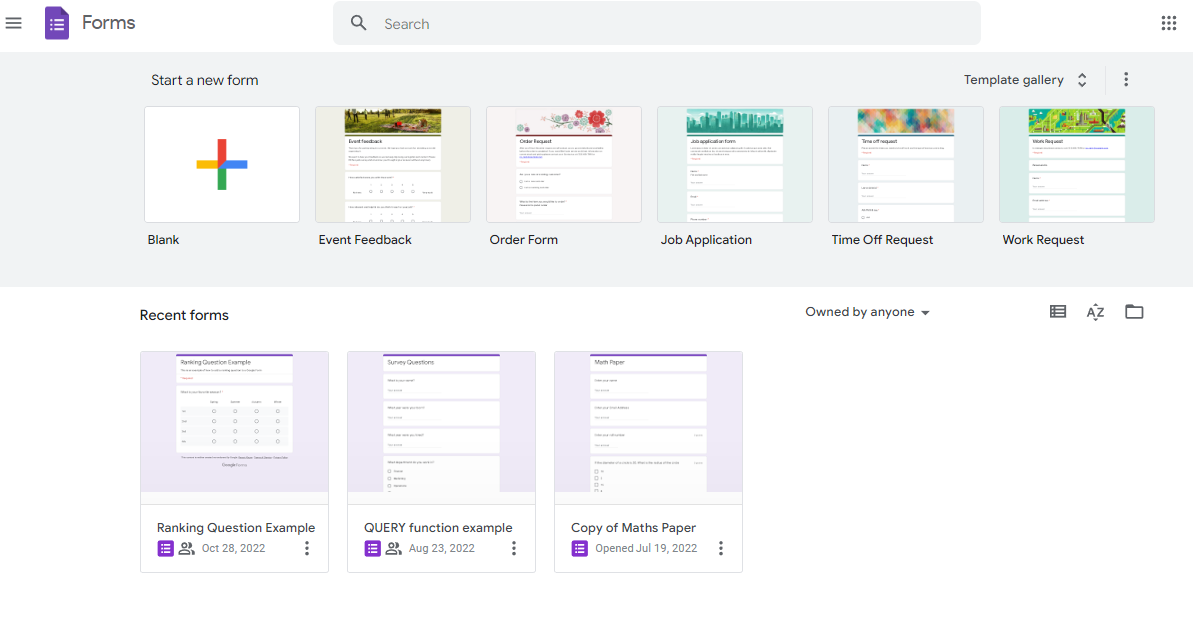
First, you’re going to need to open up Google Forms. You can do this by going to the Google Forms website. There, you should see a homepage with all the forms you’ve created in the past.
Step 2: Select the form you want to duplicate
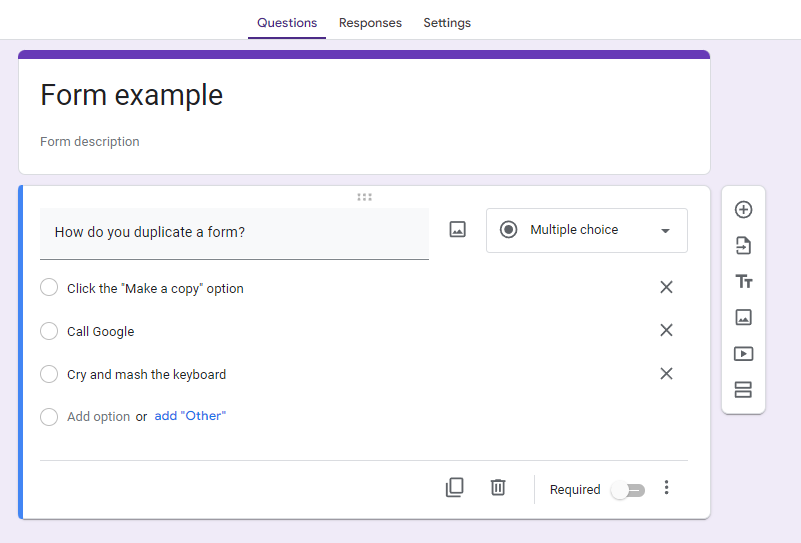
Find the form you’d like to duplicate. If you’re having trouble finding it, use the search bar at the top and type in the title of the form. Now, select the form and open it up. The form should open up before you in a new tab, where you can review it and make any changes as necessary.
Step 3: Duplicate the form and select where it’s saved
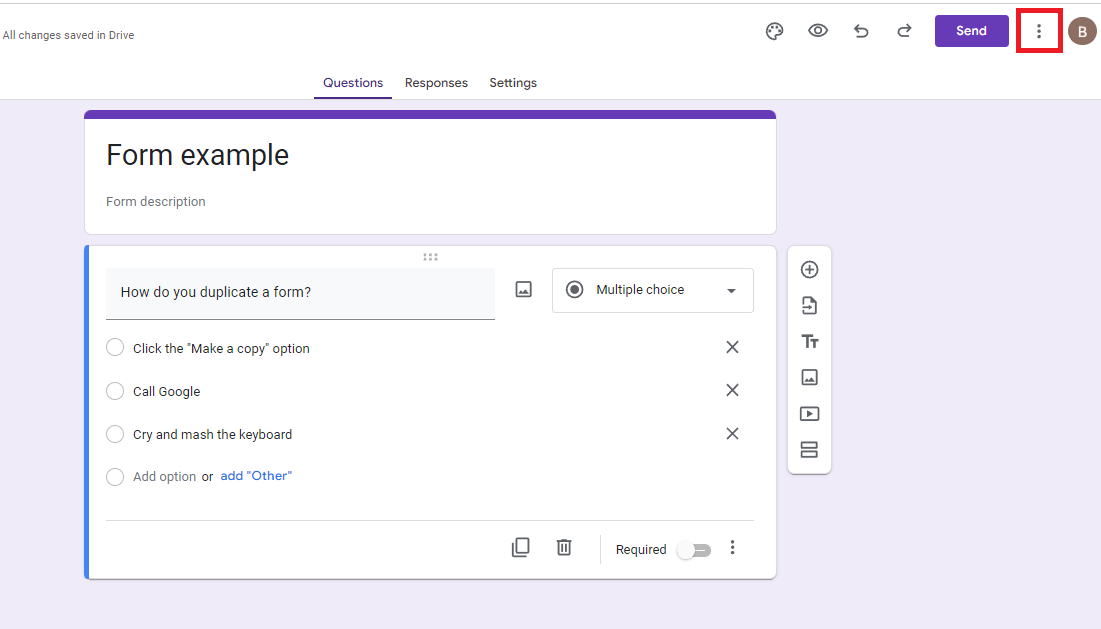
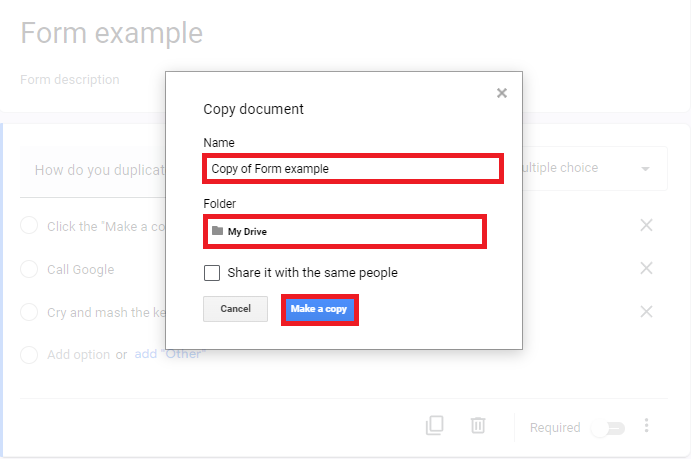
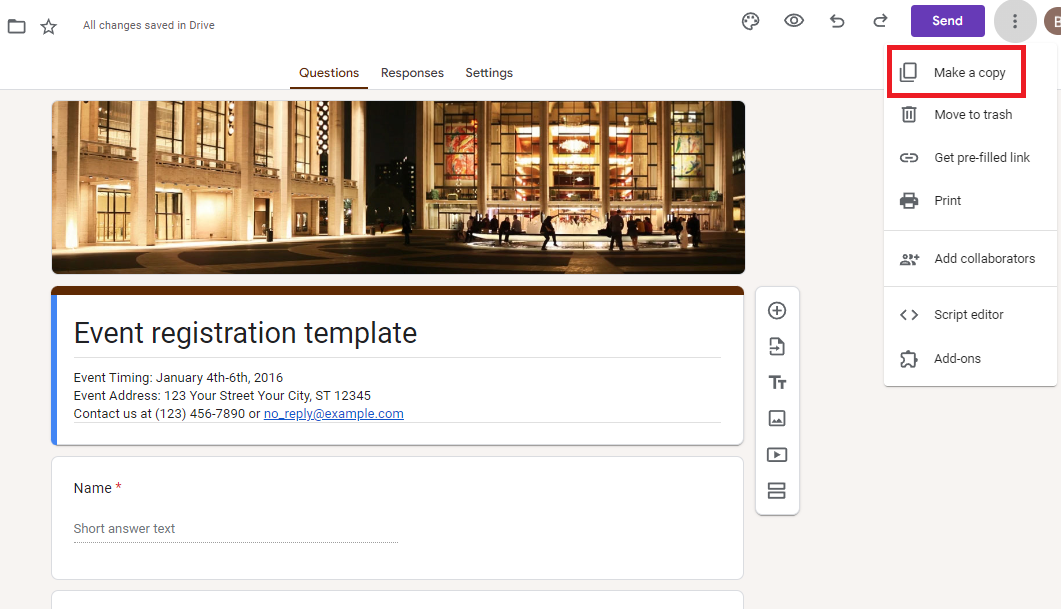
Once you’re ready to copy your form, click the “More” option, which looks like three vertical dots in the top right corner.
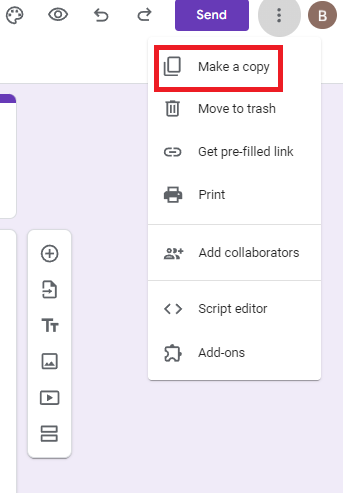
From the menu that appears, select “Make a copy.” This will create a new form that’s a 1-to-1 copy of the original.
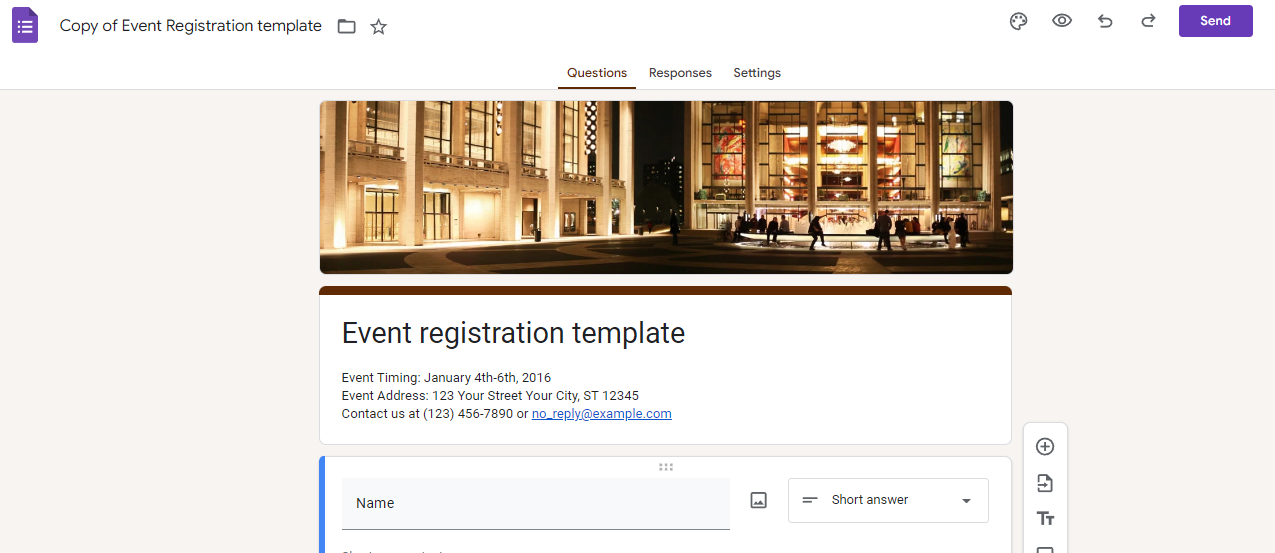
You’ll need to name the form; the default is “Copy of [your form title].” You can also select here where the form should be located in your Drive if you need it to be in a specific folder. Once you click “Make a copy,” it’ll open up in a new tab.
Step 4: Edit the Google Forms copy
Now that you’ve duplicated the original version, you have free reign to edit your Google Forms as needed. Maybe you want to change some of the questions to fit with a new, specific topic. Maybe you want to change up the theme or images to fit with a different brand. Or maybe you want to keep it the same but include personalized details for those completing the form. Whatever the case, now is the time to do so.
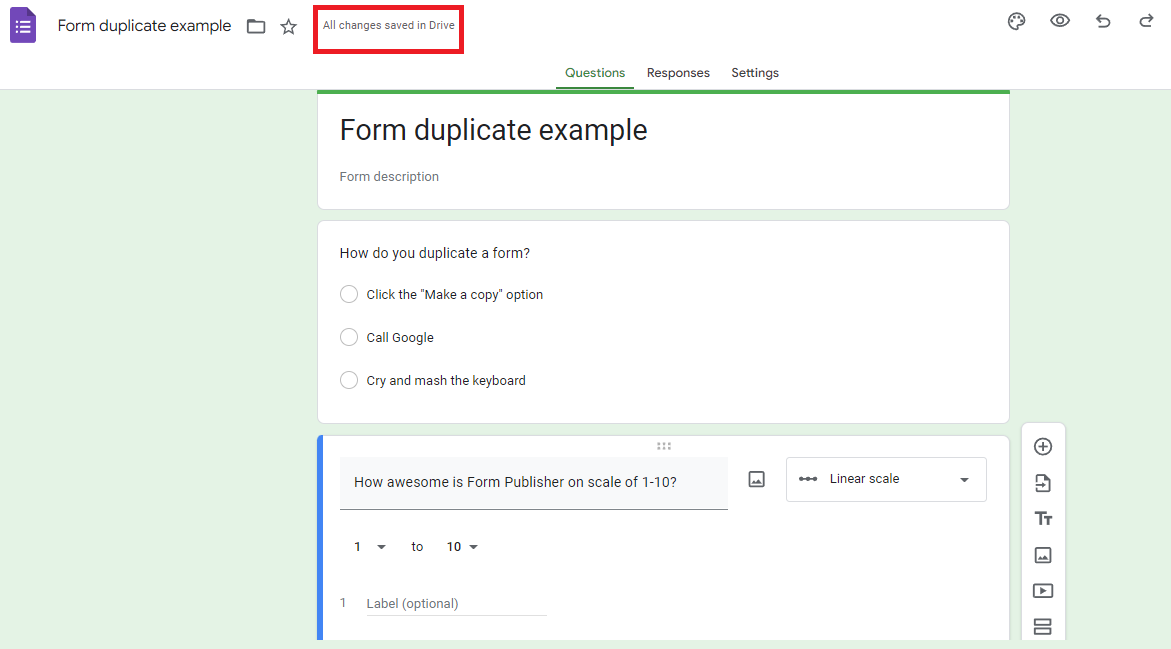
Your changes should be saved automatically, but give it a second to update, which you can view next to the form title in the top left. If you haven’t already, change the title and description to fit the new form.
Step 5: Send out your duplicated form to respondents
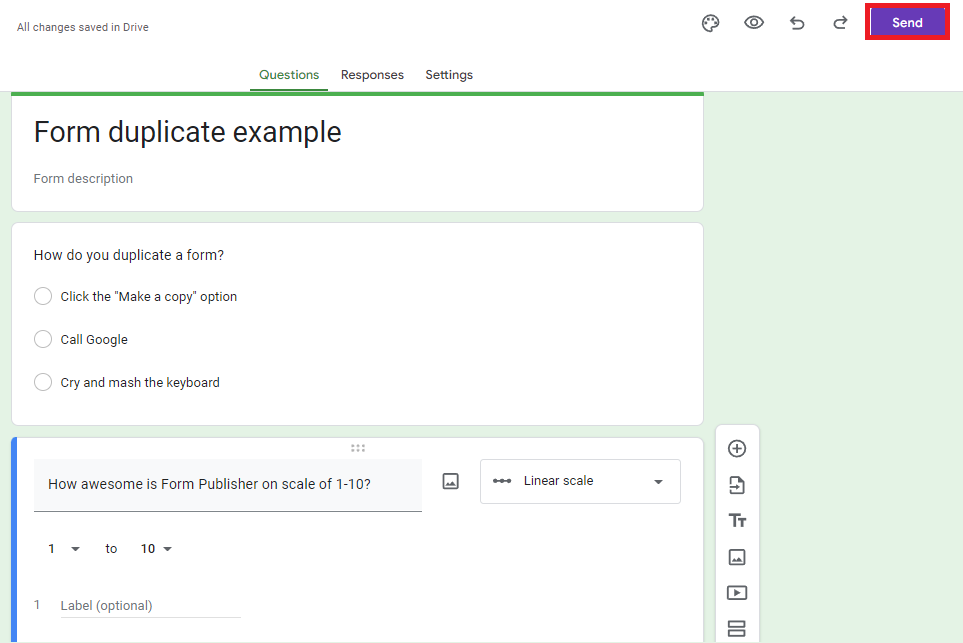
Everything should be set at this point to send it out to the necessary recipients! All you need to do is click the “Send” button in the top right.
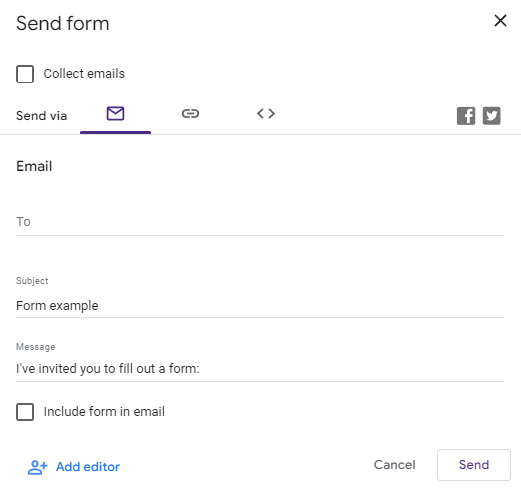
From there, you’ll decide how you want to send out your form. You can send it as a link, through an email, or an HTML embed code (if you want to include it on your website). Once you’ve decided, you can send it out and start collecting new responses.
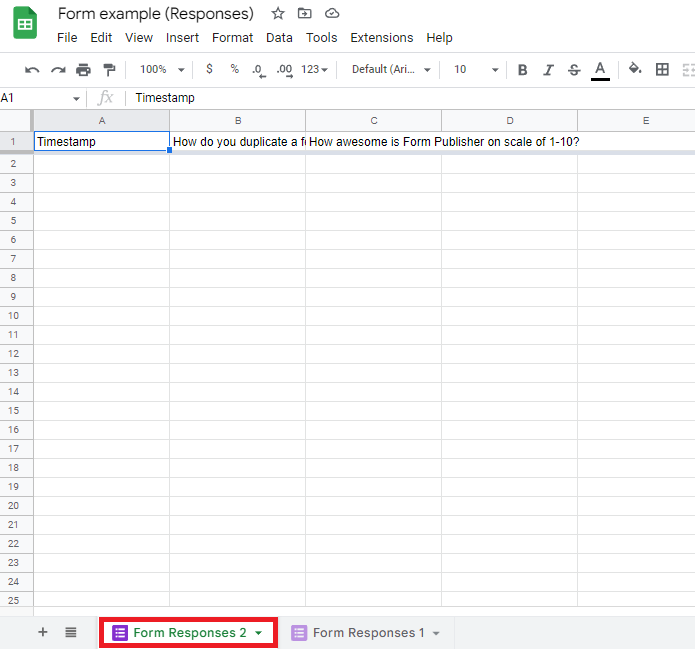
You should also select a response destination. If you want to include responses on the same spreadsheet as the original, you can do so by selecting the Google Sheets icon in the top right corner of the Responses tab.
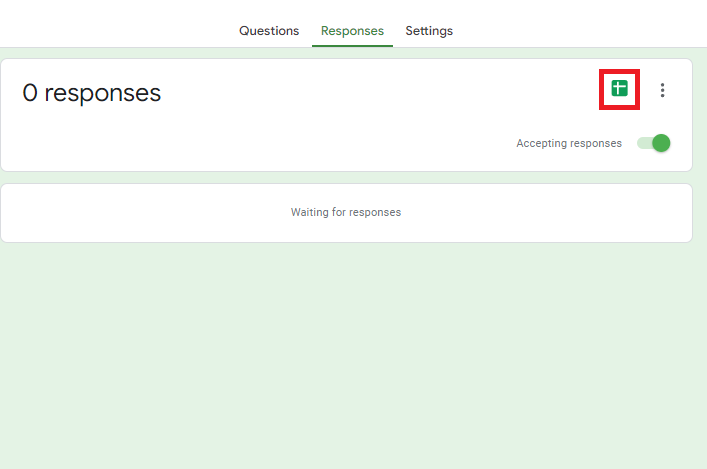
Once you do that, you can select which spreadsheet they will appear in. Select the original spreadsheet, and a new tab will be created in it with the new form’s responses.
And that’s it! You’ve now made a copy of your Google form. Read on for how to create and duplicate a Google Forms template.
Learn how to add ranking questions to your Google Forms
How to duplicate a template in Google Forms
You already know how to duplicate a Google Form but what if you want to duplicate a Google Form template. The process is essentially the same with a few key differences.
Step 1: Open Google Forms
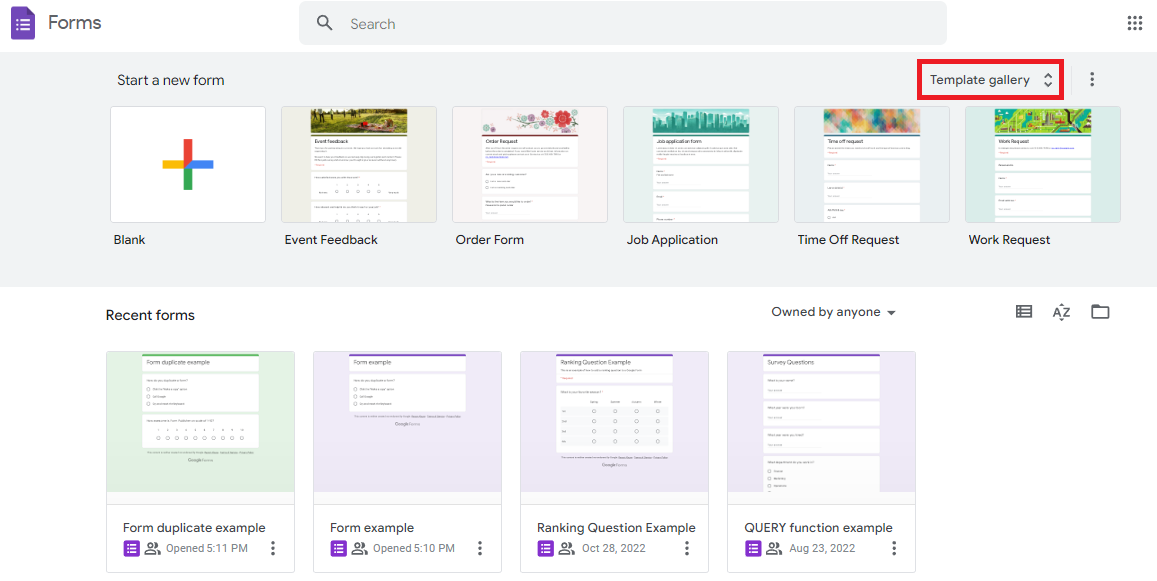
Again, open up the Google Forms homepage. You should see a list of several forms you’ve made, but we’ll ignore that for the templates that Google Forms provides. Up at the top, you should see a small list of templates. You can expand this by clicking on “Template gallery.”
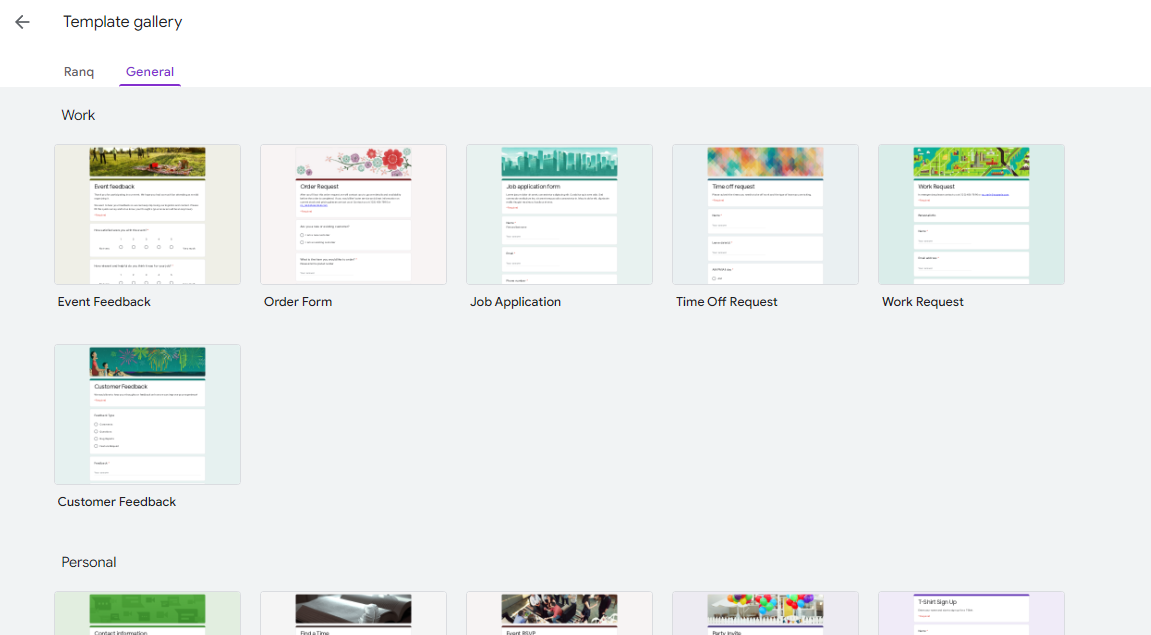
Once that’s opened, you should see a long list of different templates of different topics.
Step 2: Create a Google Form template or Select an existing one
Now that you have all the Google Forms templates at your disposal, you can select the one you’d like. The sections are Personal, Work, and Education. Under, several different templates fit those areas. For example, Personal includes templates like contact info and RSVP forms, while Education has forms for quizzes and exit tickets.
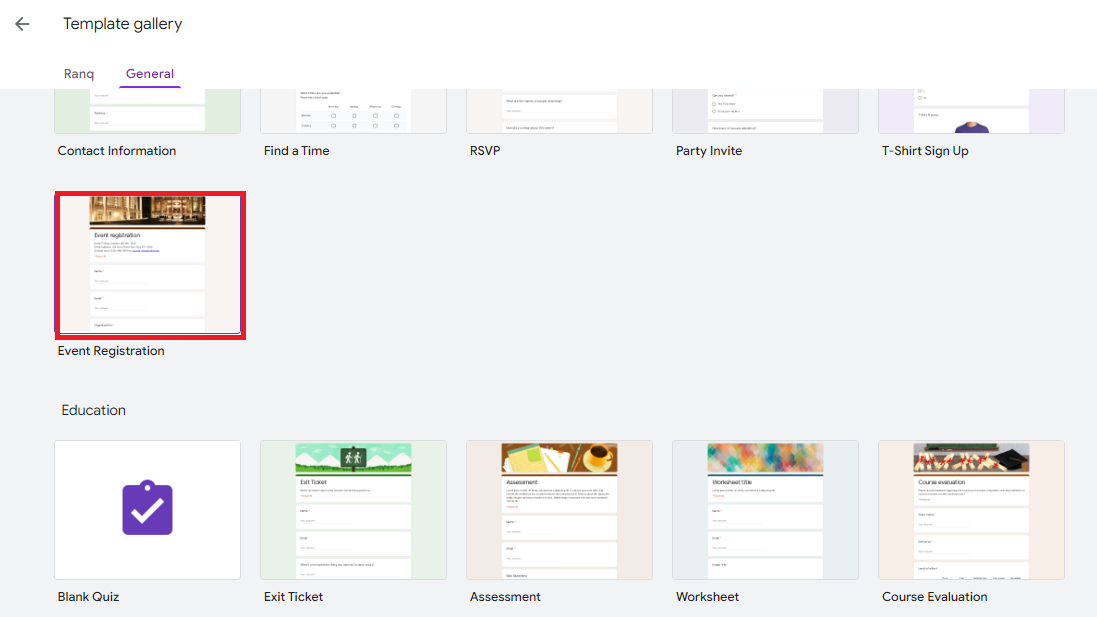
Once you’ve found a form you’d like to use, you can select it. It’ll open up in a new tab.
Step 3: Duplicate the Google Form template
From here, the process to duplicate the Google Form template is much the same. It might be best to create the bones of the template before duplicating, as this cuts down the work you’ll need to do in the future. For example, you can add the questions you need. Once you feel like it’s in a good place, you can duplicate the same way as before by pressing “More” and then “Make a copy."
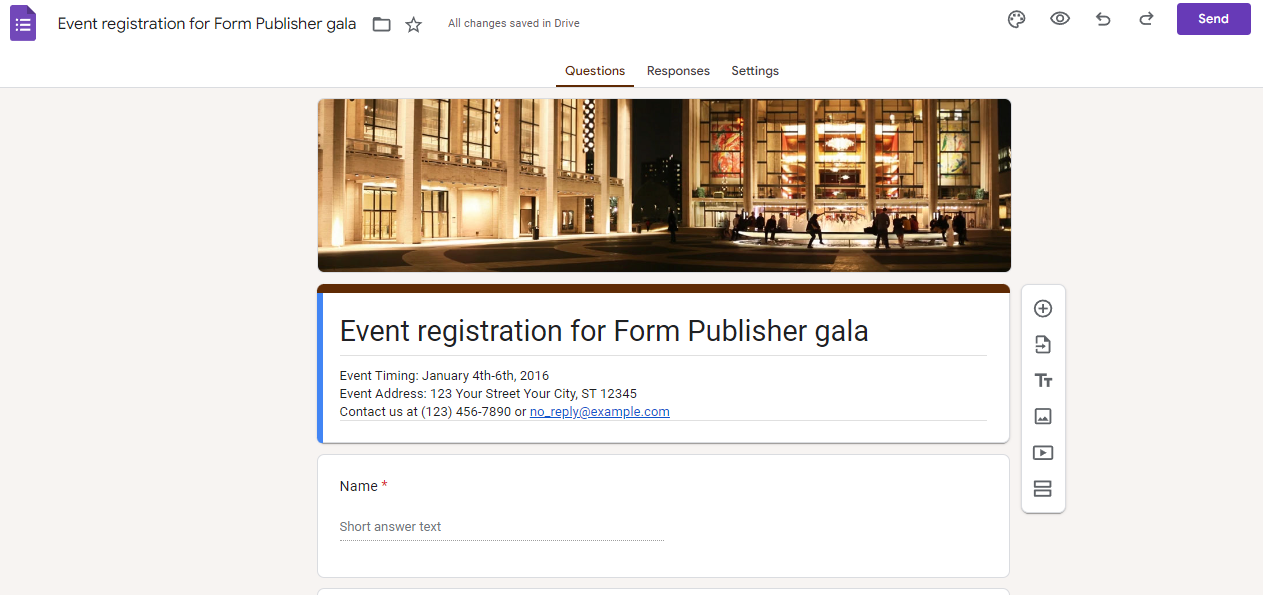
Again, name it how you want and place it in the correct folder. You might want this duplicate to be a template you duplicate further as a starting point. For example, we’ve named our example “Event Registration Template” so it can be duplicated and modified for a specific event.
Step 4: Edit the Google Forms template copy
When you have a specific form you’d like to create, you can duplicate this template and edit the Google Form you’ve duplicated.
Organizing an event? Learn how to organize RSVP's using Google Forms
Creating a duplicate in Google Forms is simple
Duplicating a Google Form is a great way to save time when creating new forms—especially if you have a template that you love or if you need to make similar forms regularly. It's also helpful if you want to make sure that you don't accidentally delete your original form while making changes to the duplicate.
What are you waiting for? Streamline your Google Form creation process now! If you need more help with using Google Forms in many different ways, check out the Form Publisher blog and view our many how-tos!