
As a small business owner or HR manager, creating a user-friendly sick leave request form is crucial for maintaining a well-organized and employee-centric workplace.
In this blog post, we'll guide you through the step-by-step process of crafting a sick leave request form tailored to your organization's needs. By the end of this post, you'll be equipped with a sick leave request form that will not only foster a supportive environment for your employees' well-being but also simplify administrative tasks.
How to create a sick leave form for employees using Google Forms
Step 1: Create a form with a time-off template
Go to your Google Forms.
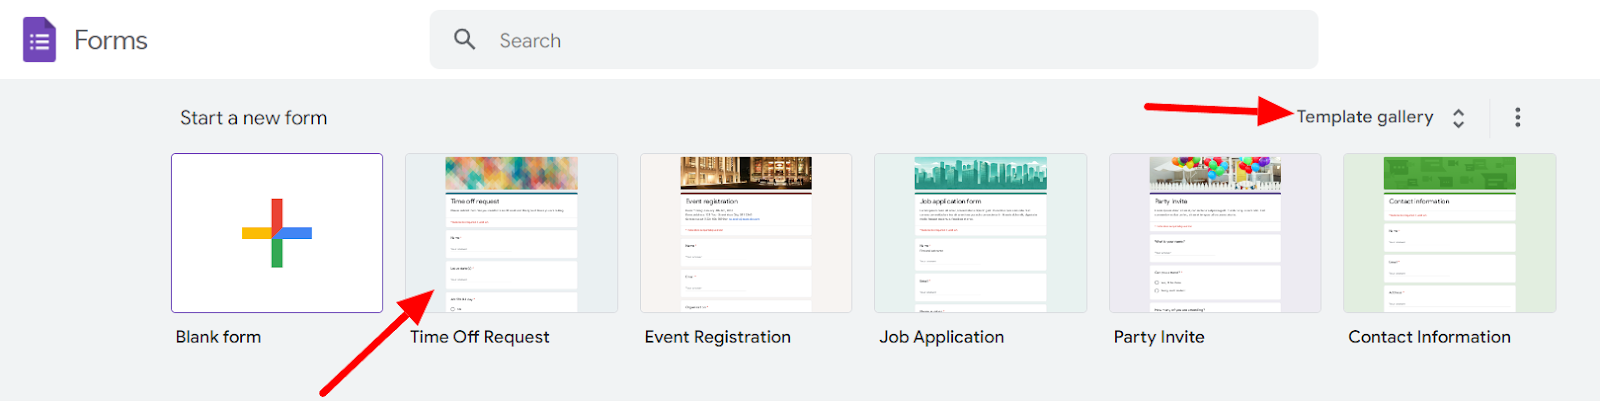
Select the ‘Time Off Request’ template. If you can’t find it on the home page, open the ‘Template gallery’ and scroll down to the ‘Work’ section to find it.
Step 2: Allow employee to enter personal details
The template already contains a question to gather the employee’s name in the short answer format.
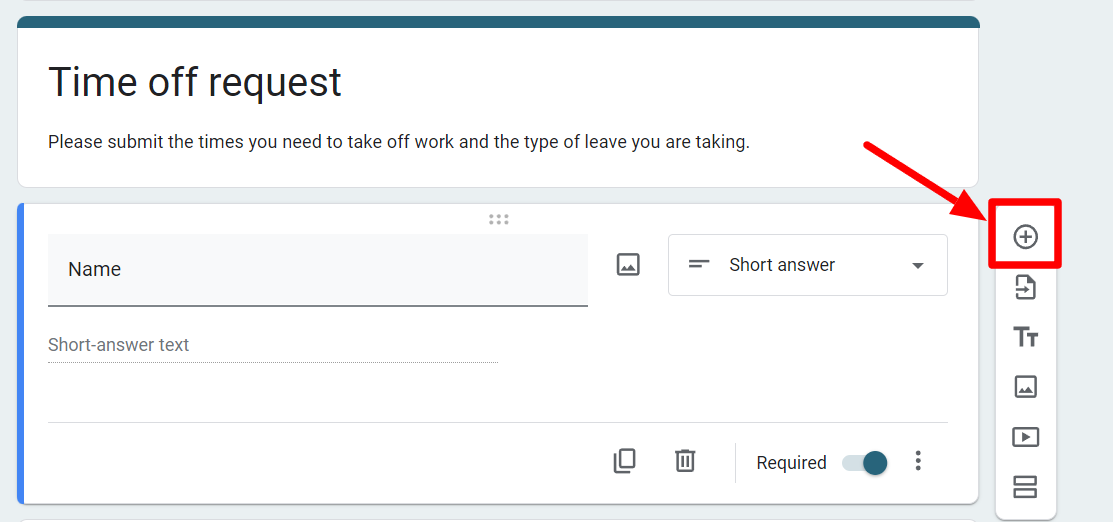
Click the ‘Add question’ button to insert other personal detail questions you need, like employee ID, department, contact number, etc.
Step 3: Add short answer to enter sickness details
Insert another question to gather details of your employee’s sickness. Select the ‘Short answer’ or the ‘Paragraph’ answer format for this question.
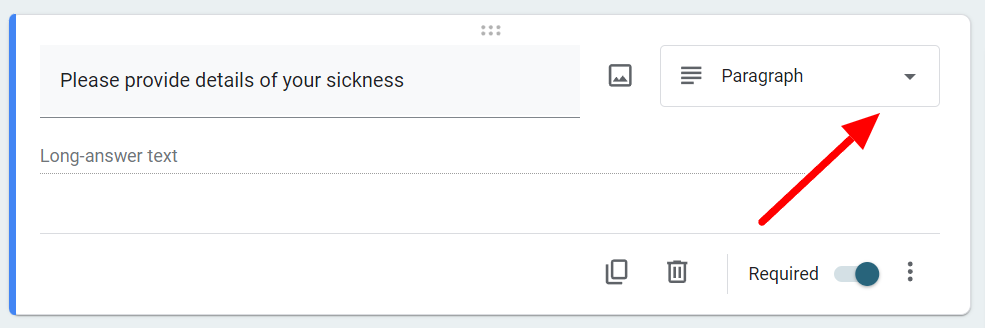
This isn’t necessary, but it can benefit you to know what symptoms they’re suffering from in case someone else at the workplace gets sick or you want ensure the sickness is credible.
Step 4: Add file upload question for doctor’s note
For sick leaves, you may want to give your employees an option to provide a doctor’s note.
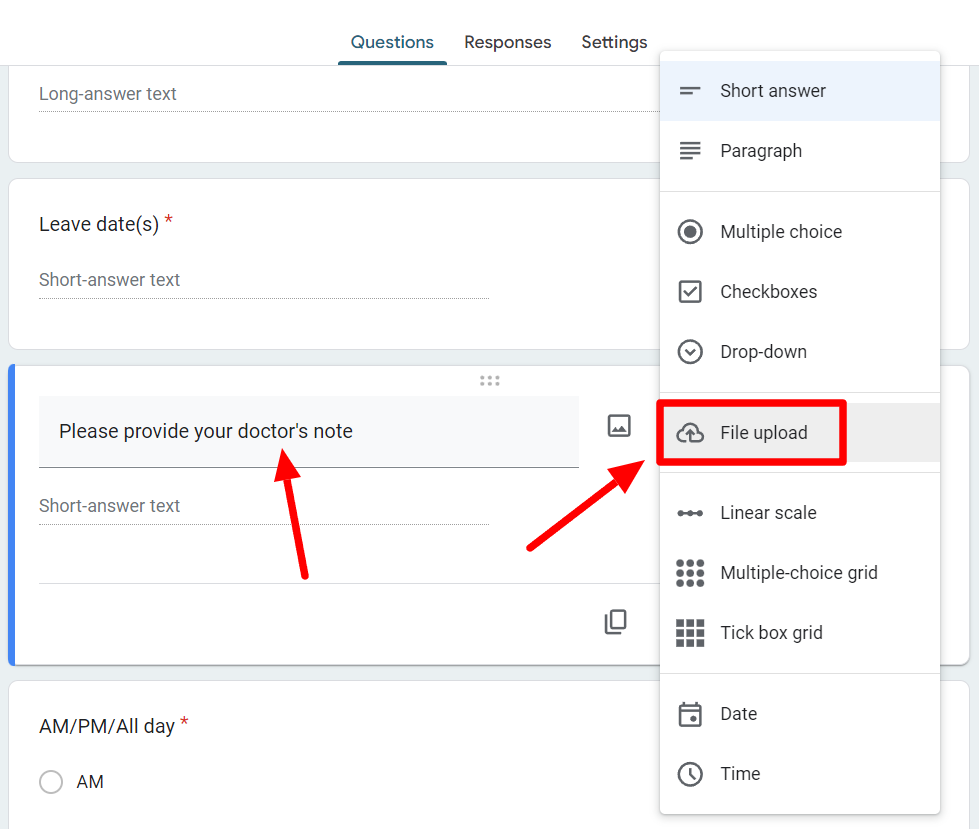
To do this, add a question and click the question format button next to the question field. Find and select the ‘File upload’ button in the answer format options.
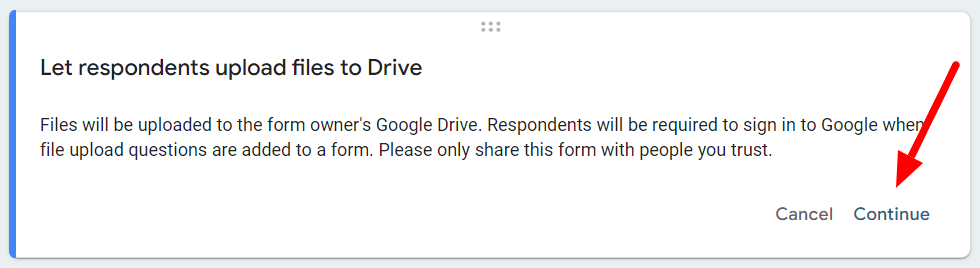
Click ‘Continue’ in the next window.
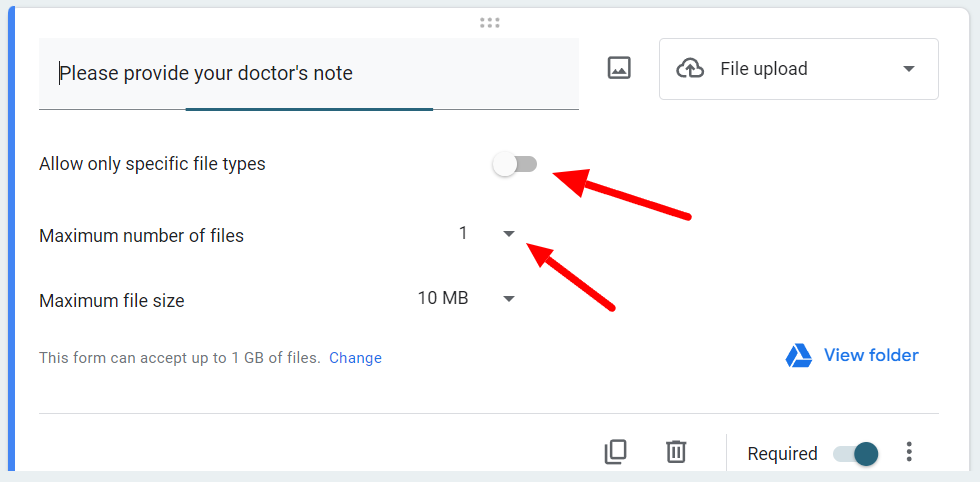
Next, you can set parameters around the kinds of size, number, and type of files your form will accept.
Step 5: Add a date question for days of absence
Although the template contains a question asking for leave dates, it’s not in the date format. Let’s change it to make your form more user-friendly.
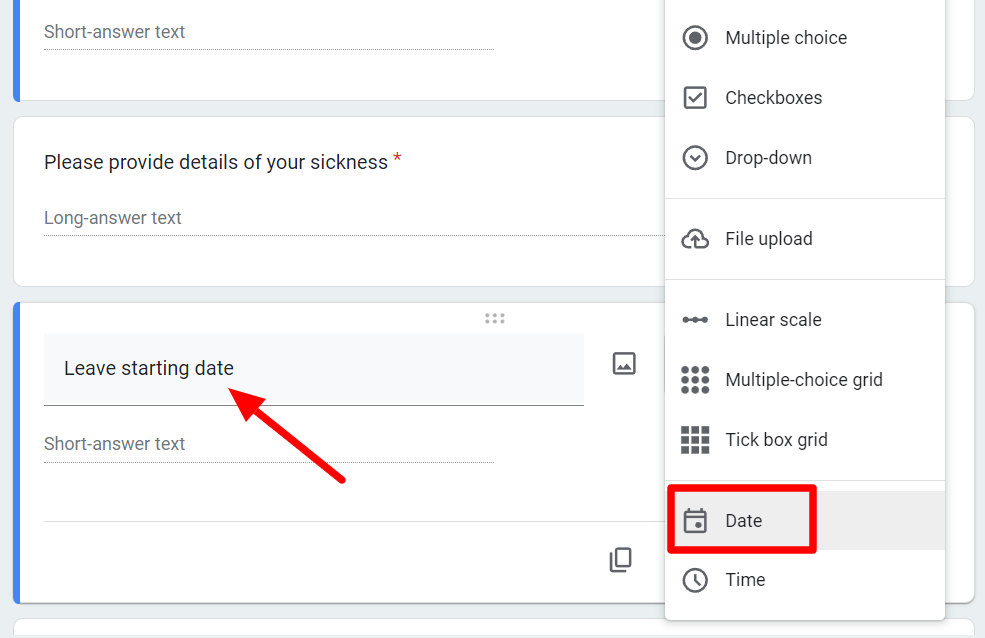
Rephrase the question to ‘Leave starting date’ and select the ‘Date’ format from the answer format options. Then, add a question and input ‘re-joining date’ or ‘leave ending date’ depending on how you like to keep your records. Select the ‘Date’ format for this question as well.
With that, you’ve covered all the critical areas that a sick leave request form needs to have. You’ve added some new questions, and the template already had some questions, so go over your form to delete any unnecessary questions and ensure that no questions are repeated.
Step 6: Connect form to your attendance Google Sheet
You can take one more step to make this form more functional and efficient for your official purposes.
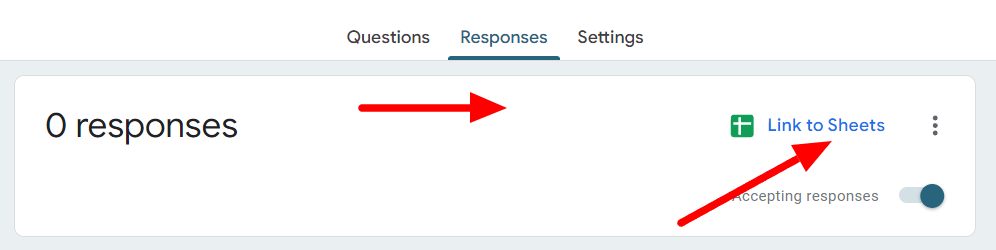
Toggle over to the ‘Responses’ tab. Then click ‘Link to Sheets.’
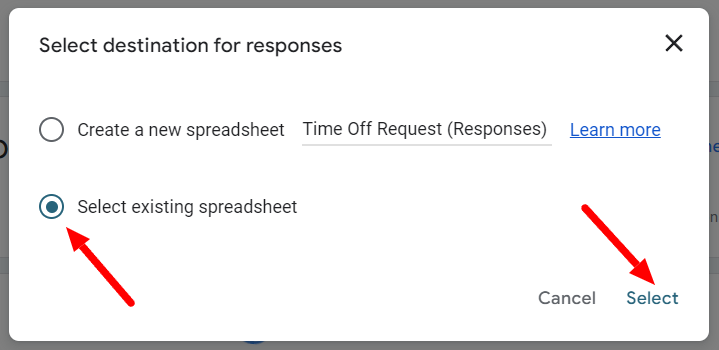
When you’re prompted to select the destination, choose ‘Select existing spreadsheet’ and connect this form to your attendance sheet. If you don’t have an attendance sheet set up yet, you can do so easily in Google Forms. Learn how to set up a Google Forms attendance system. This way, your leave request form responses will be integrated with the attendance data.
Step 7: Use Form Publisher to automate documentation
There are three aspects to a leave request process:
- The leave request form
- The request approval/disapproval process
- The documentation for due office procedure
You’ve already automated and optimized the leave request application process by making a sick leave request form in Google Forms. If you want, you can automate the approval and documentation process with a handy add-on to Google Forms called Form Publisher.
If you’re using only Google Forms, and if another employee approves the leave request, there’s no other way to complete this process other than manually gathering their approval and communicating the same to the employee. There’s no swift and easy way to document the approval/disapproval process in Google Forms, too. Additionally, your leave request document remains in Google Forms till you convert the Google Forms responses to PDF and store it.
With Form Publisher’s approval workflow capabilities, you can make it so that whenever an employee fills the form, it’s automatically routed to the approving authority. You can instantly save the URLs of the documents wherever you want in Google Drive for easy retrieval. With Form Publisher, documents are generated and stored in a destination of your choosing, with their URLs stored in a unified sheet.
Learn how to add a signature in Google Forms
Form Publisher makes sick leave paperwork paperless and effortless
If Google Forms makes creating your leave request forms easy, Form Publisher makes the entire leave request process and paperwork a breeze!
Every second saved from doing mundane paperwork can be dedicated to achieving more at work. Form Publisher is a simple but handy add-on that amplifies the functionality of Google Forms so that you can get the most out of it.
Form Publisher is tremendously easy to set up and takes minutes to learn if you’re already working with Google Forms. It’s also free to try out. Want to automate your office leave request documentation? Try Form Publisher today.