
E-learning is growing, and digital quizzes are becoming more necessary for your classroom. Google Forms rose in popularity for teachers during the pandemic to conduct virtual quizzes. They offer a great opportunity to automate your grading process!
Using Google Forms, you can make grading your students’ quizzes simple by adding an answer key. What is an answer key? It is a list of the correct answers to questions on a quiz or exercise. This allows students to see how they do on multiple choice quizzes, and there are options for written answers, too.
In this article, we'll show you how to add an answer key to Google Forms along with some other helpful pointers about quizzes and tests.
Let's get started!
How to add an answer key to your Google Form quiz
Step 1: Create your Google Form
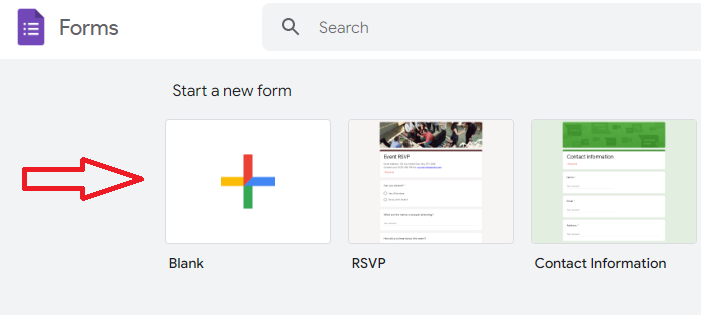
The first step is to create your Google Form quiz. Go to Google Forms and create a new form. If you look at the Template Gallery, Google Forms has “Education” templates, so feel free to check out those! We’ll start with a regular “Blank” form for our example.
Step 2: Make the Google Form a quiz
To add an answer key to Google Forms, you need to know how to create a Google Form quiz. Once you have created your form, go to the "Settings" cog in the top right-hand corner and select the "Make this a quiz" option. This will allow you to add answer keys, point values, and automatic feedback to your questions.
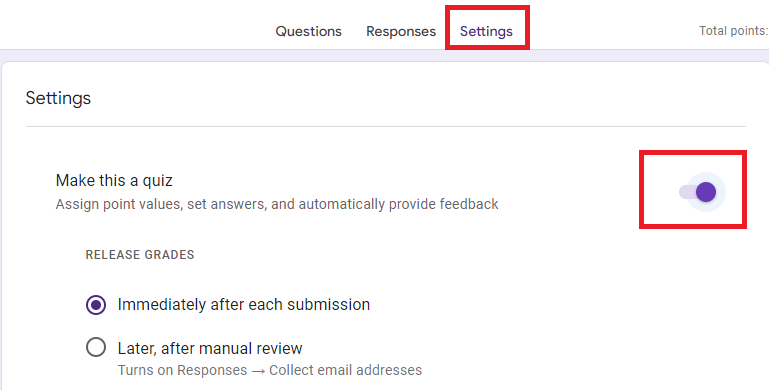
You can also choose when you’ll release grades to students here. The default option is “Immediately after each submission.” If you’re planning on adding essay questions, it’ll be best to choose the “Later, after manual review” option. You can also return to this option after adding all your Google Quiz questions and answers, though!
Step 3: Add an answer key for multiple choice questions
First, we’ll go through how to add an answer key to Google Forms multiple-choice questions.
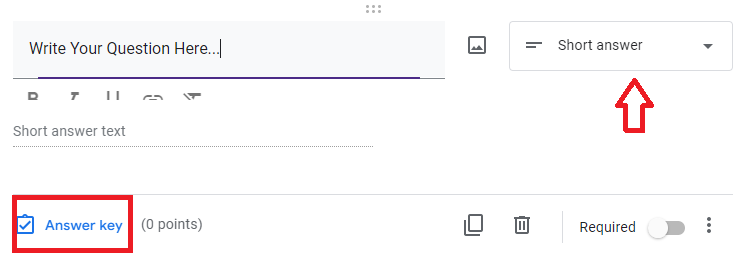
Make your question multiple choice in the drop-down menu. Fill out your question where it says “Untitled Question” and replace the options with your answers. You can click the “Add option” button to add more answers.
Once you’re done, click on the "Answer key" button in the bottom left of the question.

It'll open a new window where you can select the correct answer and point amounts. Fill in the bubble next to the correct answer. At the top right, choose how many points that question is worth.

You can also include automatic feedback for each answer to your Google Form quiz. Simply click the "Add answer feedback" button, which will open up a new pop-up window. You can enter feedback such as "Great job!" or "That's incorrect." You can also add images, videos, or links to help your students learn.
After adding your feedback, click on the "Save" button. Your feedback will now be attached to the question and displayed to users after submitting their answers.

This feature allows you to provide a reference for a correct answer or give hints for a wrong answer. This way, your students can get immediate feedback on their answers and learn from their mistakes.
Step 4: Add an answer key for short answer questions
Answer keys for short answers are a bit different. When you’re creating these questions, make sure to select “Short answer” from the “Question Type” drop-down menu.
Click on the "Answer key" button at the bottom left of the question. You can add feedback and points like multiple-choice questions, but correct answers are slightly different.
Short answer questions usually have one correct answer. However, you can provide multiple options in the "Answer key" section of the question. When a user submits an answer, Google Forms will mark the response as "correct" if the user's answer matches any of the options you provided in the answer key.
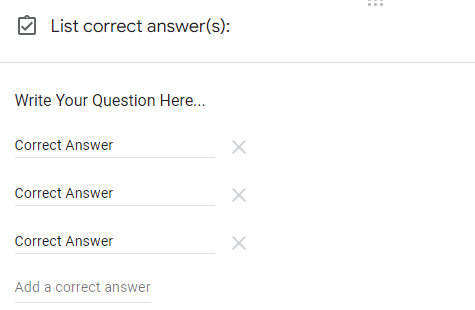
This is very useful if students write a variation of the correct answer, and this will save their frustration if they missed the correct answer because of a space or lowercase letter. Make sure to write down as many variations as you can think of!
This section also allows you to “Mark all other answers incorrect.” You can check this box if there’s only one answer that must be written a certain way.
When you are finished adding answer keys, click on the "Done" button in the bottom right-hand corner. This will take you back to your form.
Step 5: Send out forms and quizzes with answer key built-in to students
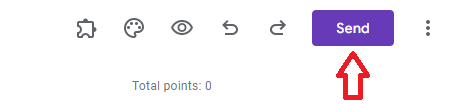
You can click on the "Send" button in the top right-hand corner of the page to send out your form to students.
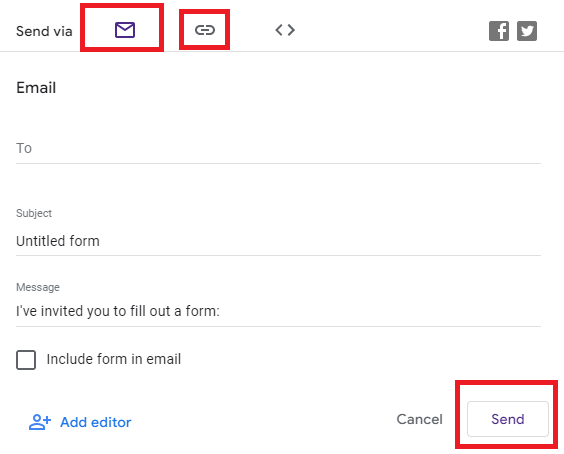
This will open up a new window where you can enter the email addresses of the people you want to send the form to. You can also get a link to the form by clicking on the paper clip icon. It'll generate a link you can copy and paste wherever you want.
And that's it! You've now successfully added an answer key to your Google Form.
Is your Google Form not submitting? Learn how to troubleshoot here.
Send out an automatically-filled grade document with Form Publisher!
So, there you have it! You now know how to add an answer key to your Google Forms. This will help you save time grading quizzes, which is already way easier with a form.
If you want to take your grading game up a notch, consider using Form Publisher. With our handy tool, you can automatically populate a document with your student's grade. This makes it much easier for students to observe their grades, and automating this process also saves you a lot of headaches!
Plus, you can generate documents in multiple formats (PDF, Google Docs, Microsoft Office) and store them in Google Drive for easy access.
It’s important to note that some questions can't be scored in the document if you’re using Form Publisher for a quiz. Form Publisher uses Google Apps Script to gather scores, and there’s no way to access scores of grid questions—Google Form multiple choice grid and checkbox grid—using it. This also applies to all question types that require manual grading. Because of this, these questions will be marked as “0.”
Form Publisher gives you complete control over the layout of the document, so you can create a template that looks exactly how you want it to. You can also include inline images or photos in your documents, making them more visually appealing.
Ready to get started? Install Form Publisher today!