
One of the best features of Google Forms is how you can use many types of question formats for different purposes. Multiple-choice questions, for example, allow you to create questions with rows and columns. They can be used by surveyors, educators, and more!
Creating a multiple-choice grid in Google Forms can be a great way to gather a lot of data from a single response. In this post, we’ll go through how to add multiple short answers in Google Forms with Multiple Choice Grid. So, let’s begin!
How to use a multiple choice grid in Google Forms
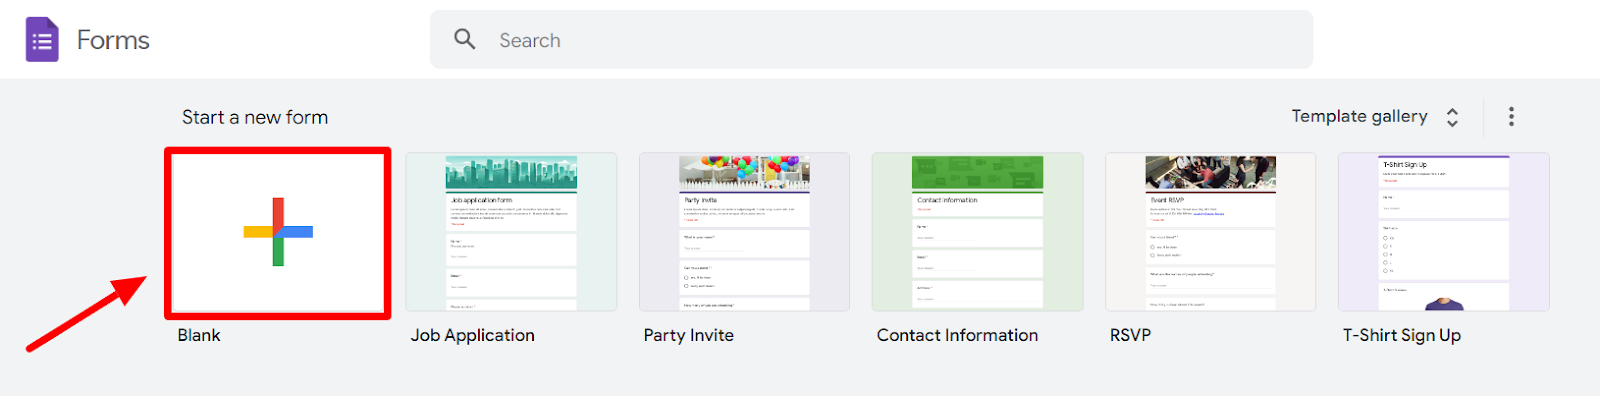
Step 1: Create a new form in Google Forms
Open a new form by navigating to Google Forms and clicking the “+” button to start a new form. You can also choose from one of their many form templates.
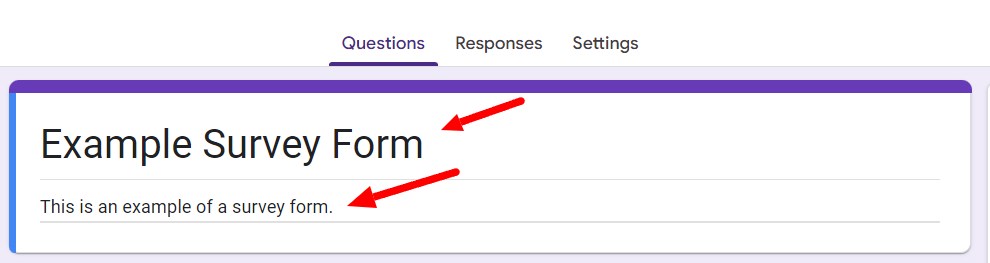
When the new form opens, give it an appropriate title and description. This will help you identify it later among your other Google Forms.
Step 2: Add a multiple-choice grid question
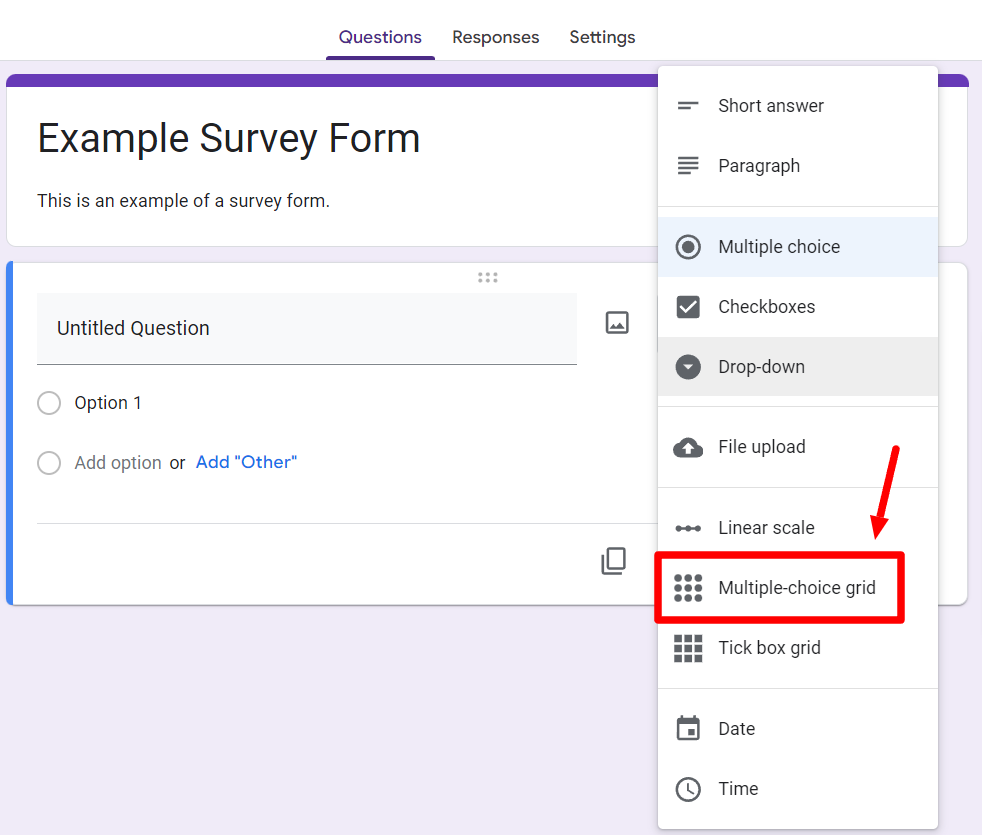
By default, an untitled question will open up in multiple-choice format when you open a new form in Google Forms. You can change that by clicking the dropdown menu next to the “Untitled Question” and then selecting the “Multiple-choice grid” option.
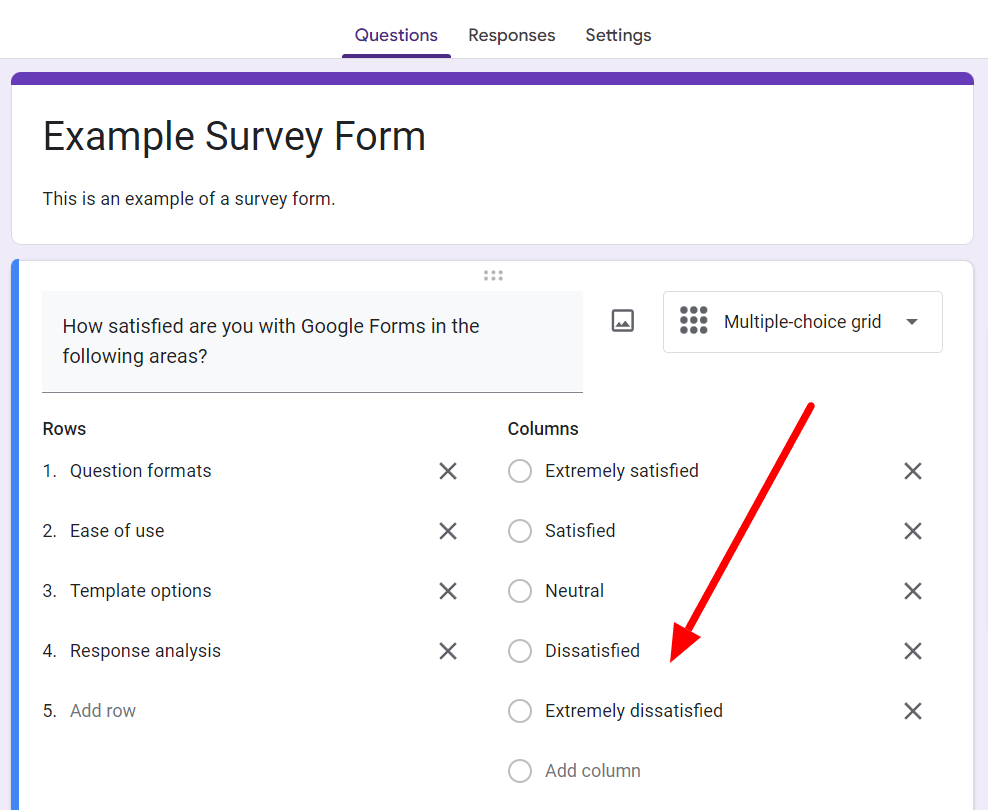
When you do this, you’ll be able to see that your question now “Row” and “Column” options.

You can now fill in the question in the “Untitled question” window.
Step 3: Edit your rows and columns
Once you have your question, you can fill in the rest of the relevant information under rows and columns. The parts of the questions that you want your respondents to answer will go under the rows. The options for answers will go under the columns. Start filling out your rows.

Multiple choice grid question format offers the same options for each question. Go ahead and start filling out your columns. To add more, click the “Add Column” option. Repeat this process to fill in all the answer options you want to provide for each question.
Step 4: Change your multiple-choice grid settings
Before you finish your form and send it out, it's important to make sure a few settings are in place.
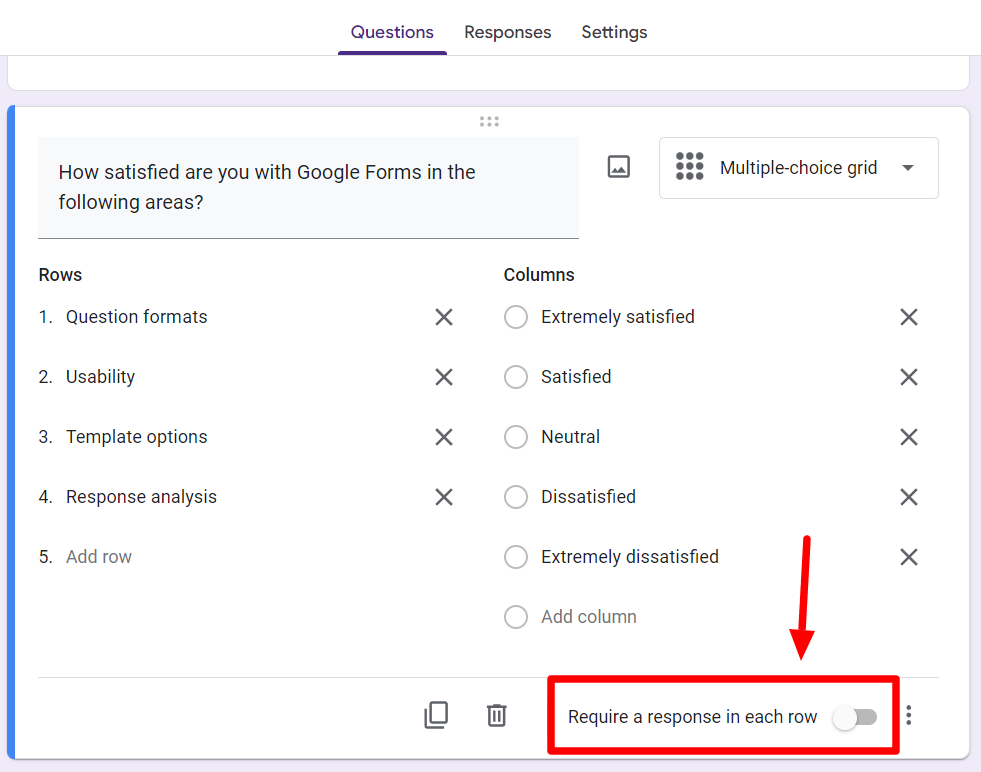
You should first turn on the “Require a response in each row” setting at the bottom right of the form. This will ensure that your respondent submits a response to each question before they can submit the form.
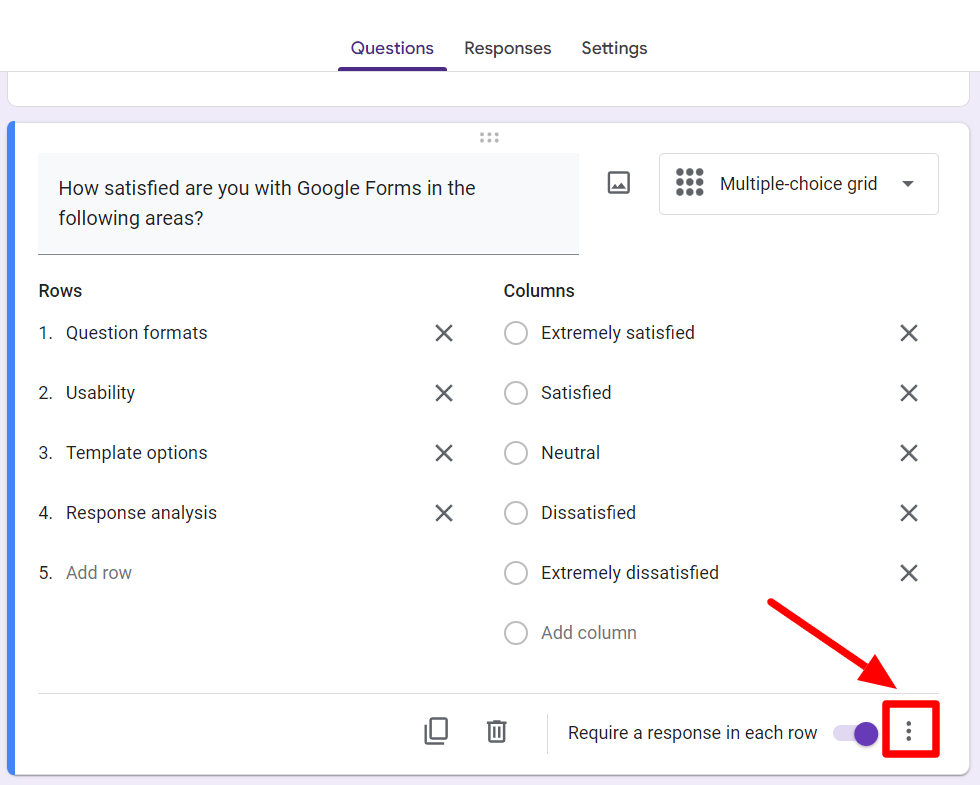
There is another setting to be mindful of. Under the “more options” button, you will find the “Limit to one response per column” setting.
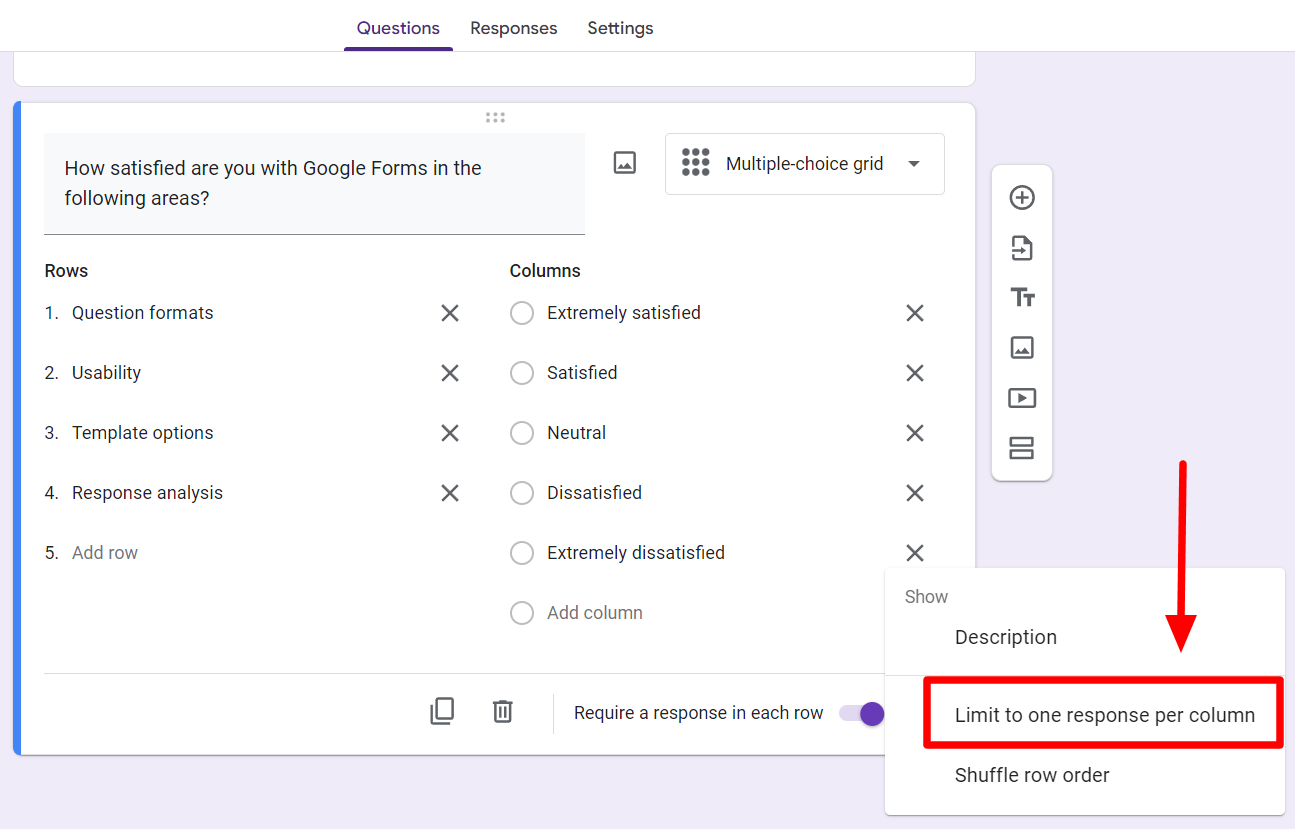
This setting should not be turned on if you want your respondents to be able to submit similar answers for each question. You may turn on the “Shuffle row order” if you prefer—this will randomly change the order of rows.
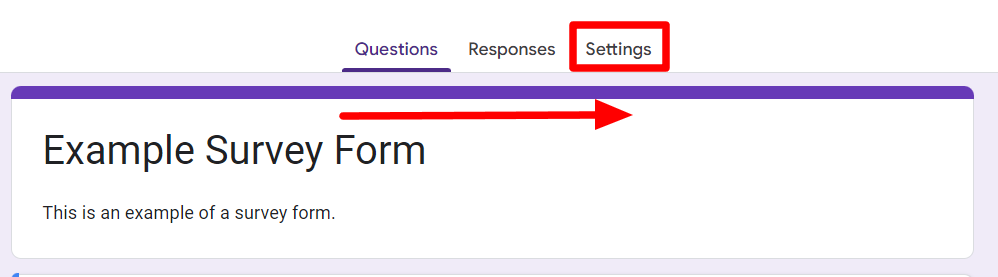
If you’d like to collect your respondent’s email addresses, you can do that too. Simply toggle to the “Settings” tab from the “Questions” tab.
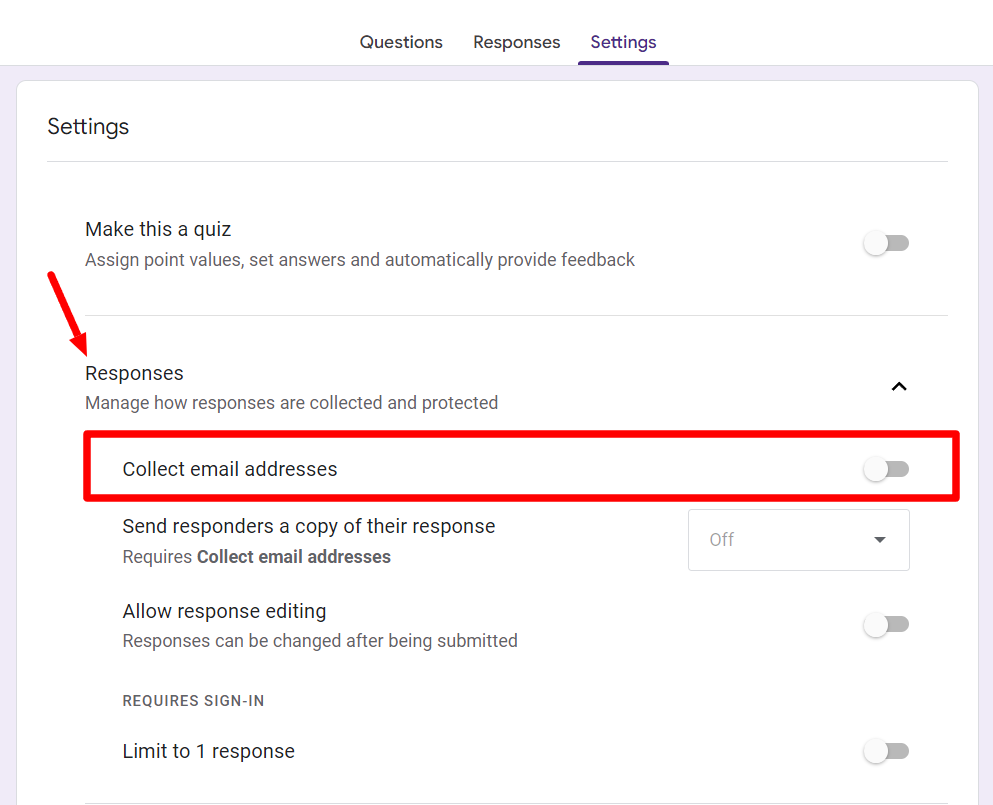
Now under “Responses,” click the drop-down arrow for more options.
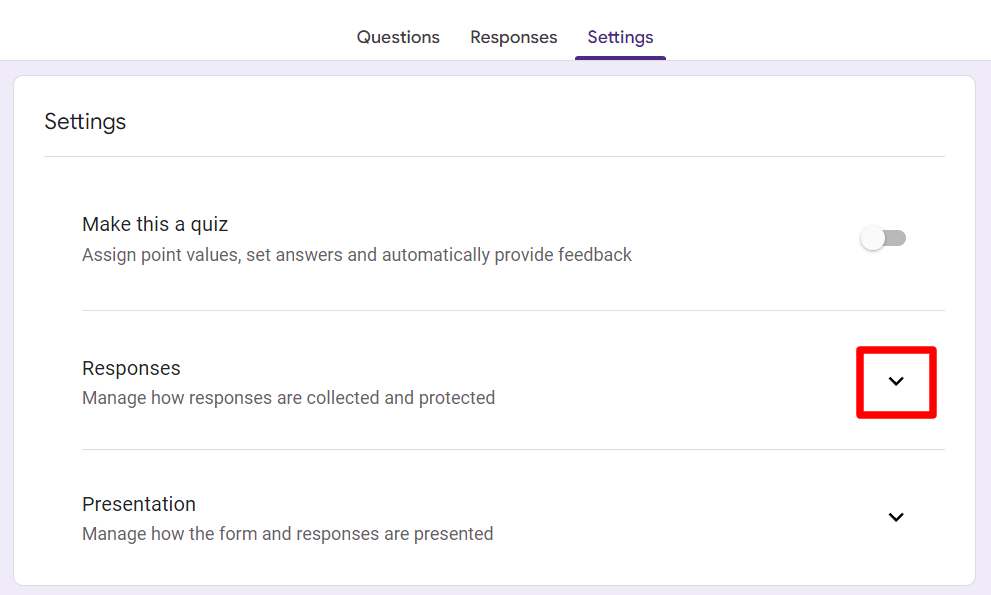
Here, you’ll find the “Collect email addresses” option. Simply turn it on to start collecting email addresses.
Step 5: Finish your form and test it out
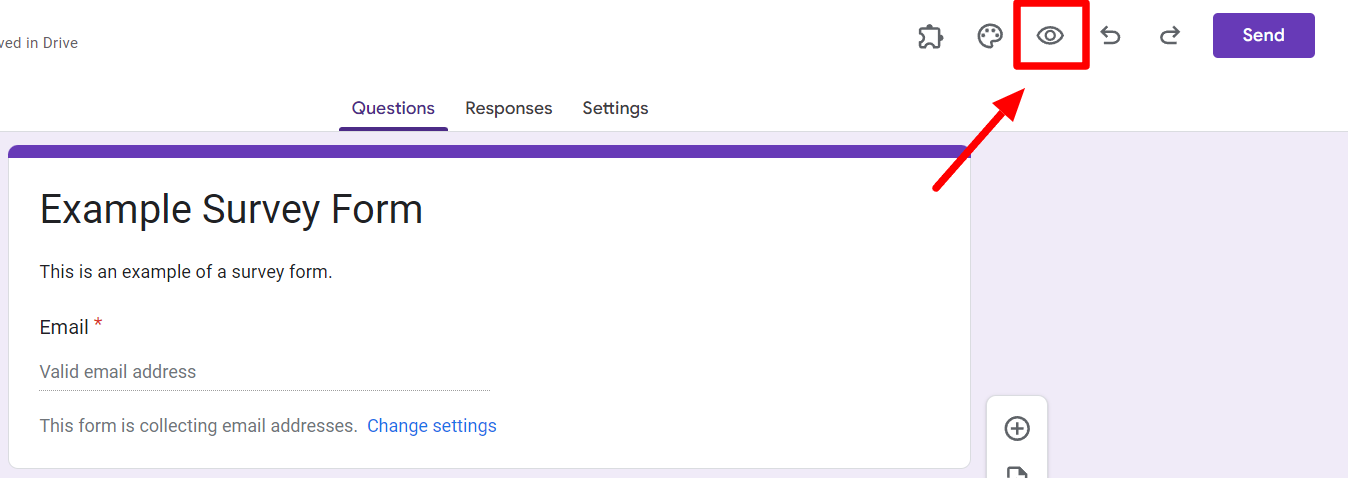
With all the correct settings in place, you’re ready to finish your form. Make sure to follow all the necessary steps to create a proper survey. With your form finished, it’s time to test it out and see how it performs. To test your form, click the eye button in the top right corner.
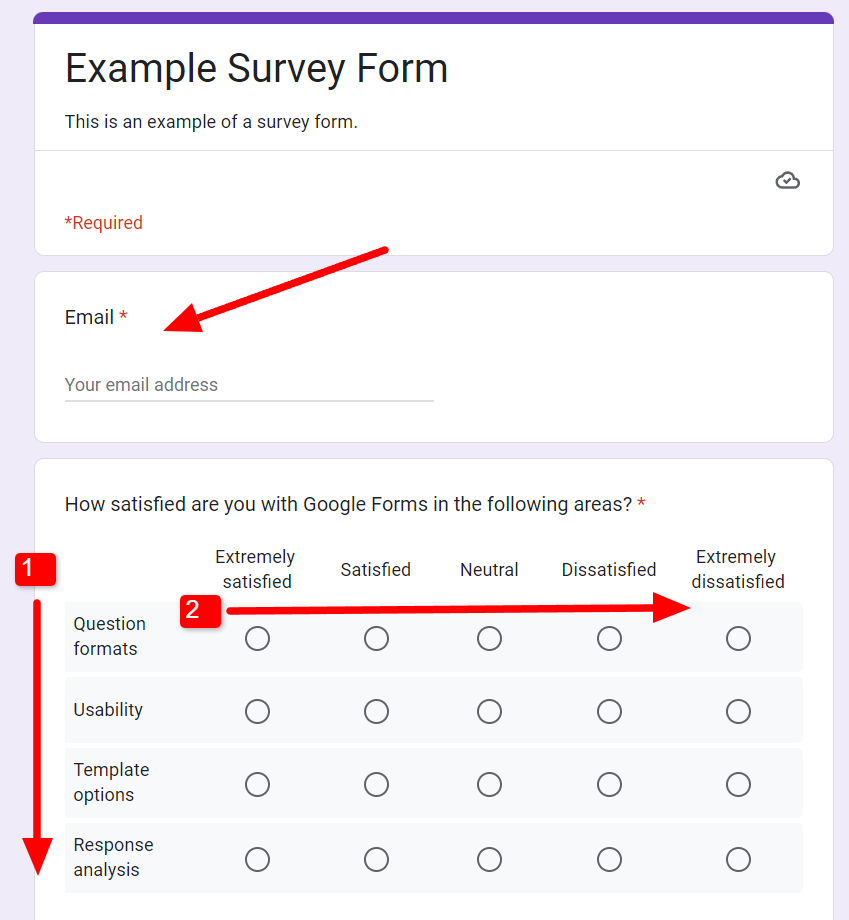
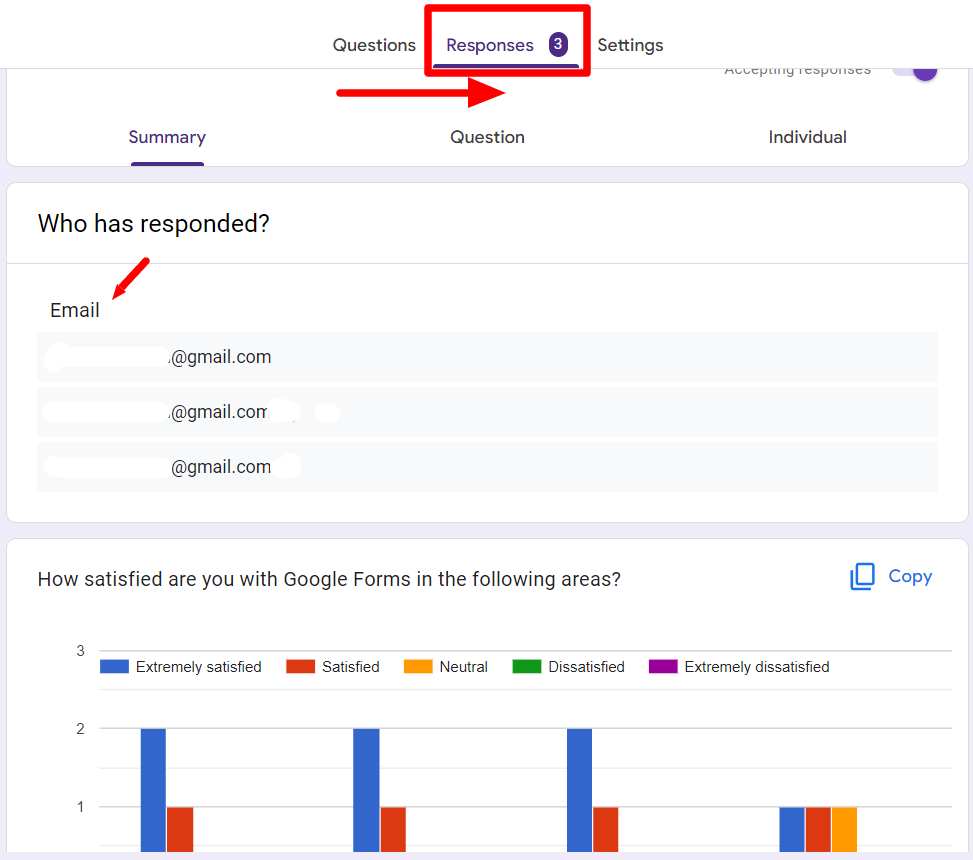
Doing this lets you see how your form will appear to your respondents. Since we enabled the setting to collect email addresses, the form has a field requesting the email.
We can also see the following:
- The set of questions we entered under the Rows.
- The set of answer options we entered under the columns.
You can even fill out the form to see how the responses are reflected. When you’re done, submit it. Then, navigate back to the form editor and go to the Responses tab to see if your submission appears properly.
Once you know it works as intended, all you have to do is send out your form!
The basics of multiple choice grids in Google Forms
Now that you know how to make multiple-choice grids in Google Forms, let's address a couple of aspects of this helpful question format.
Use cases for multiple choice grids
First off, as we know, a multiple-choice grid in Google Forms allows a creator to add rows and columns to a question. As shown in the example, respondents could rate how satisfied they were with each feature. This allows you to get multiple points of information from one question, which helps you get more data in the long run!
Also, if you’re an educator, wondering how to make a multiple choice quiz on Google Forms multiple-choice grids can be useful. For example, the rows could be a handful of US states and the columns could be corresponding capital cities. This would require you to turn on the “Limit 1 response per column option.”
Otherwise, you can get really creative with how you use a multiple-choice grid. It offers a lot more possibilities than multiple-choice questions.
Google Forms checkbox grid vs. multiple choice grid
Both Google Forms checkbox grids and multiple-choice grids allow for interval-type questioning. This means that both involve rows and columns. However, they have different purposes.
While multiple-choice grids only allow one option to be selected per row, checkbox grids allow you to select multiple options per row. This means that checkbox grids are more suited to the “select all that apply” questions, while multiple-choice grids are more suited for questions that require a single answer per row.
Start creating better surveys with multiple choice grid on Google Forms
Creating questions with varying formats is a sure way to maximize your Google Forms experience. The multiple-choice grid format is excellent for customer satisfaction surveys, feedback forms, or quizzes. Learning other great features of Google Forms can help you create dynamic and efficient forms. Learn more about how to get the most out of Google Forms on the Form Publisher blog.