
The reason why so many people love Google Forms is its versatility. Google Forms gives you different question formats and frameworks to get valuable data with minimal effort.
One type of question is the Google Forms checkbox grid. This allows users to construct a grid of choices with multiple rows and columns, making it easy to capture responses quickly. In this post, we’ll show you how to make a checkbox grid in Google Forms, , use it most effectively, and even answer some common questions about the format. Let’s go!
How to add a checkbox grid in Google Forms
Step 1: Open up a Google Form
To open your Google Forms, navigate to Google Forms.

Alternatively, find and click the Google Apps button. It’s available on all Google services you’re signed into. Then scroll down and click the Google Forms button to get to your Google Forms account.
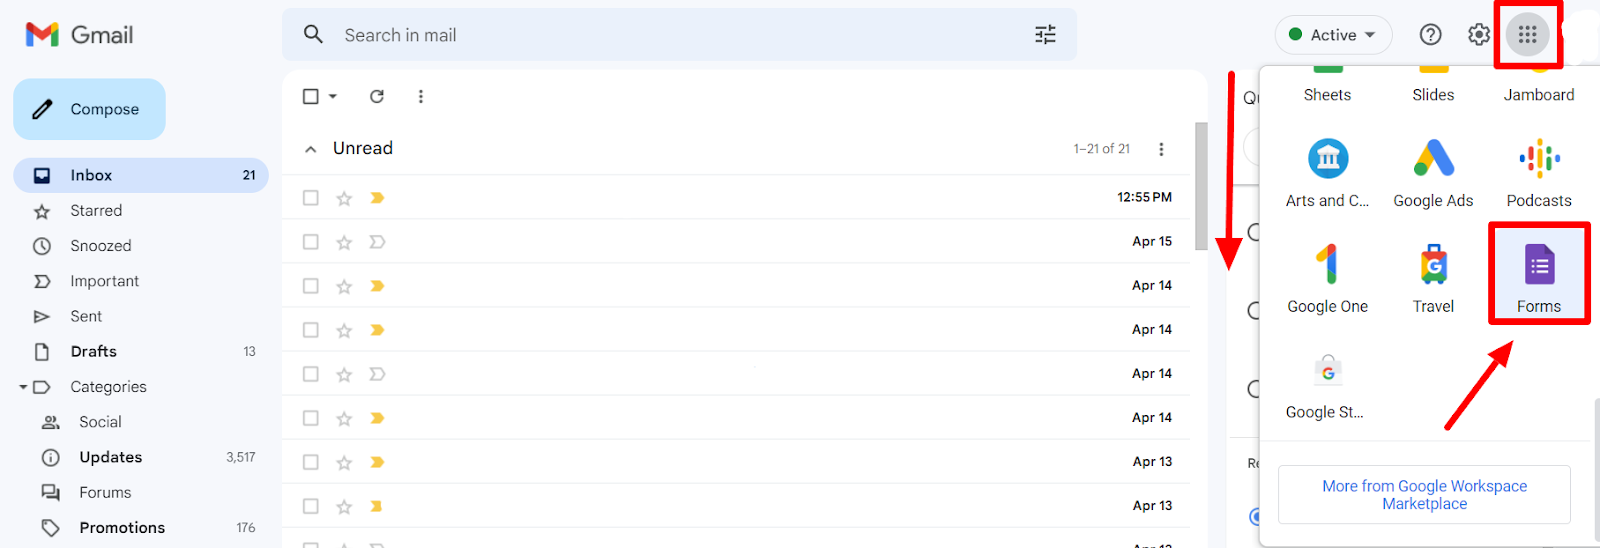
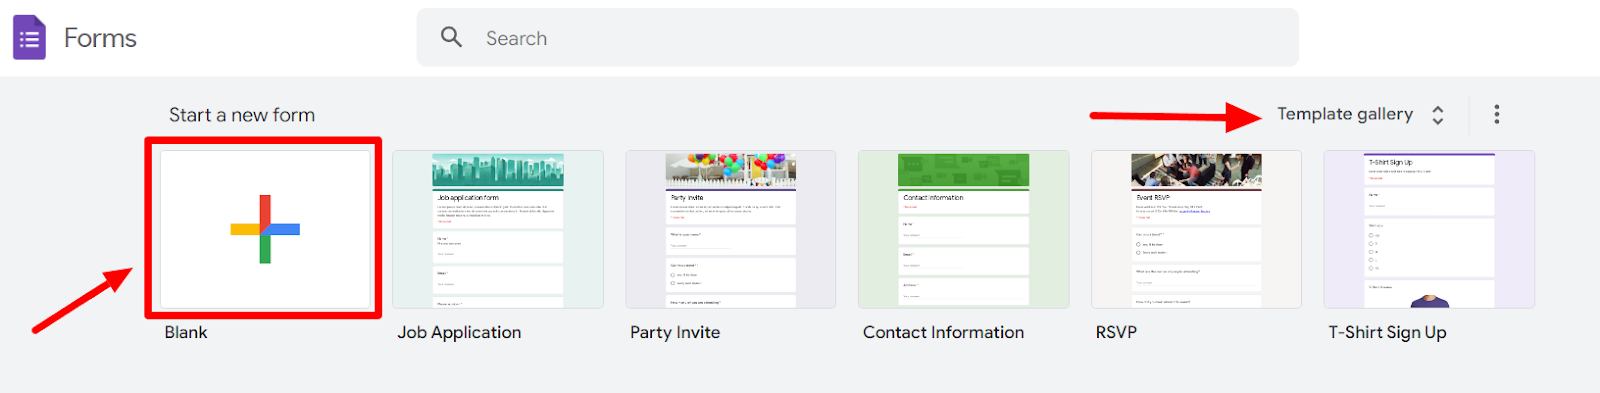
Once in your Google Forms account, start a new form by clicking the “+” button. If you want to start with an existing form, open that or use a pre-made template from the template gallery.
Step 2: Add a new question
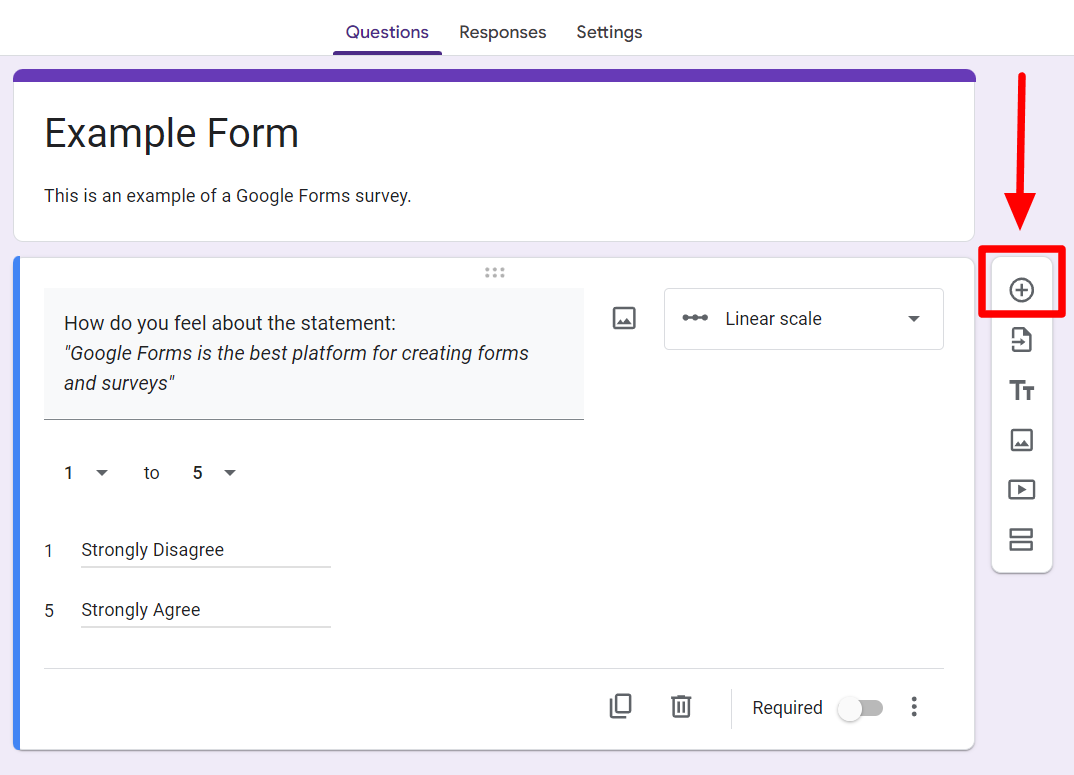
Add a new question by clicking the “Add question” button in the floating menu next to the form.
Step 3: Choose the Google Forms checkbox grid option
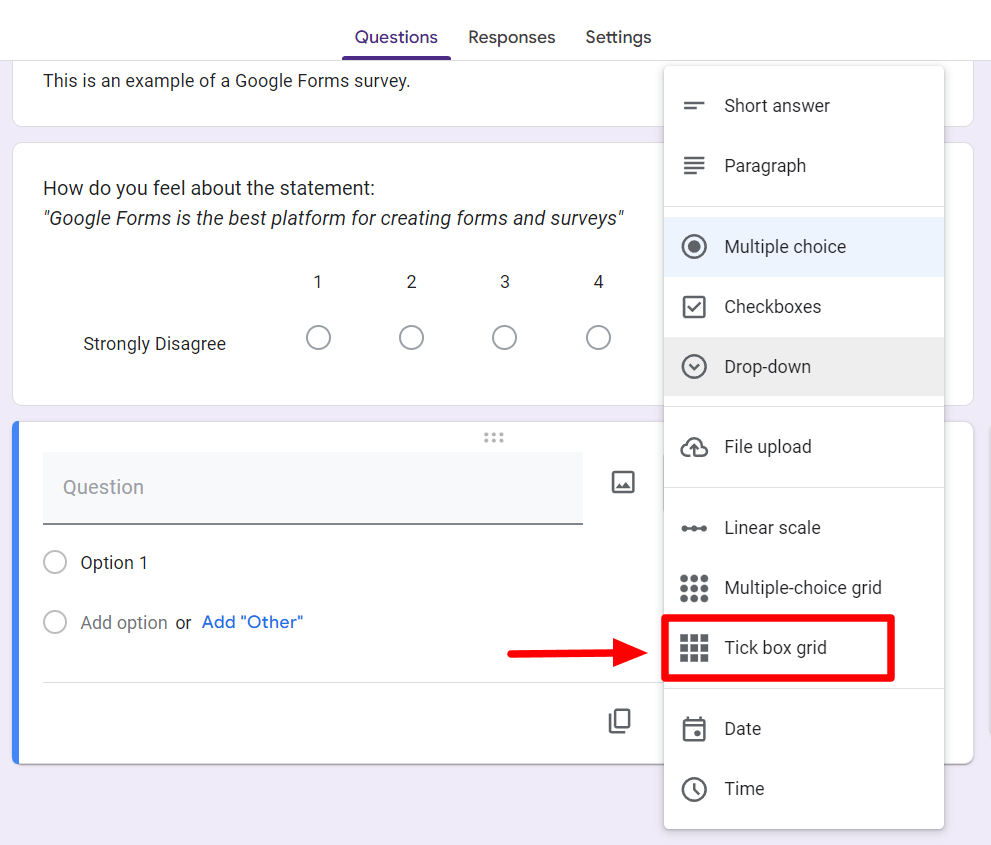
When the new question window opens up, click the question format button on the right of the question field. This will open up a menu where you can see all the question format options available. Find and click “Tick box grid” here.
Step 4: Fill in your rows and columns
When you select the Tick box grid format, you will see “Rows” and “Columns” appear. You can input the question in the question field.
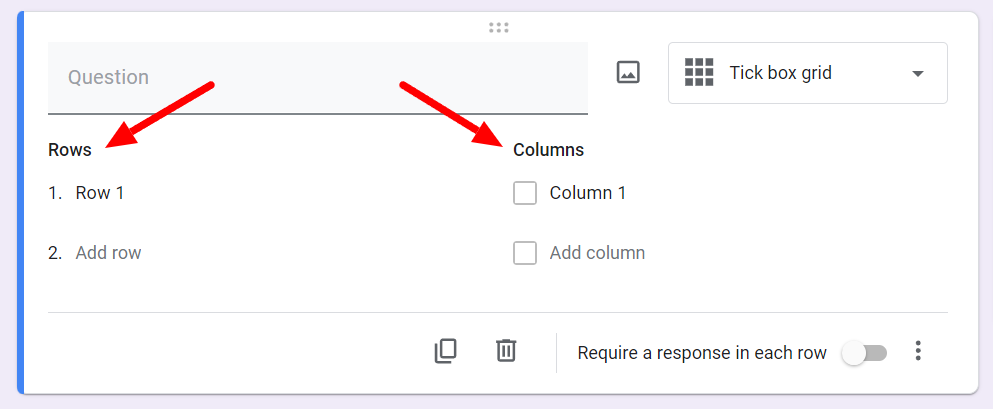
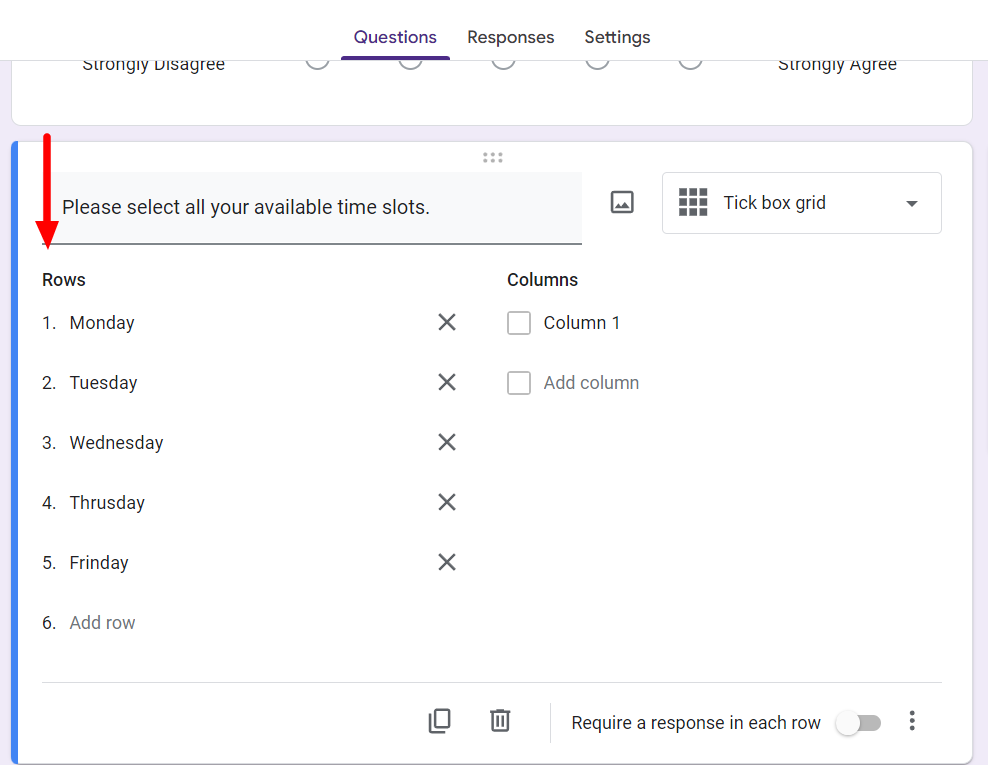
Now you can start filling in the options you want in Rows. It's important to note that Rows appear horizontally and Columns appear vertically and fill options accordingly.
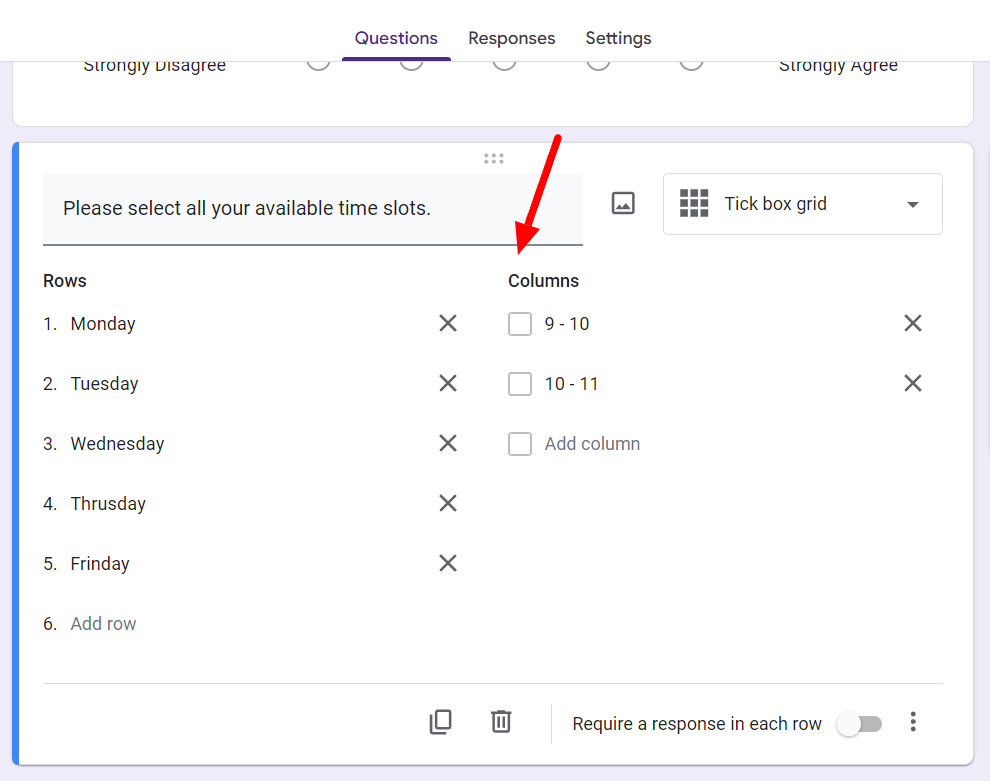
Add the options for columns the same way you added Rows. And you’re done!
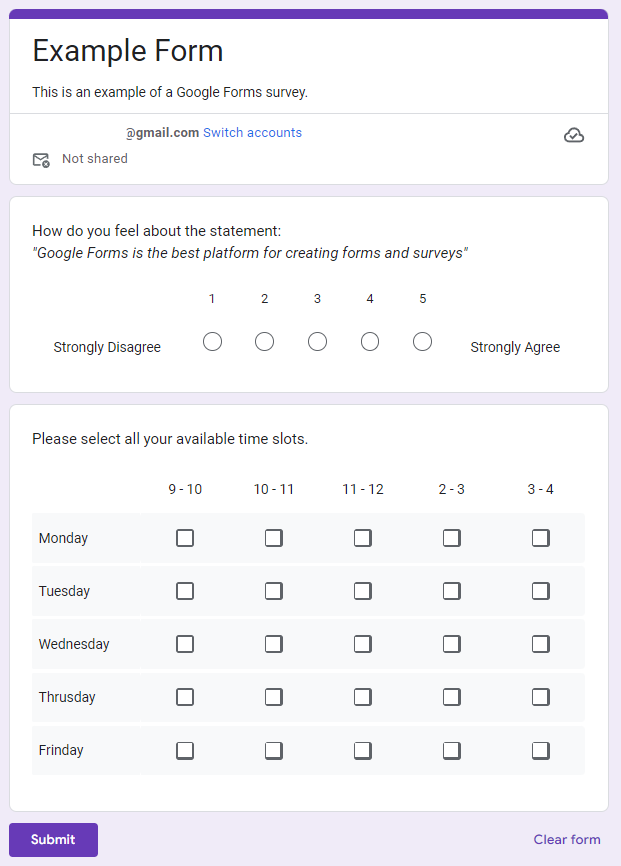
Step 5: Preview your form and check some settings
Now that you’ve finished filling in all the relevant information in your form, it’s time to preview it. Click on the eye button in the top right corner to get a preview of your form.
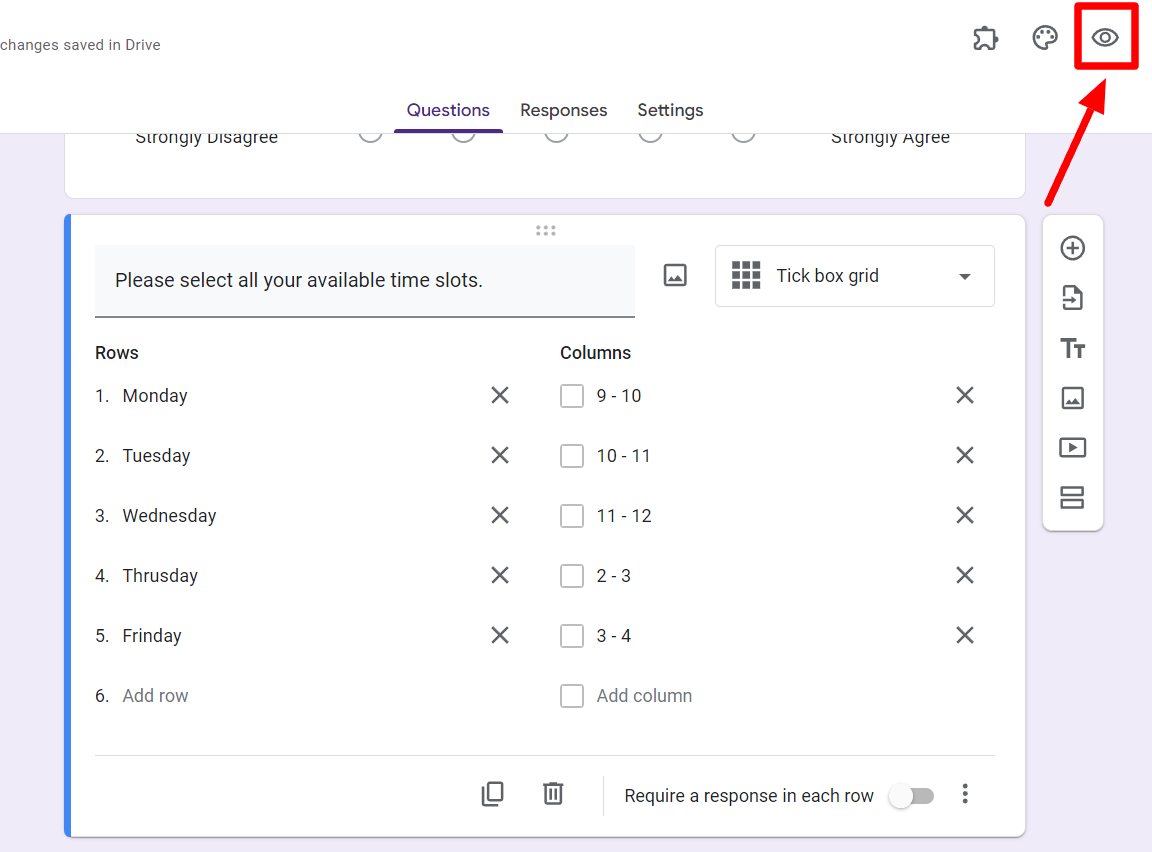
Check to see if all your form elements appear as they should. Ensure you’ve followed all the essential steps to create a proper Google Form.
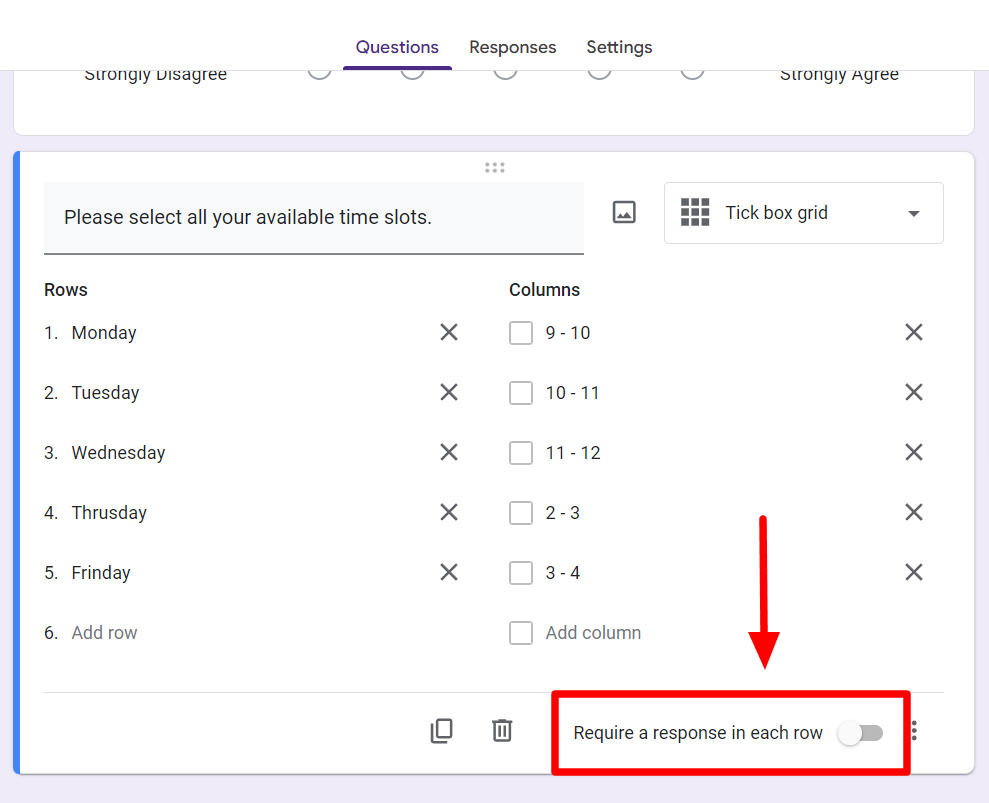
You should be mindful of two settings while finishing off your form. The first is the “Requiring a response in each row” setting. You can turn this setting on so your form respondents don’t accidentally skip selecting options in a Row. This can be made default in the form settings.
The second setting is the “Shuffle row order” available when you click the “more options” button. If you’d like your rows and column to appear in shuffled order in forms, you can turn this setting on.
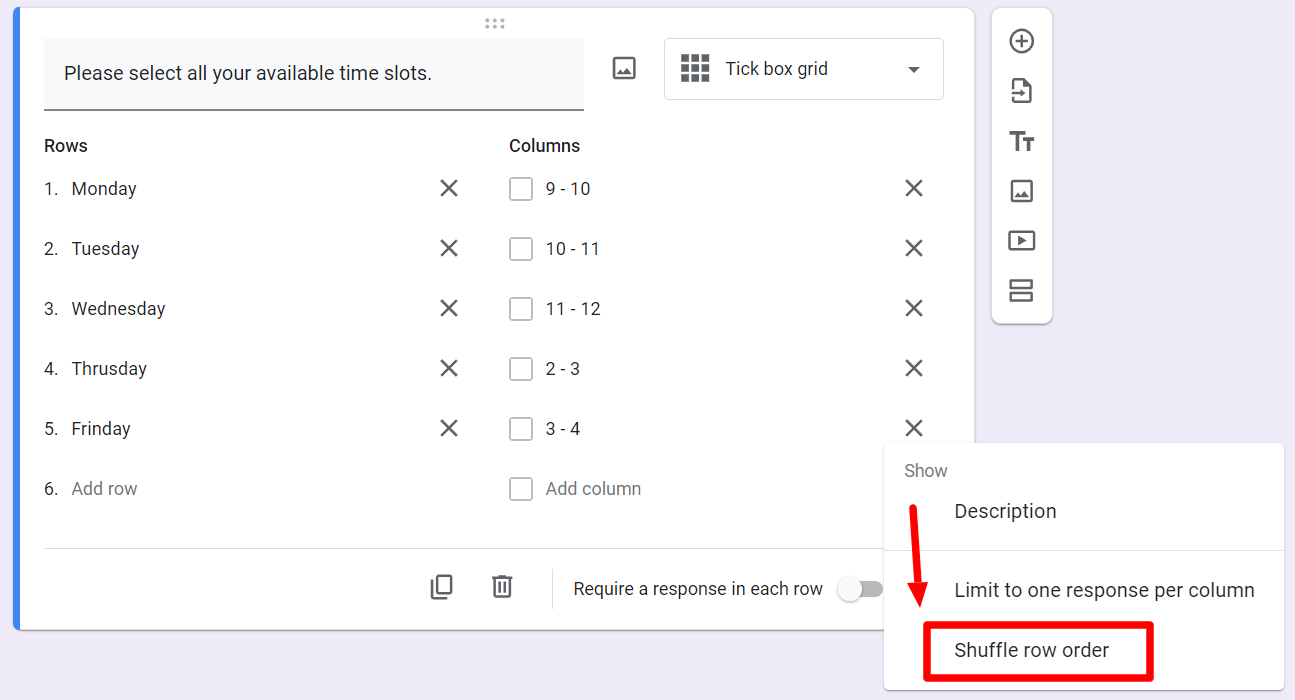
This is done to avoid bias. However, since it’s not relevant to this form, we’ll keep it turned off.
FAQs about checkbox grids in Google Forms
While the checkbox grid format is a handy feature, there exists a lot of confusion about it. Here are some of the most commonly asked questions about the Google Forms checkbox grid.
What is a checkbox grid in Google Forms?
The checkbox grid is a type of question format available in Google Forms. It presents options in a matrix or grid layout. The options are filled in rows and columns. The checkbox grid is the most well-suited for forms that require ranking or comparisons.
Since this format allows for selecting multiple options per row, it also suits forms designed for picking preferred time slots or meeting appointments.
Google Forms multiple choice grids vs. checkbox grids
The Google Forms multiple-choice grid and checkbox formats are similar but differ in one way. While both use rows and columns to represent the question in a grid format, the checkbox grid allows the user to select multiple options per row. This is why they are best suited for “select all that apply” questions.
In the multiple-choice grid, typically, the user picks one option per row. This is why it is best suited for collecting customer feedback on products or services, where you need the customer to pick one option to gather relevant insights. Learn more about how to create a multiple-choice grid in Google Forms.
How to limit checkbox selection in Google Forms
As mentioned in the section above, the main difference between the two grid-type formats is that the checkbox grid allows for selecting multiple options. However, if you want, Google Forms allows you to limit the number of selections a respondent can make in a checkbox grid format.
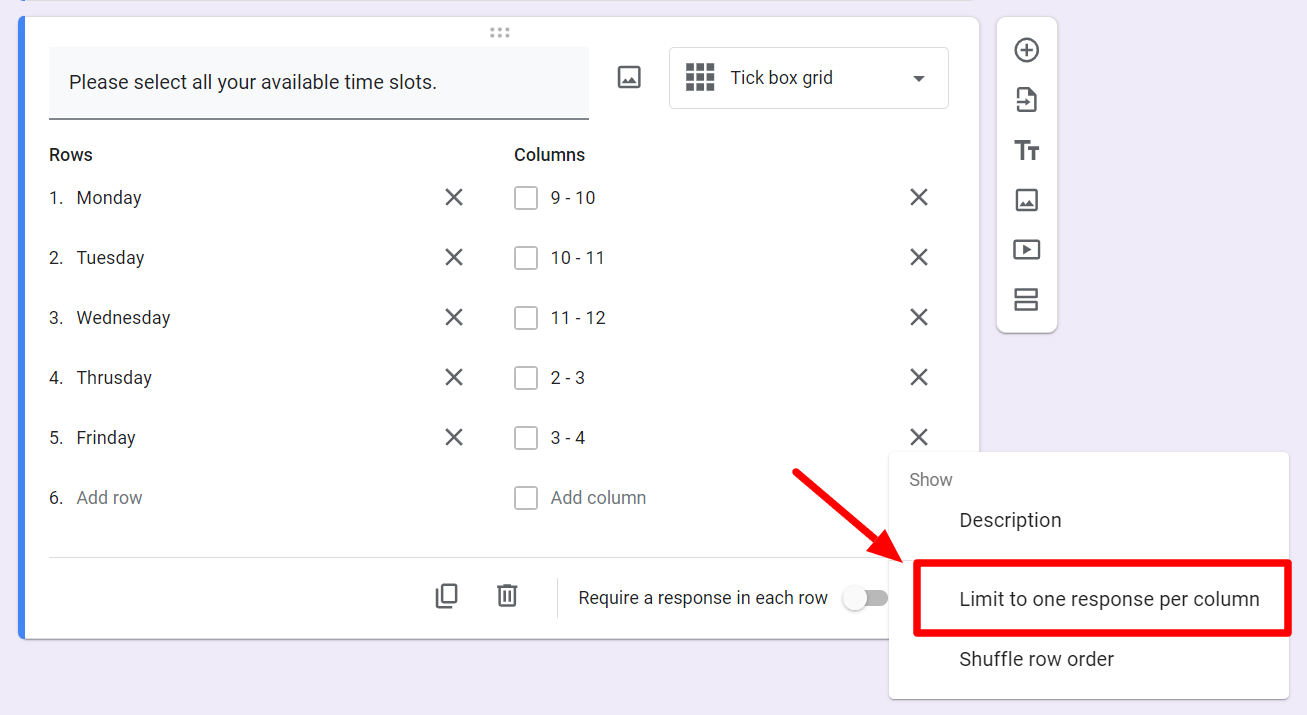
To do this, you can select more options and “limit to one response per column.” This setting will only allow respondents to choose one response per column and proves particularly useful when a Google Form aims to rank products or services.
The rows could hold the products/services to be ranked, and the columns could provide the ranks, features, or attributes. Then, since respondents can only select one response per column, they can effectively rank products or match features/attributes with particular products.
Check out more Google Forms tutorials on the Form Publisher blog
The best part about Google Forms is that you can always find the perfect question format, no matter what form you create. The checkbox grid in Google Forms is a useful format that can effectively be used for “select all that apply” questions in forms.
The rows and columns of a checkbox grid format can be used to depict choices in a presentable and easy-to-understand manner. You can eliminate bias and collect more authentic results by managing settings and shuffling row order.
Learning more about Google Forms and its different features is an excellent idea if you want to create more effective forms. Head to the Form Publisher blog for more tutorials on what Google Forms has to offer!