

If you’ve used Google Forms before, you know that you can collect your responses in a Google Sheet. If you’re looking to figure out how to organize your Google Form responses, you’ll be happy to know that you can do this within Google Sheets. There are many ways to sort your Google Form responses , but a great way to do this is with Google Sheets Query functions.
Query functions in Google Sheets take your information and sort it based on what you enter. They’re a powerful tool for manipulating data in a Google Sheet. With Query functions, you can pull out certain columns, order information, and limit the amount of information you want to see.
This article will show you how to use Query in Google Sheets to sort your Google Form responses. We’ll be discussing Query functions with the following keywords: SELECT, WHERE, ORDER BY, and LIMIT.
How to create a Google Sheet from your Google Form responses
Step 1: Create your Google Form
Creating a Google Form is easy! Open up Google Forms and start with a blank form or one of their premade templates. Once created, give your form a title and start adding some questions.
For our example, we'll use the following questions for an employee survey:
- What is your name?
- What year were you born?
- What year were you hired?
- What department do you work in?
- What is your current annual salary?

Step 2: Share your Form and collect responses
Now you’ve created your form! It’s time to share it to collect responses. See that purple “Send” button? Click that, and you’ll get the option to share your form via email, link, or embed code. Send out your form however you want and wait for those responses.

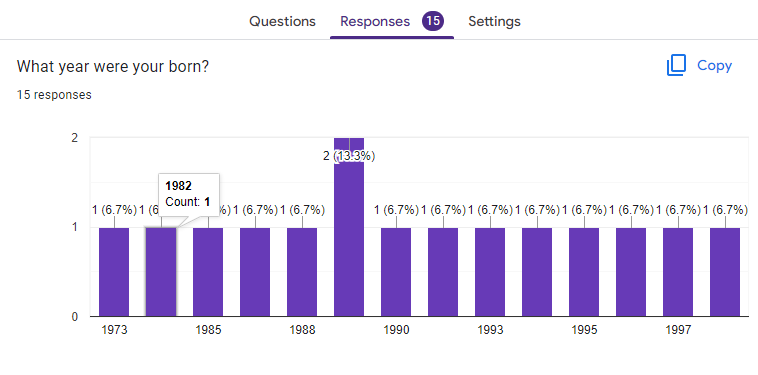
To view your responses, click on the "Responses" tab at the top of the page. Here, you can see each submission in real-time.
Step 3: Create a Google Sheet from responses
If you want to learn how to organize your Google Form responses, you need to create a Google Sheet containing those responses. To do this, simply click on the green "Google Sheets" icon in the "Responses" tab. You can choose to create a new sheet or link the responses to an existing one. For our example, we’ll create a new sheet.

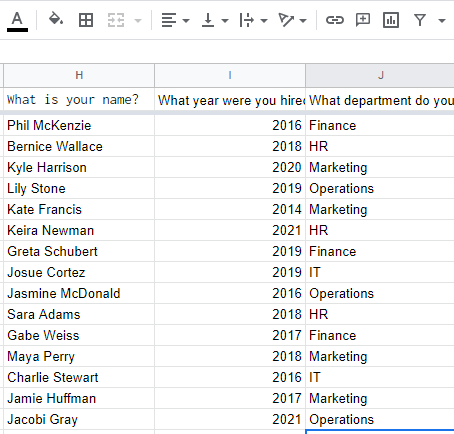
You’ll be taken to your new Google Sheet. All of the questions and responses will be populated in the sheet automatically. In order to use Query functions, you must be working on a Google Sheet.

How to Use Query Function in Google Sheets to Sort your Google Form Responses
Step 1: Understand the Query function in Google Sheets
To start using Query functions in Google Sheets, you need to understand the basics of how they work. The basic syntax for a Query function is as follows:
Let’s go into what each of these fields mean:
- Data: This selects the cells that you want to query.
- Query: This is the kind of query you want to run. It must be in quotations.
- Headers: This is how many headers there are in your data. It’s optional!
Here is an example of a Query function that sorts data by name:
This function will take the data in all the cells under columns B through F. Then, the Query will pull out just column B from the data and place it where you entered the function. Since we have one header row, we’ll just put the number “1.”
Make sure you have no extra spaces in your functions, as this may cause an error.
Step 2: Make a named range
Don’t want to select all of your data each time you want to run a function? We thought so! In Google Sheets, you can make a range. A range is a label for the cells you want to select. Instead of putting in the exact cells, you can create a range and enter its name into the “data” field.
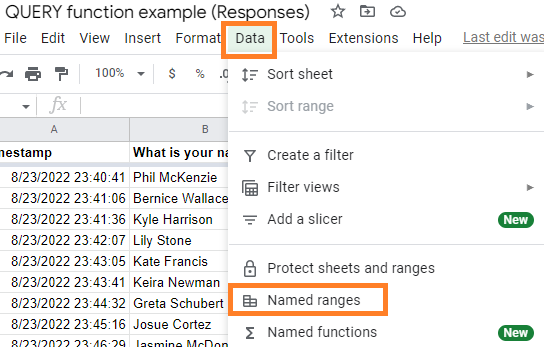
To do this, highlight the data set. Then, click “Data” in the top menu, and then “Named ranges” from that. It’ll ask you to give your range a name.
For our example, we'll call it “Employees.” Naming your ranges will make it easier to use Query functions later on. So, you can write a Query function that looks like this:
Step 3: SELECT keyword
Like our example, the first Query we’ll talk about is SELECT. SELECT takes out specific columns from your data, so you can pick which columns you want to view.
To do this, write “SELECT” in the Query field. If you want to select all the columns in the range, you can follow it with an asterisk: “SELECT *.” To select specific columns, just type in the letter of the column. Remember to capitalize each letter and separate each one with a comma.
In our example, let’s say we only want the data from the “Name,” "Year Hired,” and "Department" columns. We would write the function like so:
This function will take these columns and return them to a new table.
Step 4: WHERE keyword
The WHERE keyword can be added to filter data in a Query function. This means that you can use it to only return data that meets certain criteria. It comes after the SELECT keyword.
For example, let's say we only want to see employees who were hired in the last 5 years. We can use the following query to do this:
This query will take all of the columns from our "Employees" range and return only the rows where the “Year Hired” column (D) is greater than or equal to 2015.

You can also use the WHERE keyword to filter data by multiple criteria. For example, let's say we only want to see employees who were hired in the last 5 years and work in the "Marketing" department. We can use the following query to do this:
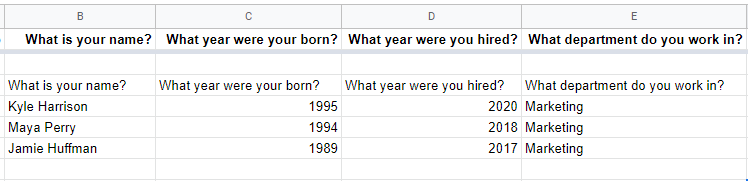
This query will return only the rows where the "Year Hired" column (D) is greater than or equal to 2013 and the "Department" column (E) is equal to "Marketing.’’
Step 5: ORDER BY keyword
The ORDER BY keyword is one of the best keywords to use to sort your data. This means that you can use it to return data in a specific order. This comes after the SELECT or WHERE keywords. You’ll put ORDER BY, then the column, then either ASC or DESC. ASC means ascending and DESC means descending.
For example, let's say we want to see all of our employees in order from newest employees to the oldest employees. We can use the following query to do this:
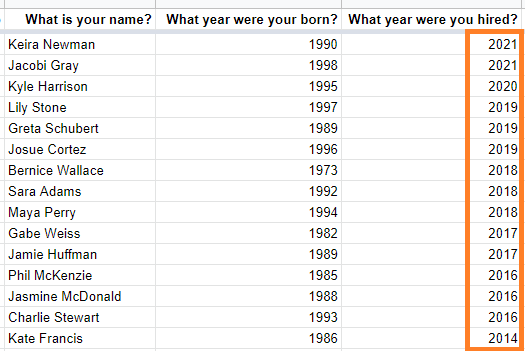
This query will return the columns in the order that you’ve specified. If we wanted it the other way around, we would just replace DESC with ASC.
Step 6: LIMIT keyword
The LIMIT keyword is used to limit the amount of data that is returned by a Query function. This means that you can use it to only return a certain number of rows. This comes after the SELECT, WHERE, and ORDER keywords.
For example, let's say we only want to see the first 10 employees at our table. We can use the following query to do this:

This query will take all of the columns from our "Employees" range and return only the first 10 rows.
Easily analyze your Google Form data with Advanced Summary
Now, you know how to organize your Google Form responses with the help of spreadsheets. In fact, spreadsheets can be great for analyzing data. However, not everyone enjoys the effort involved with learning functions just to look through Google Form responses. If only the data and charts in Google Forms were more detailed. With Advanced Summary, they can be.
Advanced Summary is a Google Form add-on that allows you to take a deeper look at responses by adding filters to your forms. You can isolate certain variables—location, age, department—and view your responses through that lens. Advanced Summary also allows you to create more customizable charts that are easier to configure than Google Sheets.
Interested in making the most out of your Google Forms responses? Try out Advanced Summary today!