

If you're in charge of organizing an event, chances are you've had to deal with the headache of trying to keep track of RSVPs. Whether it's a birthday party, a baby shower, or even a wedding, trying to collect and keep track of RSVPs can be a daunting task.
But what if there was an easier way to send and receive RSVPs to an event? With Google Forms, you can easily create a form that people can fill out to RSVP for your event.
In this article, we’ll show you how to use Google Forms as an RSVP platform and track the responses. We will also provide some tips on how to make your Google Forms RSVPs look professional and organized.
Let's see how to make an RSVP on Google Forms!
How to create an RSVP form on Google Forms
Step 1: Open Google Forms
To create an RSVP form, you need to open Google Forms first. You can do this by going to forms.google.com in your web browser or opening it via Google Apps.

Step 2: Select a free RSVP online template
Once you are on the Forms homepage, you will see a list of templates to choose from. Scroll down until you find the Google Forms RSVP template and click on it.

Step 3: Add your questions and answers
Now that you have selected the RSVP template, you will see a list of questions that are typically asked on an RSVP form. You can edit these questions or add your own. For each question, you will need to provide answer choices.
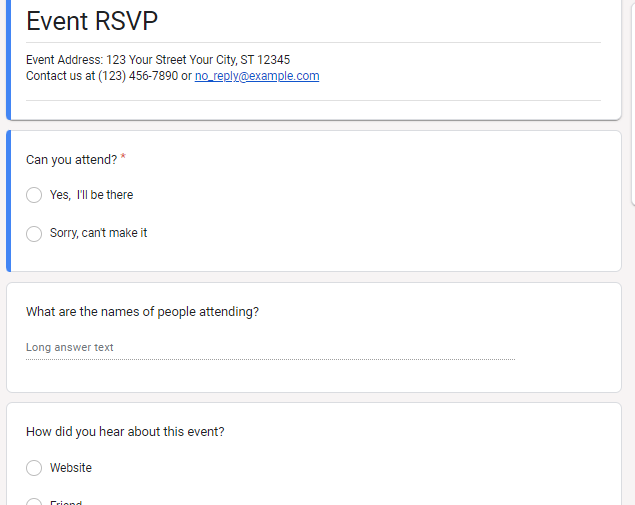
You can ask in your RSVP form certain questions like:
- Whether or not they can attend
- Name of guest
- Name(s) of additional guest(s)
- Meal preference
- Dietary restrictions
- Song requests
Be sure to add an "Other" option for each question so that guests can enter their responses.
For answers, you can choose from a list of options, such as “Short Answer" or "Multiple Choice." You can also select the "Date" or "Time" option for questions that require this.

Step 4: Customize the RSVP form to your liking
Once you have added all the questions and answers to your RSVP form, it's time to customize it to your liking. You can do this by changing the theme and adding images or videos.
To change the theme, click on the "Customize Theme" button in the top-right corner of the page. This will take you to the Theme Customizer where you can change the text style, color scheme, font, and background images.
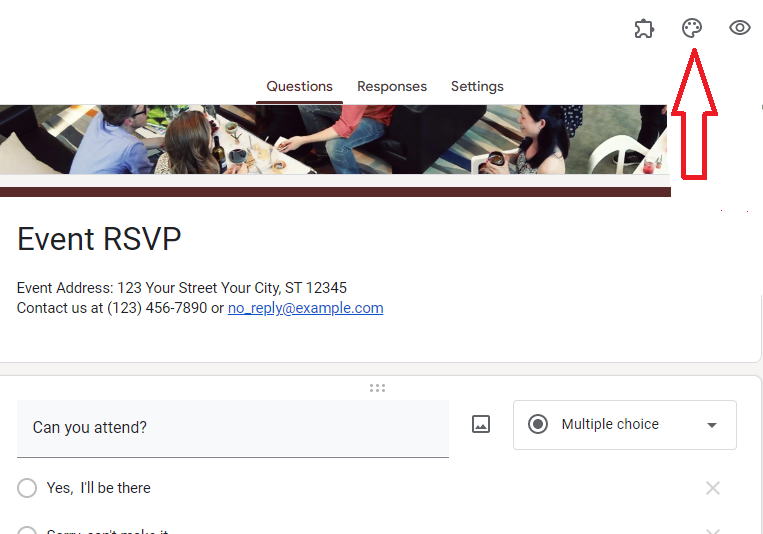
To add images, click on the "Image" button in the top-right corner of the page. This will open a window where you can upload an image from your computer or select one from the web.

To add a video, click on the "Video" button in the top-right corner of the page. This will open a window where you can paste the video URL or upload a video from your computer.

Click here to learn how to add an image header for your Google Forms
Step 5: Configure the settings of your RSVP form
After you have customized the form to your liking, it's time to configure the form settings. To do this, click on the "Settings" button in the top-right corner of the page.
In the "Settings" window, you can manage "Responses," "Presentation," "Form defaults," and "Question defaults."
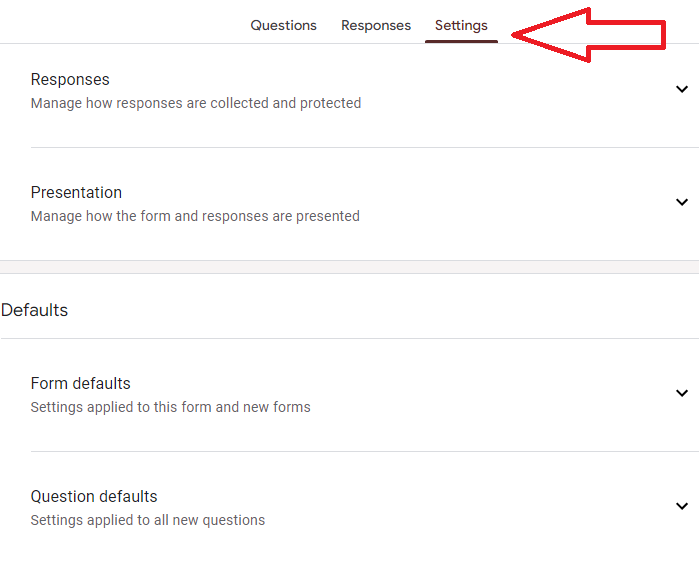
In the "Responses" tab, you can choose how you want to receive the responses to your RSVP form and how you want to allow response editing. Would you like to send respondents a copy of their responses? You can also limit the number of responses that you will accept.

In the "Presentation" tab, you can choose how you want the form to be displayed. For example, you can choose to show a progress bar that indicates how many questions have been answered. Here, you can add a progress bar to the form.
There’s also a "Confirmation message" option in this tab where you can thank respondents for their responses and provide a link to submit another response.

In the "Form defaults" tab, you can set to collect email addresses by default.

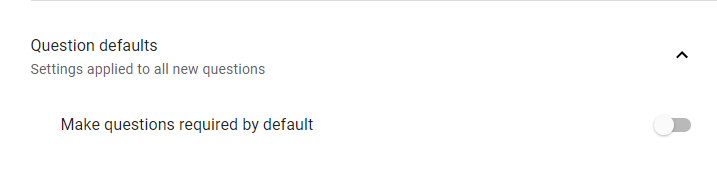
In the "Question defaults" tab, you can choose to make questions required by default. This means that when creating questions in your form, they will be required until you designate otherwise.
Learn how to sort your Google Form responses here
Step 6: Create and send an RSVP link
After you have finished setting up your form, it's time to create an RSVP link and send out. To do this, click on the "Send" button in the top-right corner of the page. This will open a window where you can add the email addresses of people you want to receive the RSVP form link.

You can also choose to share the link on social media or embed the form on your website. However, make sure to shorten the URL so that it's easy to share.
You might have a long list of invitees, especially for a big event like a wedding. It’ll be difficult entering in all their emails and sending them out individually. Consider adding YAMM to your Google Workspace, which allows you to send out personlized emails with RSVP forms at one time.
Show your Google Form responses in a chart
Now start collecting responses with your DIY online RSVP tool!
To collect the responses, click on the "Response" tab in the top-right corner of the page. This will take you to a new page where you can see all the responses. You can also export the responses to a Google Sheet and convert them into a PDF or Doc.

Form Publisher is a great way to automatically generate beautiful documents filled with your survey responses.
That's it! You have now successfully created an RSVP form using Google Forms.
How to be notified when someone uses your RSVP link for the event
It’s important to know when people RSVP for your event so that you can plan accordingly. The best way to be notified when someone RSVPs in your google form is to use the "Get email notifications for new responses" feature.
This will send you an email whenever someone submits your form. To use this feature:
Go to the Responses tab of your form
The responses tab is where you can see all the responses to your form. The "Responses" tab is found in the center of the page between the "Questions" and the "Settings" options.

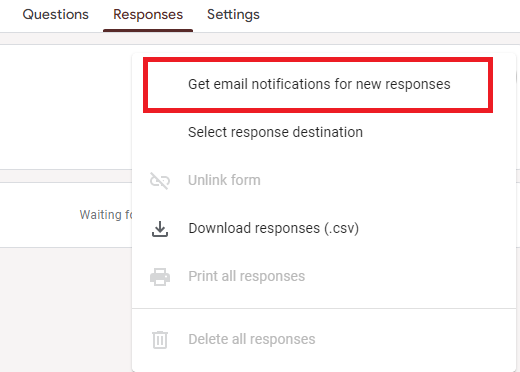
Click on the menu icon
The menu icon is the three dots in the top right corner of the "Responses" tab. It will open a drop-down menu.

Select "Get email notifications for new responses"
The first option in the drop-down menu is "Get email notifications for new responses." This is the option you want to select so that you will be notified by email whenever someone RSVPs to your form.
Now, the email notifications will be enabled and you will start receiving them for every new response.
How to organize Google Form responses and online event RSVPs easily with Form Publisher!
RSVPs are an important part of any event, and Google Forms is a great RSVP tool because it makes it easy to create them. Just follow these simple steps to get started!
If you need documents of the responses you get for your records, Form Publisher is the perfect tool for you. With Form Publisher, you can generate files from the responses you get on forms, saving you the pain of reading through spreadsheets. You can also choose where those files end up.
This whole RSVP system saves you time and hassle, ensuring your event goes off without a hitch. Sign up for the Form Publisher's free plan today!