
Want a hassle-free invoicing solution? Say goodbye to manual invoicing headaches and embrace the simplicity of Google Forms. Whether you're a freelancer, small business owner, or anyone needing a streamlined invoicing process, this blog post has got you covered.
We’re going to show you how to create personalized invoices in Google Forms in a few easy steps. By the end, you’ll not only have a personalized invoice form but an invoicing system that’s going to make your life a lot easier. Let’s get into it!
Need to upload an image to your form? Click here to learn how.
How to generate personalized invoices using Google Forms
There are two essential elements to creating this system. First, we need an easy and standardized way to input your invoice details. We’re going to do this in Google Forms. Second, the customization required before you send an invoice to clients. We’ll do that with the help of Form Publisher.
Step 1: Download Form Publisher
Form Publisher is an essential component of this system. When you’re done filling out your Google Form, Form Publisher can automatically create a response document. This document will be your personalized invoice which you can then send to a client.
Go to the Google Workspace marketplace and download Form Publisher. Install it on your Google Forms.
Step 2: Create an invoice form on Google Forms
Now, we’re going to create a Google Form that generates invoice details for us.
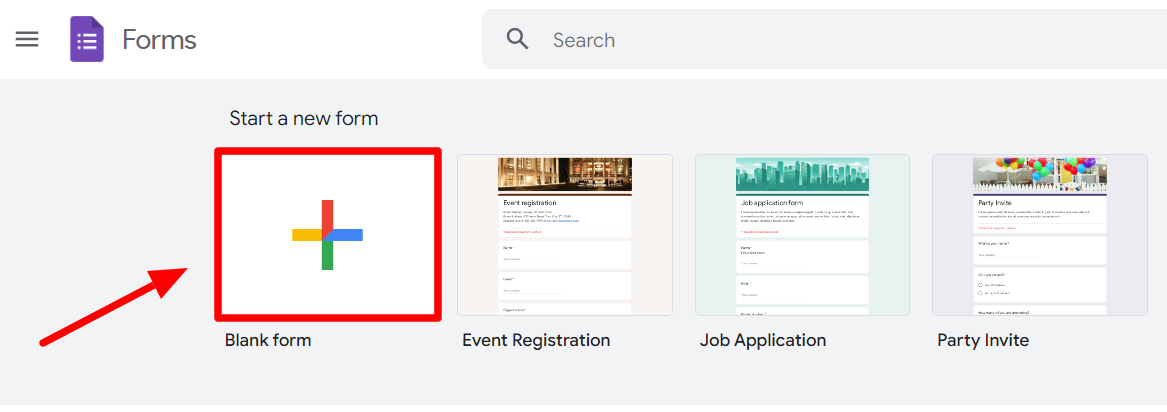
If you’re already in your Google Forms, click the “Blank form” option to create a new form.
Name your invoice. It’s a good idea to decide the sections that you need on your invoice. Here are a few that are standard for invoices:
- Client name (billed to)
- Client address and contact information
- Description of items or services
- Total amount due
- Payment details
- Invoice date
- Additional comments
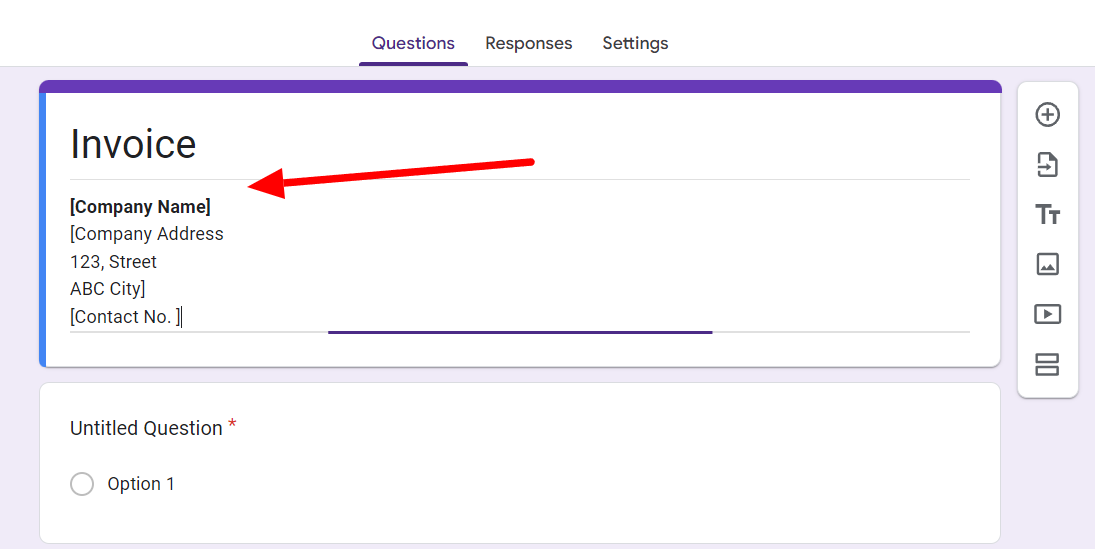
Now, you can start adding these as questions to your invoice form.
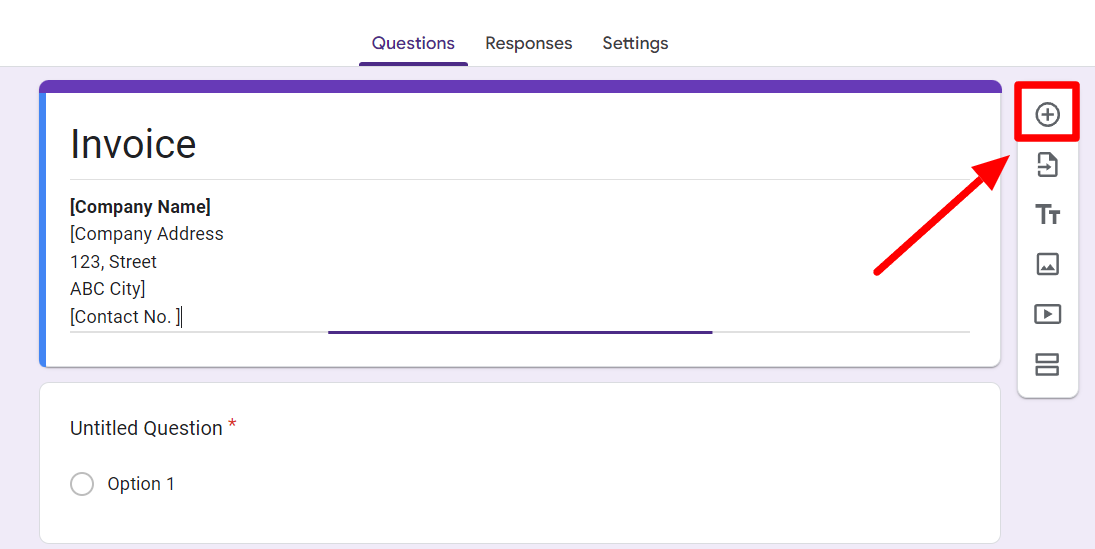
Click on the + button to start adding your questions.
Choose the appropriate question format from the drop-down menu next to the question field.
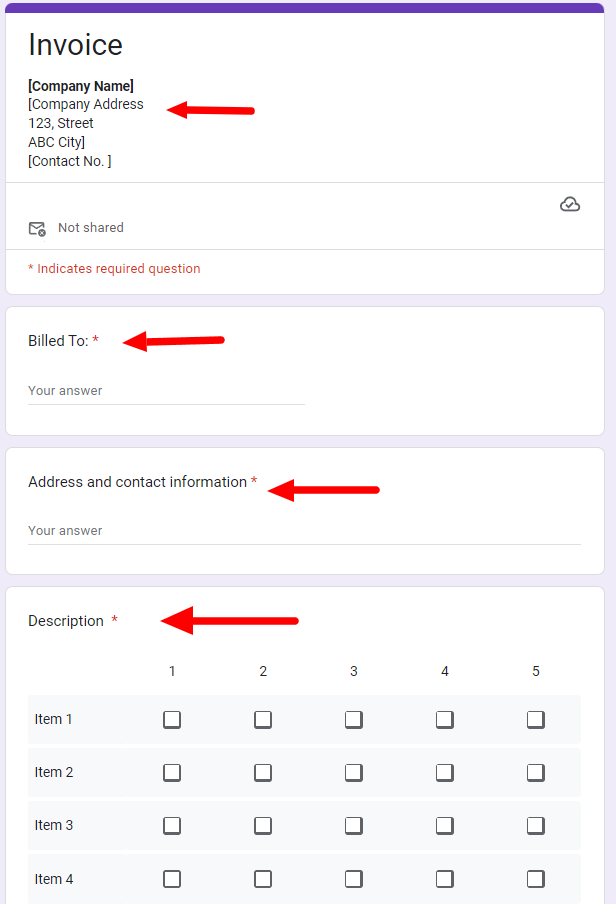
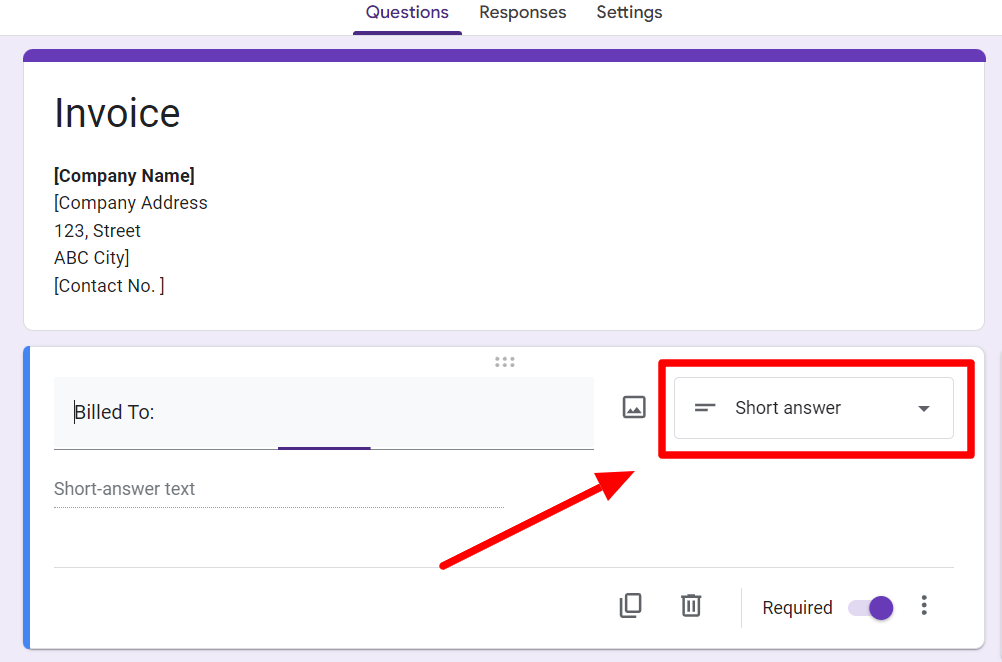
Add all the relevant fields to your invoice form. When adding the amount field, you can use a Google Forms feature called response validation to ensure you don’t leave it unfilled.
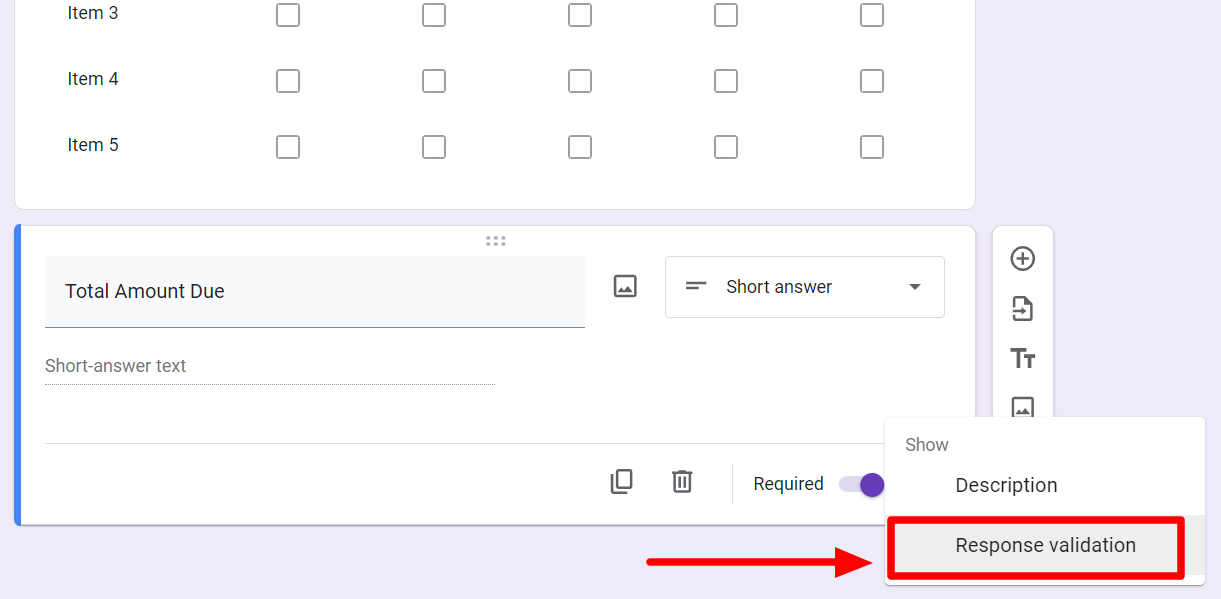
Click the three dots menu and select “Response Validation.”
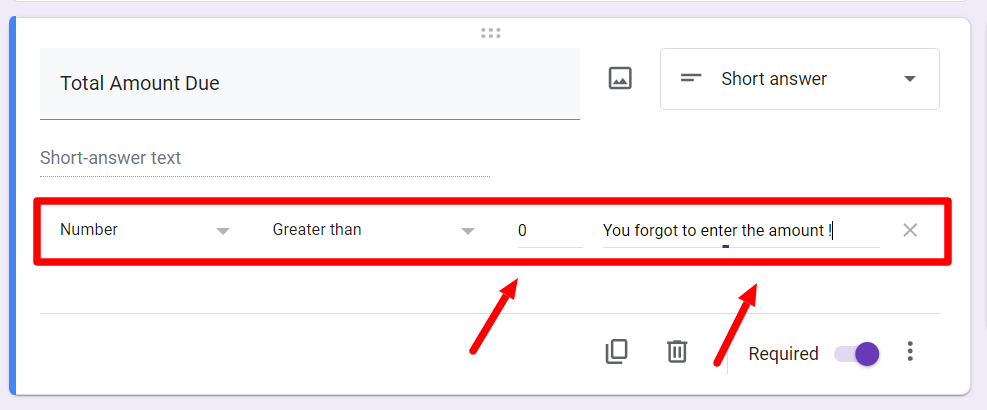
This will open up another field under the answer box where you can define a rule and a custom error message to display when the rule is violated. Since we want to ensure you don’t leave the due amount field empty, let’s set a rule only to accept an answer greater than 0.
Creating an effective form involves tying in all the elements, like the questions, settings, and theme. Here’s a walkthrough on creating a Google Forms order form that might help.
Step 3: Set up your response document template
Let’s clarify this step. This invoice form you’ve created is your standardized manner of filling out information. A response document will be created every time you fill in this form. With the help of Form Publisher, you’ll customize this document and finally send it to the client. So now, let’s get onto customizing the response document.
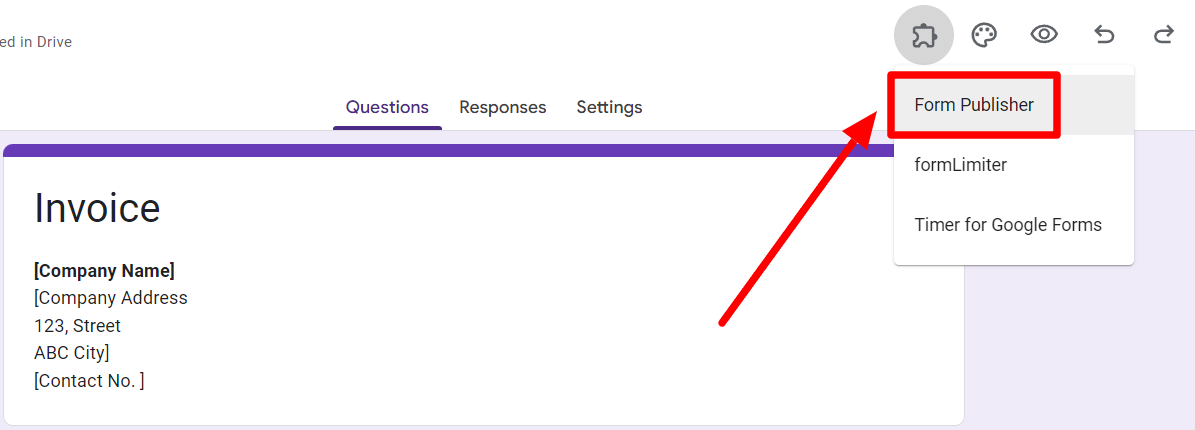
Go to the extension button in the top right corner of your form. If you’ve successfully installed Form Publisher, it’ll appear in the list of installed extensions or add-ons. Find and click Form Publisher.

Click “Configure Form Publisher” when it opens in a separate window.
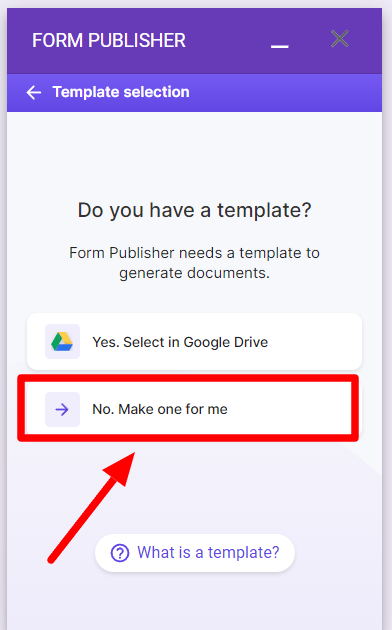
When Form Publisher asks you if you already have a template set up, answer yes if you do. For the sake of this example, let’s pick “No, make one for me.” Now, Form Publisher will make a template for you that you can edit.
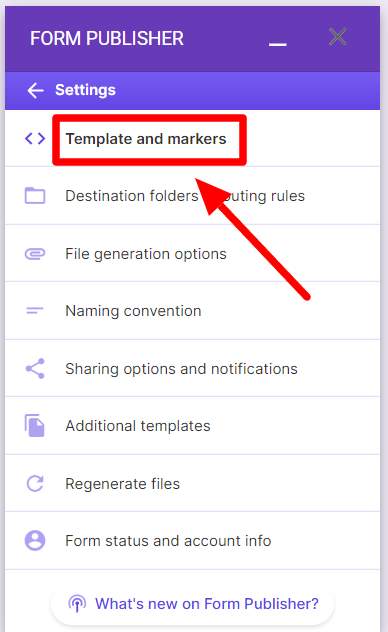
To edit the response document template, find “Template and markers” under “Settings.”
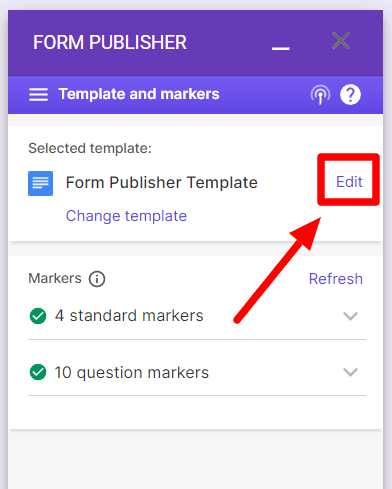
Now click “Edit” next to the template. This will open the template as a Google Doc in a new window.
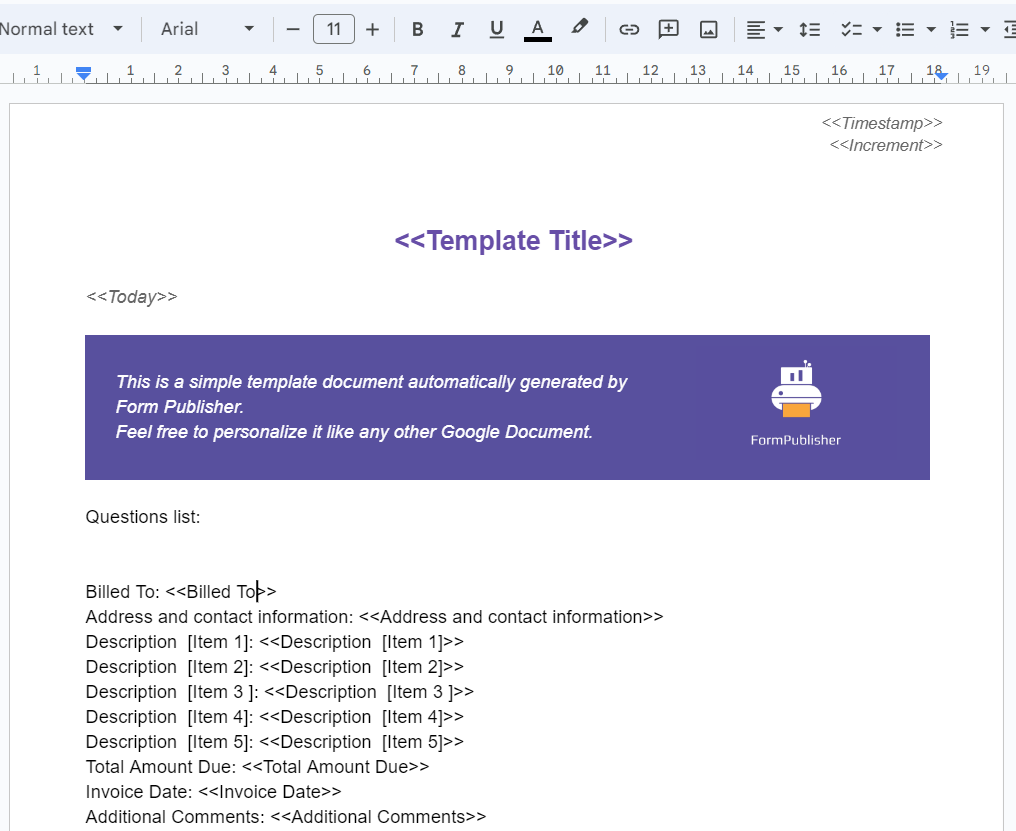
You can edit this template any way you like now.
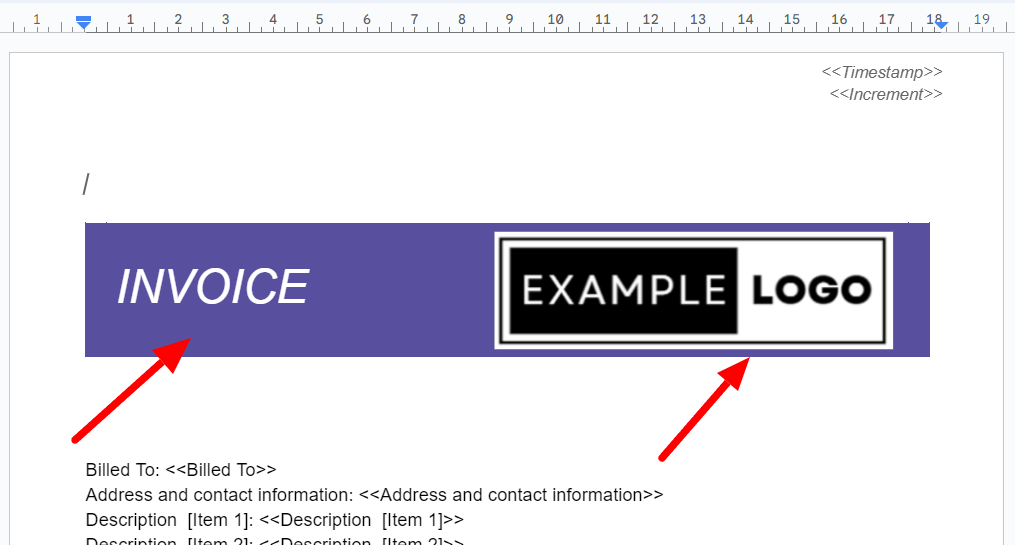
For example, you can clean up the header and insert your company logo.
You can change the header color to match your branding and even add spacing between the text body.
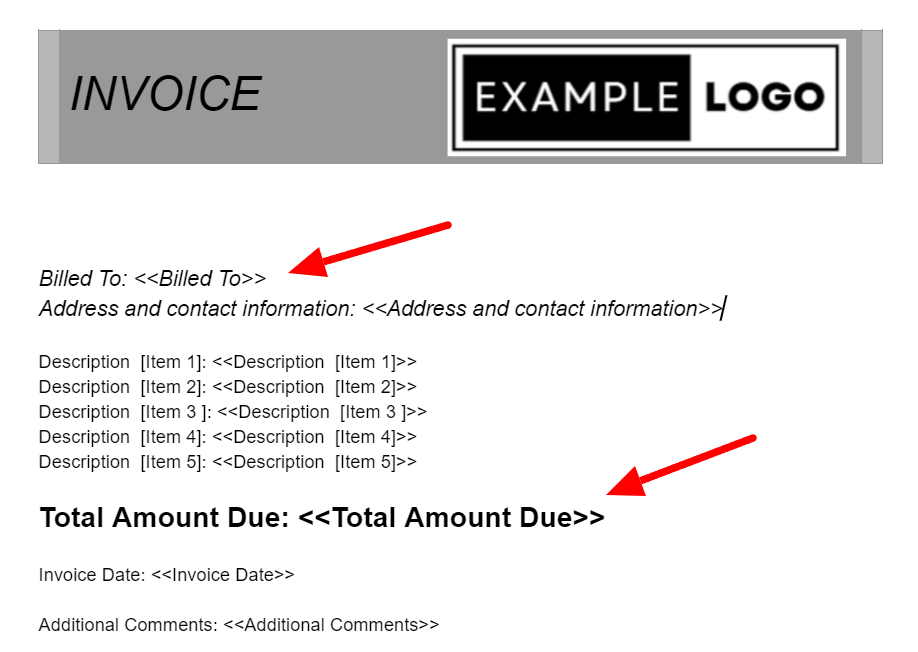
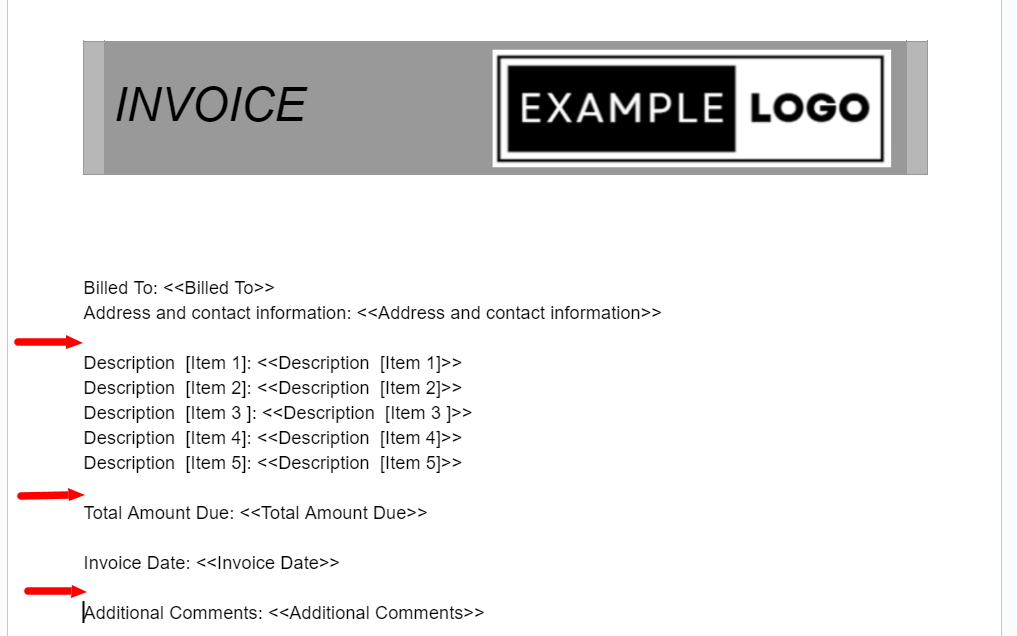
You can format different sections of the invoice to appear the way you want.
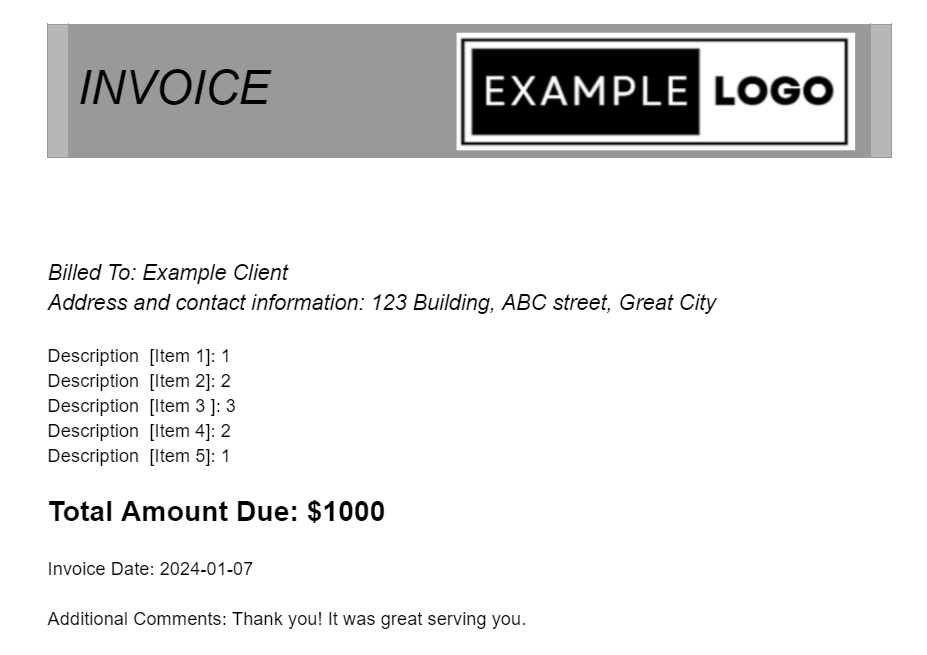
Now, when you fill out the information and submit the form, Form Publisher will automatically turn it into a customized invoice that you can send to your clients. However, there’s one more thing to add before you do that.

You have to add your client’s address as a recipient in Form Publisher. You can do this by going to the “Sharing options and notifications.”
Step 4: Enter in details about customer payment
Now comes the most crucial section of the form: adding the payment option. Whether you’re accepting direct bank transfers, payment by QR code, or by linking to a payment service like Venmo, Stripe, or PayPal, you can add that directly onto the template. Here’s a walkthrough on how to include payment on Google Forms if you want to incorporate this.
Step 5: Submit and have the invoice automatically sent
With that, your customized payment system is set. When you fill out your invoice form, Form Publisher will generate a customized document based on your template. Your client will be notified by email that a document has been generated for them.
If you want, you can go a step further and turn this system into an approval workflow by adding approvers. Learn how to create an approval workflow in Google Forms.
Benefits of generating personalized invoices with Google Forms
It’s completely free for you
Generating personalized invoices with Google Forms not only streamlines your billing process but also offers a cost-effective solution—it's entirely free for you. Invoicing software can get expensive. With Google Forms, you can enjoy the benefits of a user-friendly platform without any financial burden.
You create an efficient system
When you generate personalized invoices with Google Forms, you create an efficient system tailored to your needs. Google Forms empowers you to design customized invoice templates and capture essential details effortlessly. The result? A well-organized and time-efficient invoicing system that you can rely on.
Response document template easy to edit on
With Google Forms, you can easily edit the response document template. This gives you unparalleled flexibility. You can tailor your invoices swiftly by modifying the response document within the intuitive Google Docs interface. You can effortlessly adjust details, add personal touches, and adapt to evolving business needs.
Prevent spam in your Google Forms
Generate personalized invoices with Form Publisher
If you’re ready to upgrade your invoicing process, you can start generating customized invoices with Google Forms and Form Publisher today. Get rid of invoicing headaches and embrace a solution to streamline your workflow.
Get started with Form Publisher and transform how you handle invoices. A smarter, faster, and more personalized approach awaits.