
A business without a distinct branding, culture, and personality is simply ineffective. Whether it’s workflow, processes, or even forms, modern businesses rely heavily on customization. Google Forms can help businesses create tailored forms easily and effectively.
Let’s learn how to make customized business forms with Google Forms. Just follow the steps, and you’ll have your custom business forms ready in no time!
Why should you have customized business forms?
Are you wondering if creating customized forms is even worthwhile for your business? Here are some benefits of customized business forms:
- Designing forms specific to your business needs enables precise data collection.
- Customizing forms allows you to include necessary legal disclaimers, terms, and conditions, ensuring compliance with industry regulations.
- Forms tailored for specific purposes, such as order forms, invoices, and time-off requests, streamline internal processes and reduce errors.
- They project a polished and professional image, establishing credibility and trust among clients, partners, and employees.
- Branded forms ensure consistency in your visual identity, reinforcing brand recognition across all touchpoints.
- Memorable forms with consistent branding elements improve brand recall, making your business stand out.
- Customized forms are adaptable to evolving business needs, providing scalability as your organization grows.
Need to upload an image to your form? Click here to learn how.
How to create customized business forms in Google Forms
Step 1: Create your business form on Google Forms
No matter what kind of form you’re creating, if you’re using Google Forms, it’s as simple as it gets. The platform is intuitive and accessible for users of all technical skill levels. First, let’s get the form creation out of the way, then we can customize it.
Here’s a job application form and an order form tutorial to show you the essential steps. Follow the same steps, change the questions, and select the appropriate question formats to create your form.
Step 2: Customize the basics of your form
Once your basic business form is ready, let’s customize it. Google Forms offers many different options for making your form your own. For example, you could choose from different types of question formats, depending on what suits your purpose best.
Looking for quantitative data? Select the multiple-choice or linear scale questions, or simply collect qualitative answers with descriptive answer formats. You can split your form into sections. Moreover, if you think all the sections are not relevant to everyone filling out the form, use skip logic branching.
Explore other features of Google Forms that allow you to customize forms to your needs and requirements. Once you’re done arranging the form elements, we can move on to the aesthetics of the form and ensure that they reflect your branding.
Step 3: Add a header image with your business logo
Nothing reflects branding like a business logo. Whether it’s a form that will circulate among your customers or one for internal company purposes, you must insert your logo in your business form.
Google Forms allows you to insert a header image. That is a great place to insert your logo to get maximum visibility. Figuring out the header image size can be a bit confusing sometimes, but as long as it’s a 4:1 aspect ratio, it’ll adjust automatically to the header space.
Did you know there’s a way to brand your response documents, too? Google Forms doesn't have an inherent feature for it, but it’s possible with Form Publisher! Form Publisher lets you create automated documents from form responses.
Step 4: Adjust font and color to fit your business’s branding
Now that you’ve inserted your logo, let’s take it one step further and match your form’s colors to your brand's colors. It's very easy to customize the themes and colors in Google Forms.
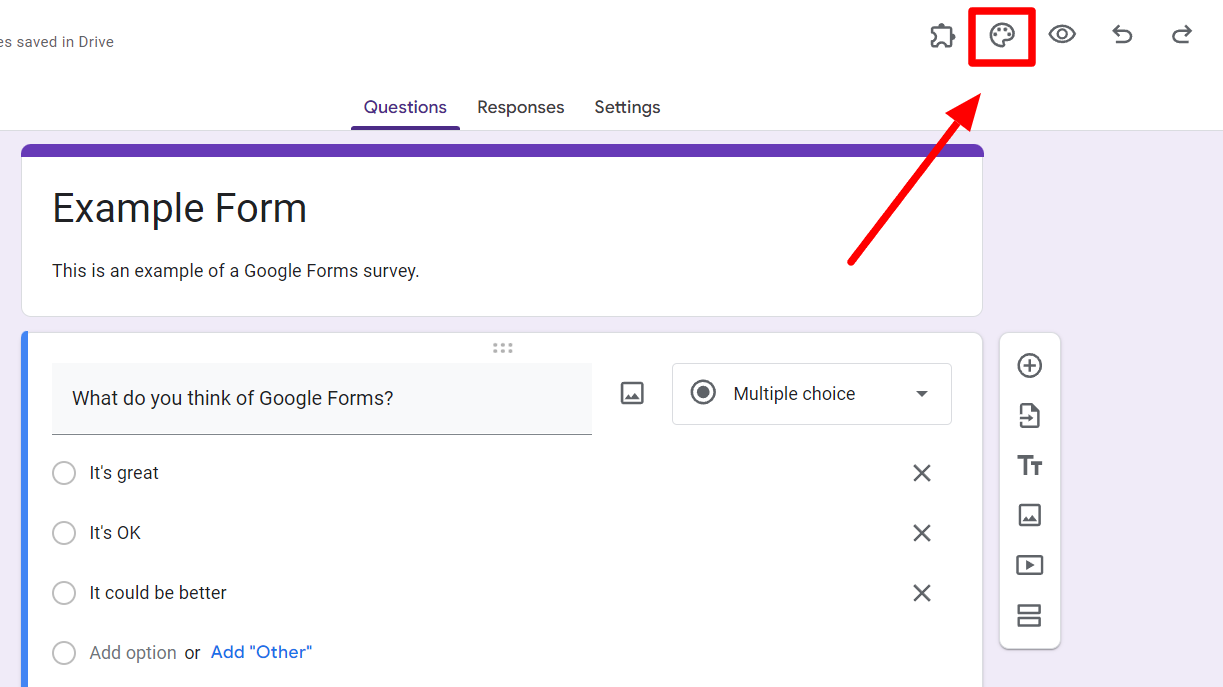
Simply click the “Customize Theme” button in the top right corner of your form. It looks like a color palette.
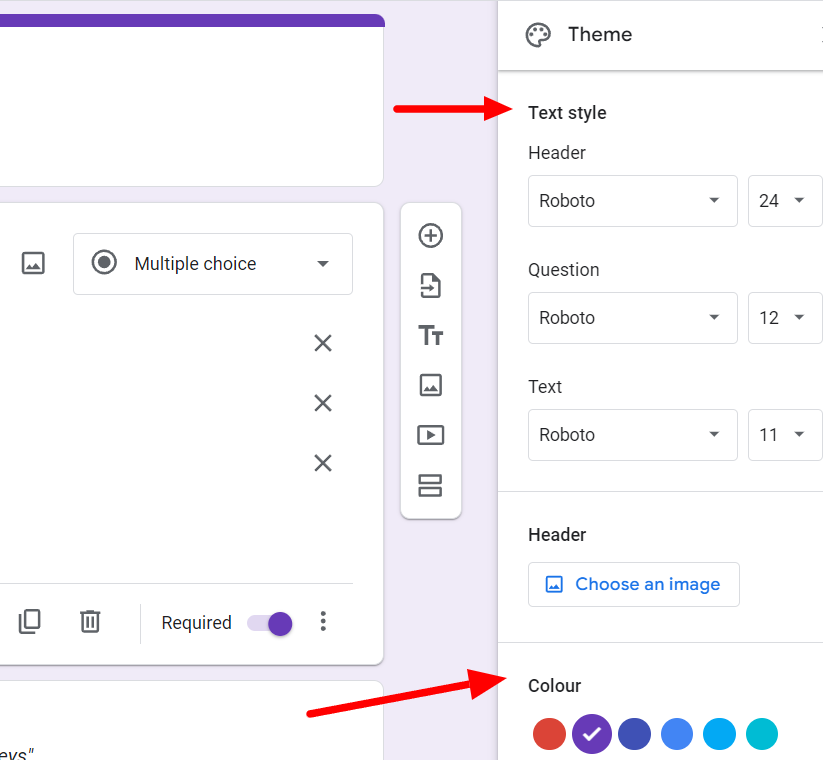
This will open up all the customization options like text style and color. You can change the fonts of the headers, texts, and questions individually as per preference. You can do the same with the form’s colors.
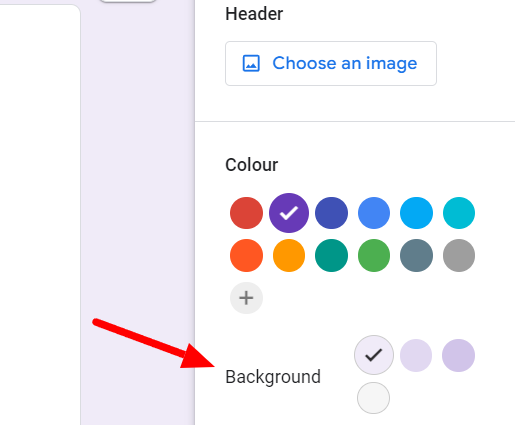
The easiest way to change the colors of your form to match your branding is to scroll down to the bottom of the “Background” section. Pick any displayed color here, and it will automatically complement your form. Be sure to do this after you’ve inserted your logo to give Google Forms complementary colors to pull from the logo image.
Step 5: Use Form Publisher to customize response documents
Now that you’ve created a customized and branded business form, let’s learn how to brand your response documents. It’s an excellent way for you to create cohesive marketing messaging at all customer touchpoints. All you have to do is download Form Publisher!
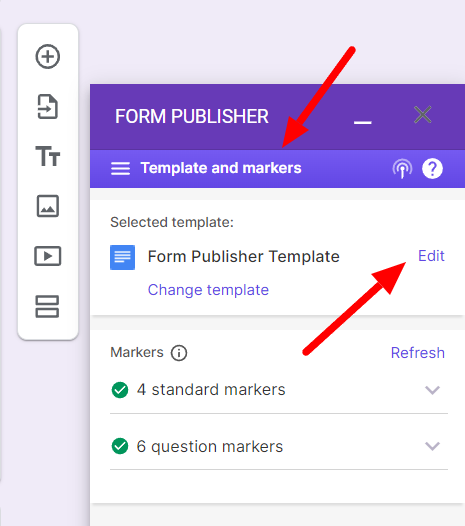
Once you have Form Publisher configured on your form, simply go to your selected template under “Templates and markers” in Settings. Then click the “Edit” button to edit the template.
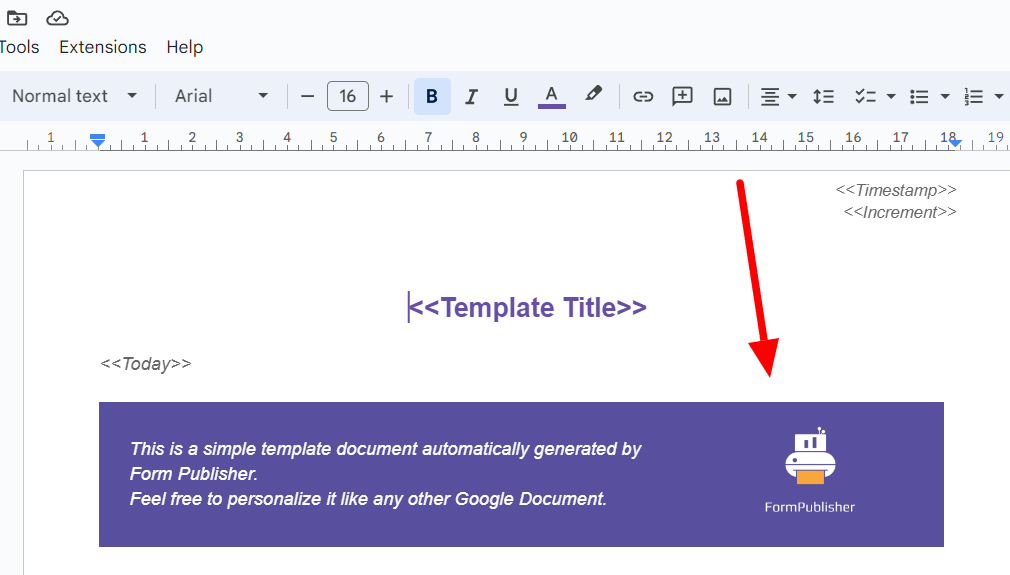
This will open up the template, which is easily editable as it’s a Google Doc file. All the elements are customizable, so you can simply delete and replace the element you want.
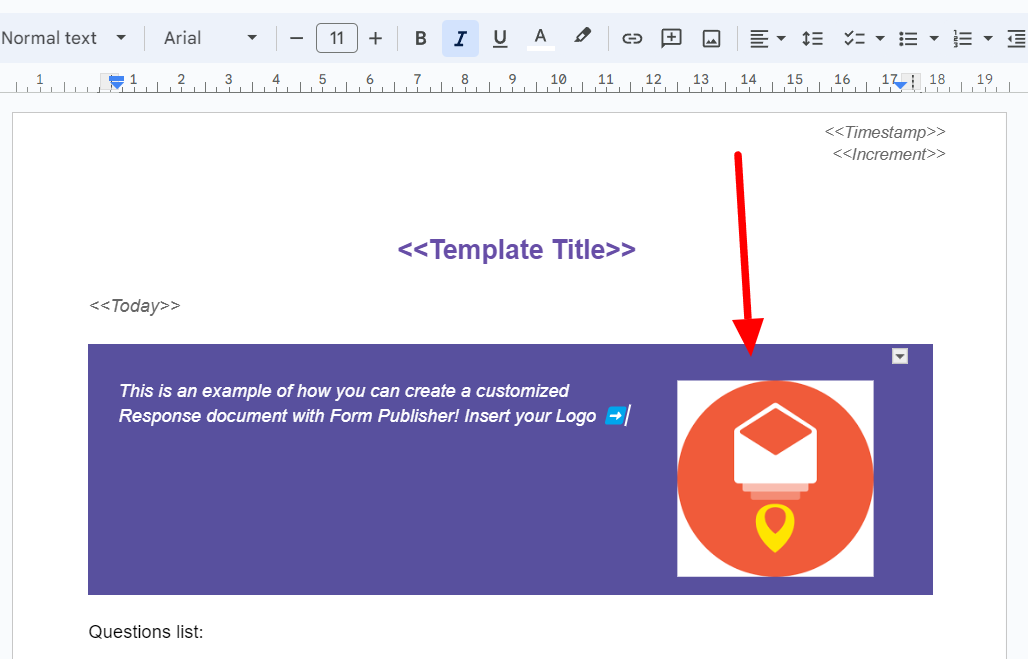
Here, we’ve inserted an example logo to show you just how easily it’s done. You can also add or delete text or change the position of custom fields and markers to create your own customized response document.
Customize business form responses with Form Publisher
Transforming how you handle business form responses is now simpler than ever with Form Publisher. Imagine automating and customizing the generation of documents, such as invoices, reports, and certificates, based on form submissions.
With Form Publisher, you can effortlessly merge form responses into professionally formatted templates, adding a personalized touch to your communications. If that’s something your business needs, explore Form Publisher!